Einleitung
Werkzeuge
-
-
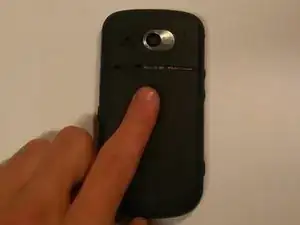
Turn phone over so that the back side is facing up.
-
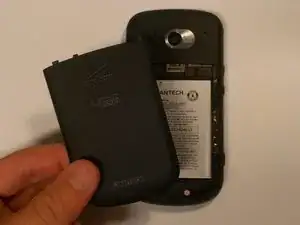
Using a finger, apply moderate pressure to the top of the back cover while sliding the cover down and off.
-
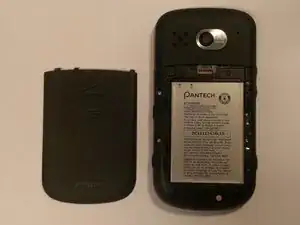
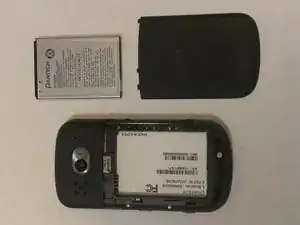
Lift and remove the back cover from the phone.
-
-
-
Locate the battery: It is a silver, rectangular object.
-
Insert a fingernail into the indent just below the battery about 0.5 inches from the bottom of the phone.
-
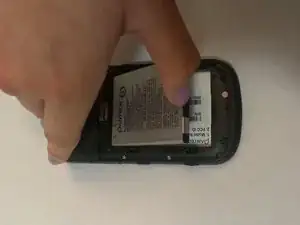
Then, apply pressure to the battery, pushing up and away from the phone. It will come out easily.
-
-
-
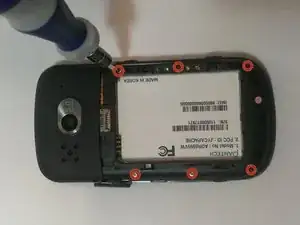
With the phone face down on a hard surface, locate the six 3.5mm Phillips screws around the perimeter of the phone.
-
Use a Phillips #00 or #000 screwdriver to remove all six Phillips screws.
-
-
-
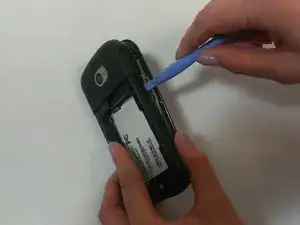
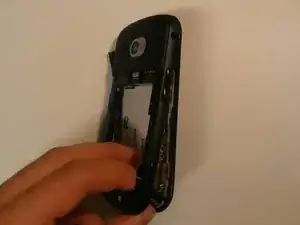
Slide a Plastic Opening Tool in between the front bezel and the back case, slowly working it around the tight edges.
-
-
-
Starting at the charging port cover open by prying away from front face to remove back case.
-
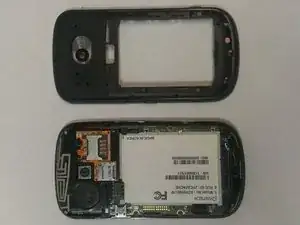
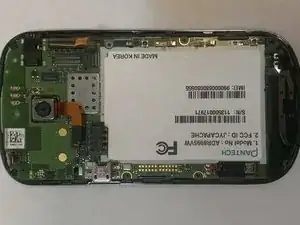
After removing the bevel and back case of the phone, you will now see the motherboard and other internal components.
-
-
-
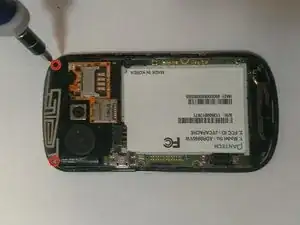
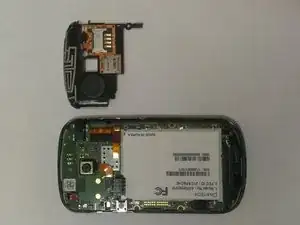
After removal of front bezel and back cover, locate and remove two Phillips #000 screws from the top corners of the phone.
-
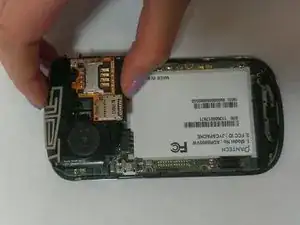
After taking out the screws, lift off the black plastic piece containing the speaker, Micro SD card slot and SIM card slot.
-
-
-
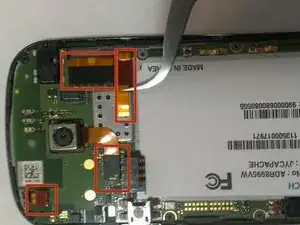
Locate the four ribbon connections near the top of the phone, above where the battery was.
-
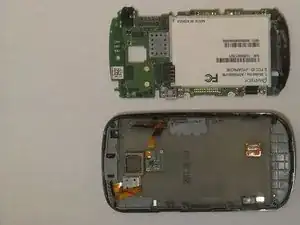
Using a set of Tweezers, carefully pull each ribbon up from its connection. After this is complete, the motherboard will freely separate from the back of the screen.
-
Separate motherboard from screen.
-
-
-
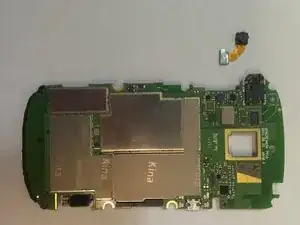
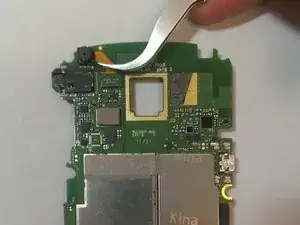
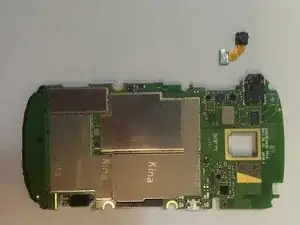
Flip the motherboard over to the back, this is where the front facing camera is located.
-
To remove, use a set of Tweezers to carefully pull the cable ribbon up from its connection.
-
When re-installing a front facing camera, carefully place the cable ribbon into its connection. Also, the cable ribbon of the front facing camera should come out the right side of the camera.
