Einleitung
Werkzeuge
-
-
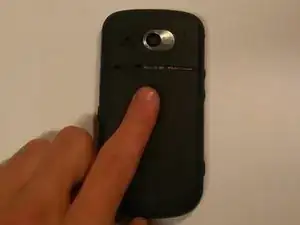
Turn phone over so that the back side is facing up.
-
Using a finger, apply moderate pressure to the top of the back cover while sliding the cover down and off.
-
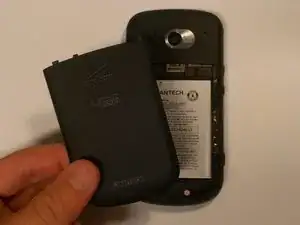
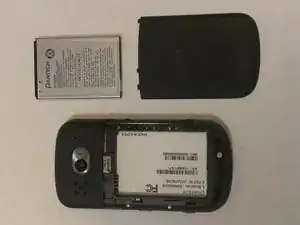
Lift and remove the back cover from the phone.
-
-
-
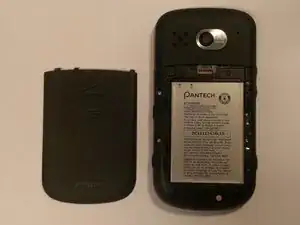
Locate the battery: It is a silver, rectangular object.
-
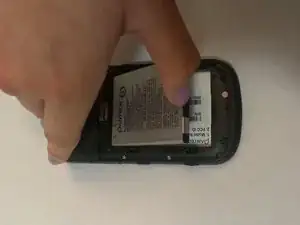
Insert a fingernail into the indent just below the battery about 0.5 inches from the bottom of the phone.
-
Then, apply pressure to the battery, pushing up and away from the phone. It will come out easily.
-
-
-
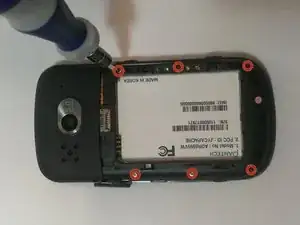
With the phone face down on a hard surface, locate the six 3.5mm Phillips screws around the perimeter of the phone.
-
Use a Phillips #00 or #000 screwdriver to remove all six Phillips screws.
-
-
-
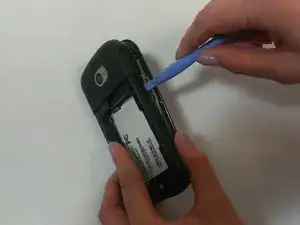
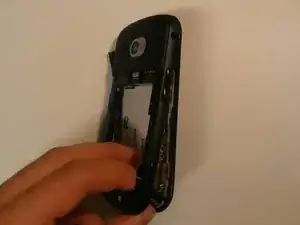
Slide a Plastic Opening Tool in between the front bezel and the back case, slowly working it around the tight edges.
-
-
-
Starting at the charging port cover open by prying away from front face to remove back case.
-
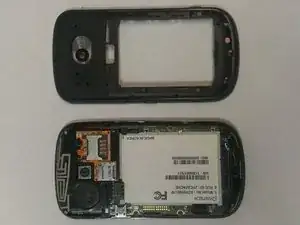
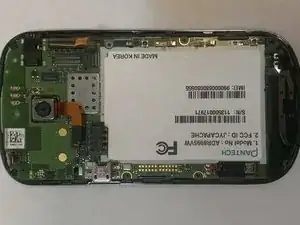
After removing the bevel and back case of the phone, you will now see the motherboard and other internal components.
-
-
-
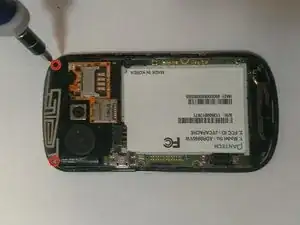
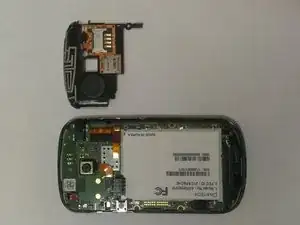
After removal of front bezel and back cover, locate and remove two Phillips #000 screws from the top corners of the phone.
-
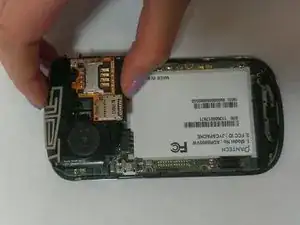
After taking out the screws, lift off the black plastic piece containing the speaker, Micro SD card slot and SIM card slot.
-
-
-
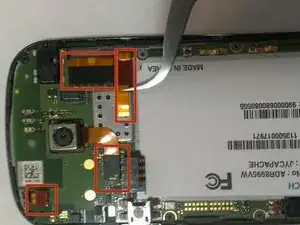
Locate the four ribbon connections near the top of the phone, above where the battery was.
-
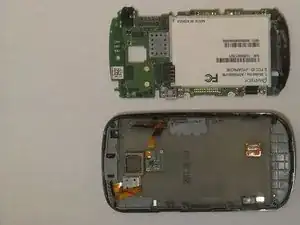
Using a set of Tweezers, carefully pull each ribbon up from its connection. After this is complete, the motherboard will freely separate from the back of the screen.
-
Separate motherboard from screen.
-
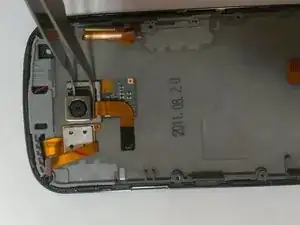
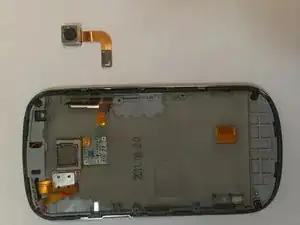
When re-installing a rear facing camera, it might be necessary to add a small amount of adhesive to the base of the camera to keep it in place. Also, the cable ribbon of the rear facing camera should lead out of the bottom of the camera.
