Einleitung
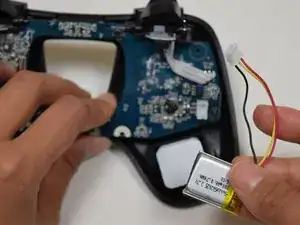
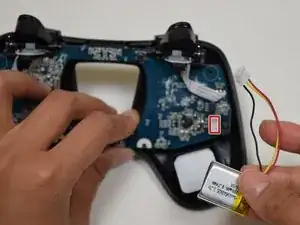
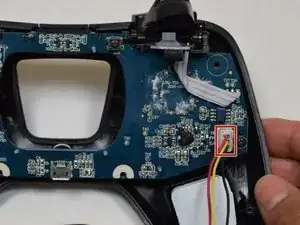
Bring back to life your Parrot FLYPAD with a brand new battery.
This guide will assist you to correctly dismantle the controller, so that you may easily replace the battery. To prevent any loss of screws, it is important to utilize a magnetic mat placed under the controller.
Werkzeuge
-
-
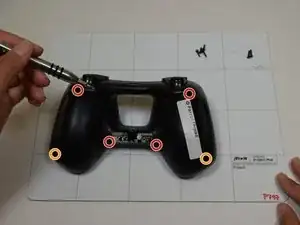
Use a T6 screwdriver to remove the six screws from the back of the controller: four 0.9 mm screws and two 0.1 mm screws.
-
-
-
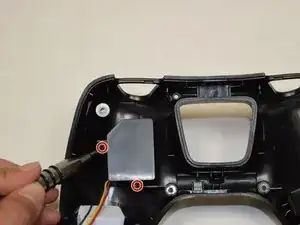
Separate the plastic cover from battery.
-
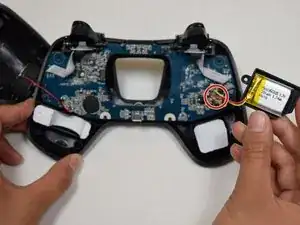
Avoid damaging the wires and gently remove the battery from the motherboard.
-
-
-
Gently attach the wire connection from the new battery to the motherboard. Avoid touching the motherboard directly.
-
Abschluss
To reassemble your device, follow these instructions in reverse order.
