Einleitung

This guide will walk you through steps to replace your joystick.

  1. lewZNaE3WOUZWLgB
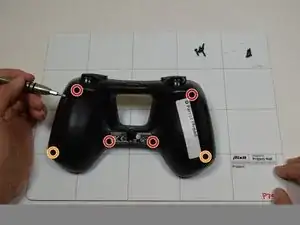
    • Total of 6 Screws are located in the back of the controller.

    • Four 0.9mm T6 screws

    • Two 0.1mm T6 screws

    • Flip the Flypad over.

    • Remove the six screws using a T6 screwdriver.

    • Use a Magnetic Mat to prevent loss of screws. Set aside.

  2. P6tVdw2oqhIUVLYA
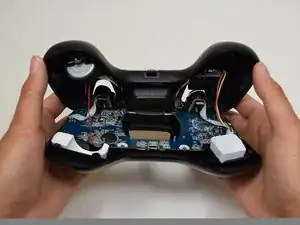
    • Flip the Flypad over again and separate the front and back. Be sure to remove the foam adhesive that connects the front plate to the motherboard.

    • Be aware that the Buttons (L1,R1) may fall out. Remember to put them back in place during reassembly.

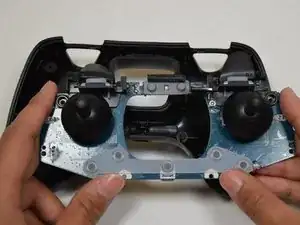
    • Use Ph0 tool to remove the screws holding the motherboard in place.

    • Gently remove the motherboard from the front plate.

    The FLYPAD’s that come with the FPV kit do not have the weights and the rumble motor. The sticks are also not removable.

    Heath -

  3. puYtMUpKHHkSMVjj
    puYtMUpKHHkSMVjj
    NJO16sTCZA24dOrr
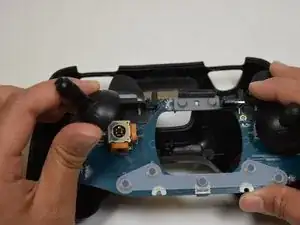
    • Pop the joysticks out by pulling gently.

    Please add the removal of the motherboard screws. Also I have 3 of these controllers. The oldest has PHILLIPS head screws. The newest has the T6 screws. Just FYI.

    Heath -

  4. uUOEIkGN6CxajuSC
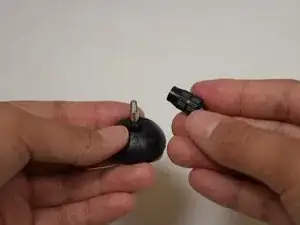
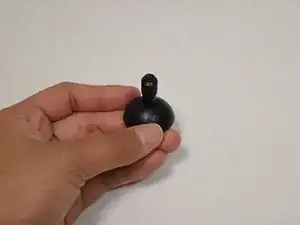
    • Unscrew and replace joystick caps for a more comfortable grip.

    The Flypad that comes with the FPV kit does not have removable joystick caps.

    Heath -

Abschluss

To reassemble your device, follow these instructions in reverse order.

HUY NGUYEN

Mitglied seit: 11/04/17

376 Reputation

Ein Kommentar

Do you know where I can find replacement joystick caps like the one shown in Step 4, please?
cbeilstein -