Einleitung

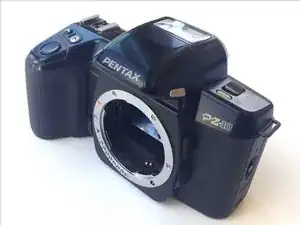
Button replacement may be necessary if the shutter button sticks or no longer activates shutter due to wear.

  1. rtLYd2DFRBbfprxu
    • The top cover is one piece encasing the top of the device except the shutter release button and flash.

  2. MgY4Lhgbc2EpA1dq
    MgY4Lhgbc2EpA1dq
    bNfdbVQJhPETHKf3
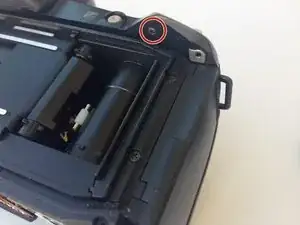
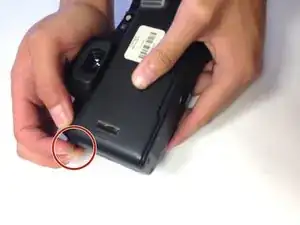
    • With the camera lens face down, locate the screw under the overhanging piece of the top casing on the right side of the back panel.

    • Using the J0 screwdriver, remove the 6.3 mm screw.

  3. VmpwKq3pkuixMkRP
    VmpwKq3pkuixMkRP
    HKoKtYUYhkFiJNTU
    • Locate the next screw by holding the camera upside down with the battery compartment empty and face up.

    • Remove the 6.3 mm screw using a J0 screwdriver.

  4. E45N2Selci6triEX
    E45N2Selci6triEX
    V3aKtFOiSWyxaC5K
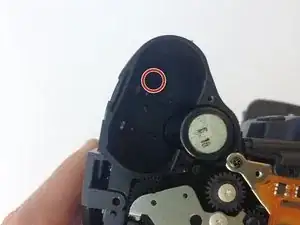
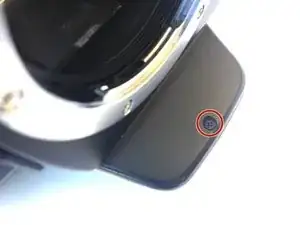
    • The next screw is found in the overhanging piece just above the lens.

    • With the top of the camera facing down, remove the 3.4 mm screw with a J0 screwdriver.

  5. u3EDoJ6RPybOJI5p
    u3EDoJ6RPybOJI5p
    psNPvUOQlsLFnsvE
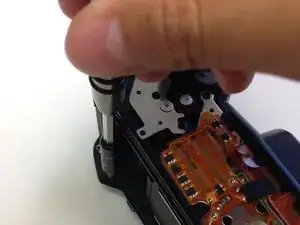
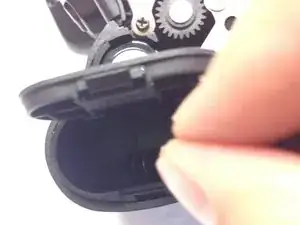
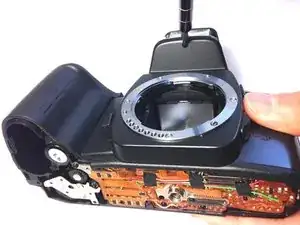
    • Gently pull off the top cover with your hands by pulling on the tab on the left of the camera.

  6. 3rutfwXs2IP1y23O
    3rutfwXs2IP1y23O
    UUtHiOo4PNg6tg4Q
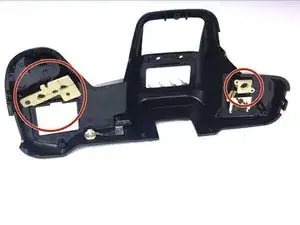
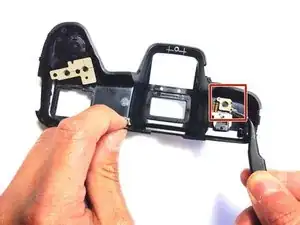
    • Gently remove the beige rubber tabs from under the casing by pulling each down using tweezers.

  7. QQ13MBohvkcdWU11
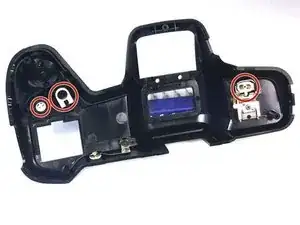
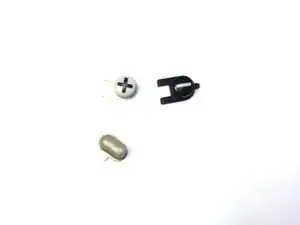
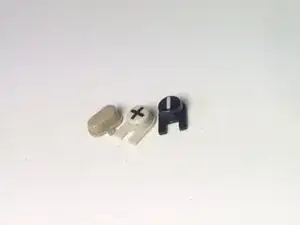
    • Remove the 3 buttons by pushing them from under the casing out through the top.

    • Each button is slotted differently, so pay attention to the orientation of each piece.

  8. HSObEqHa3v2ZZUls
    • The buttons are now free to be replaced or cleaned.

Abschluss

To reassemble your device, follow these instructions in reverse order.
Jonathan Diaz

Mitglied seit: 20/04/15

213 Reputation

0 Kommentare