Einleitung
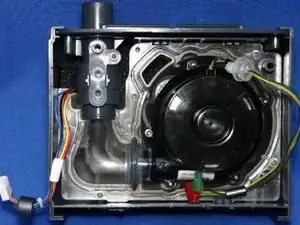
Under high usage the blower assembly is under a large amount of stress causing the whole unit to malfunction. Thus, needing to replace the whole blower.
For more information on replacing the blower assembly, please refer to page 6-16 in the service manual.
Werkzeuge
Ersatzteile
-
-
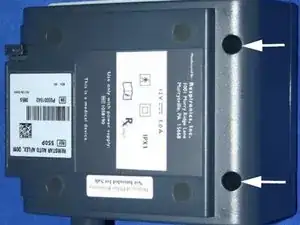
Remove the top cover by using a Torx T15 to remove the 2 screws on the back of the enclosure.
-
-
-
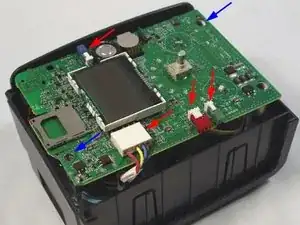
Remove the Main PCA by removing the wiring harnesses and squeezing the 2 standoffs in the corners of the board.
-
-
-
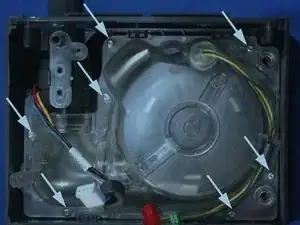
Remove the Blower Cap by using the T8 Torx screwdriver to remove the 7 screws that secure the Cap to the enclosure.
-
-
-
Lift the Blower Assembly out of the blower housing.
-
Remove the blower Outlet Bellows from the blower assembly.
-
-
-
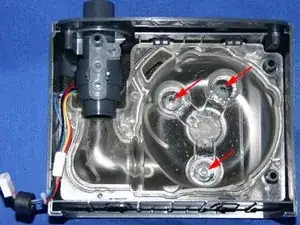
Align the stands located on the bottom of the blower assembly with the holes in the blower housing.
-
To reassemble your device, follow these instructions in reverse order.
2 Kommentare
this was super helpful. i yanked a working motor/blower from a slightly older system one unit that had a dead humidifier circuit(found it had melted the connector inside) and moved it to my newer bipap unit. works great, dead silent. mine had bad bearings…so loud. great article. thank you for saving me money, time…..SLEEP!
Very detailed step-by-step instructions!
