Einleitung
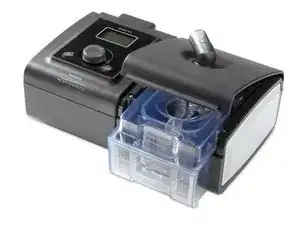
A unique aspect of this BiPAP device is its attached built-in humidifier. However, when this feature isn’t working properly, the device is ineffective and your comfort can significantly decline.
The humidifier feature should be checked every few months to ensure that it is working properly. The following guide details how to take all of these parts apart and replace them if they are malfunctioning.
For more information on replacing the humidifier, please refer to page 7-2 in the service manual.
Werkzeuge
Ersatzteile
-
-
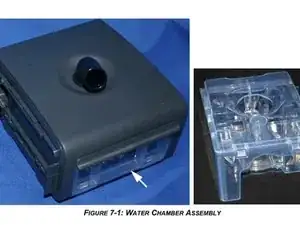
Remove the Water Chamber Assembly.
-
Gently squeeze the latch on the Flip Lid Assembly to release it.
-
Lift the Flip Lid Assembly.
-
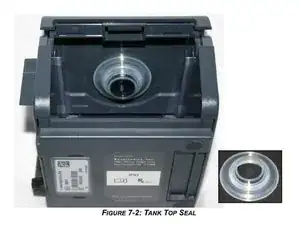
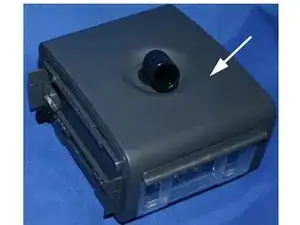
Pull the Humidifier Tank Assembly out of the Humidifier.
-
-
-
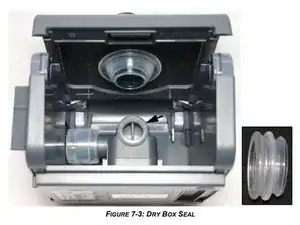
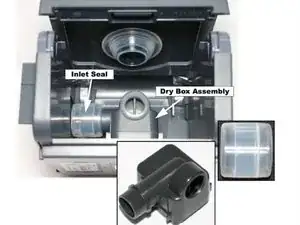
Remove the Dry Box Assembly.
-
Insert a flat blade screwdriver into the hole located on the back of the Humidifier and lightly press inward to release the Dry Box Assembly.
-
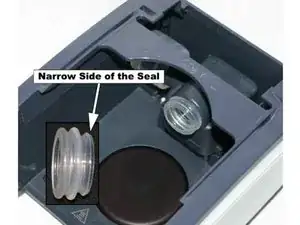
Remove the Inlet Seal from the Dry Box Assembly
-
-
-
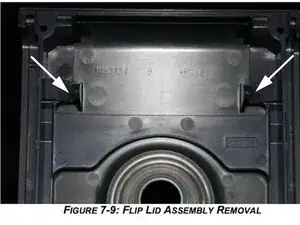
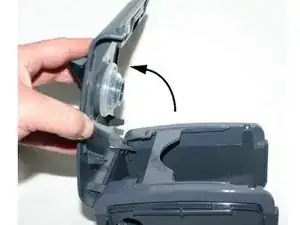
Remove the Flip Lid Assembly.
-
Use a screwdriver to push in on the latches that secure the Flip Lid Assembly to the Humidifier Top Housing.
-
Bend the Flip Lid Assembly completely backwards until it is removed.
-
-
-
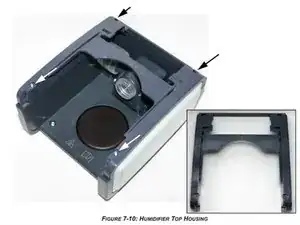
Use a T8 Torx screwdriver to remove the four #4 x 1/2" screws that secure the Top Housing to the Humidifier Bottom Housing
-
-
-
Remove the Left Side Panel.
-
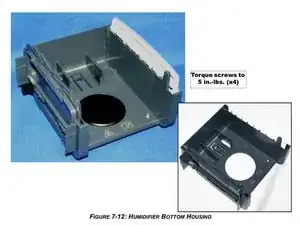
Use a T15 Torx screwdriver to remove the four #6 x 1/4" screws that secure the Bottom Housing to the Lower Base Assembly.
-
-
-
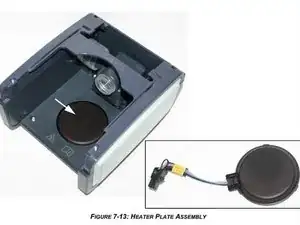
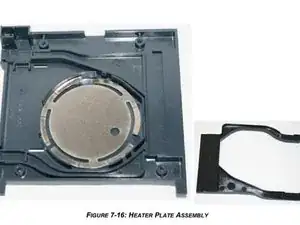
Remove the Heater Plate Assembly.
-
Once replaced, secure the Bottom Housing to the Lower Base using the four #6 x 1/4" screws.
-
To reassemble your device, follow these instructions in reverse order.
Ein Kommentar
This was quite useful @geometry dash unblocked
