Einleitung
This project will involve working around delicate electrical components so it is important to be very careful that you not damage any of these components as it may cause your DVD player to not work properly.
Werkzeuge
-
-
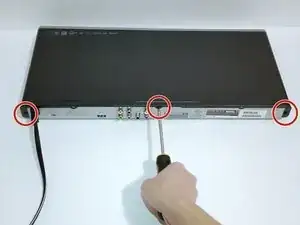
Remove the three 6.4 mm Phillips #1 screws on the back of the device with a Phillips head screwdriver.
-
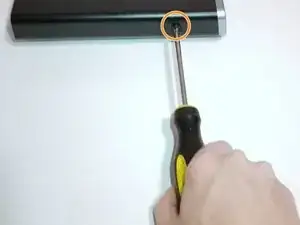
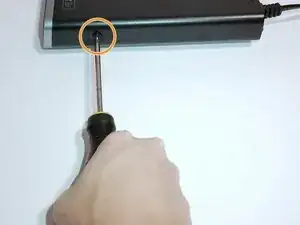
Remove the 6.4 mm Phillips #1 screws on each side of the device.
-
-
-
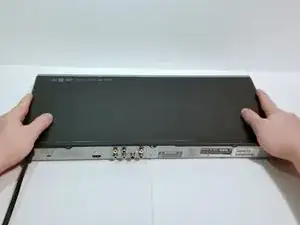
Remove the top plate of the DVD by firmly grasping the player on both sides.
-
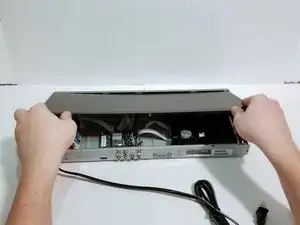
Shift the top plate towards the backside of the player.
-
Lift the back half of the top plate up to remove it from the player.
-
-
-
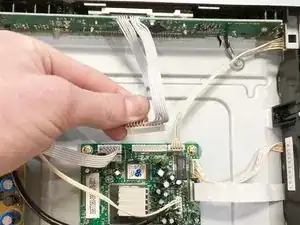
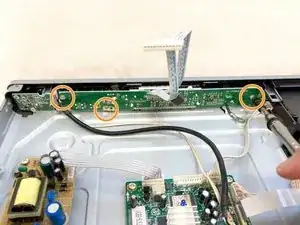
Unplug the bundled cable connector that attaches the screen to the motherboard.
-
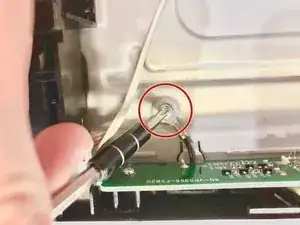
Remove the 3.175 mm Phillips #1 screw that connects the screen's ground wire to the shell of the DVD player.
-
Remove the three 6.35 mm Phillips #1 screws that attach the screen to the front cover of the DVD player.
-
-
-
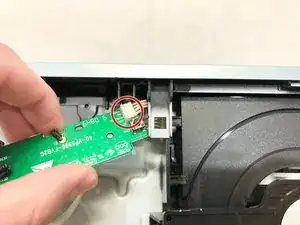
Slowly pull the screen backwards starting with the side farthest from the disc tray.
-
Unplug the bundled cable connector that is located close to the disc tray as you pull the screen out of the DVD player.
-
To reassemble your device, follow these instructions in reverse order.
