Einleitung
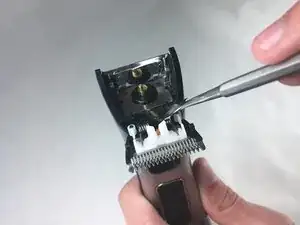
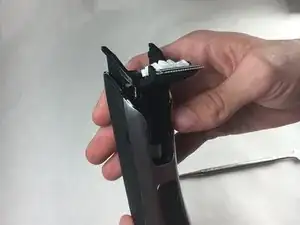
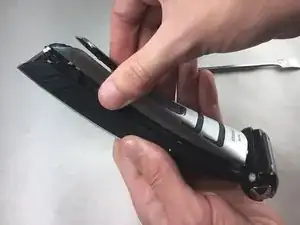
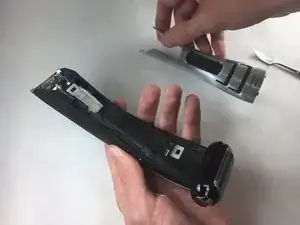
This guide will show how to take out a broken motor, and replace it with a new one. You may need this if either the trimmer or shaver head on the Philips Norelco Bodygroom stop working due to motor malfunctions. It is also necessary for this guide to show how to disassemble and reassemble the trimmer in order to get to the motors. It is recommended to have the iFixit Pro Tech Toolkit since it will contain all tools necessary for this guide. Lastly, you will need to provide your own working motor to replace the broken one.
Werkzeuge
-
-
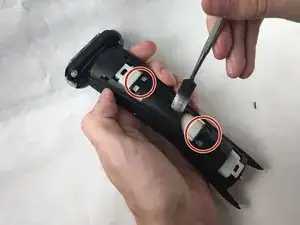
Remove two screws (M2 x 9.5) on metal plate with JIS 0 screwdriver bit.
-
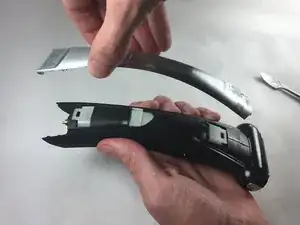
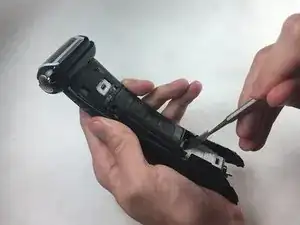
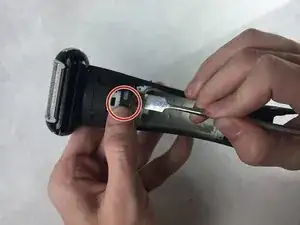
Use spudger to pry off metal plate.
-
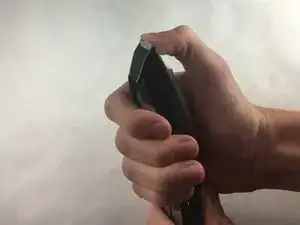
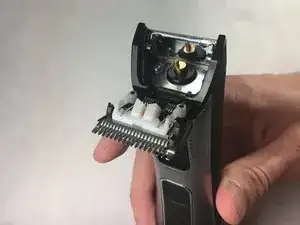
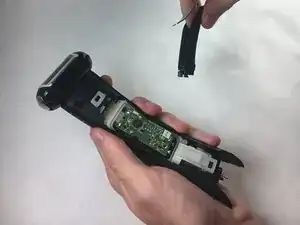
Slide up plastic housing to remove the trimmer.
-
-
-
Slide chrome outer plastic towards removed trimmer.
-
Flip to the other side and repeat, sliding the chrome plastic towards removed trimmer.
-
-
-
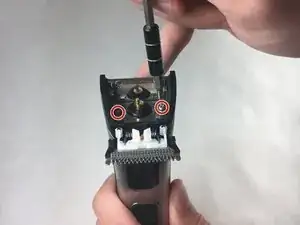
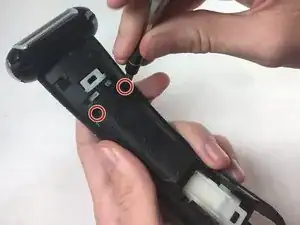
Remove two top screws (M2 x 6.9) with the JIS 00 screwdriver bit.
-
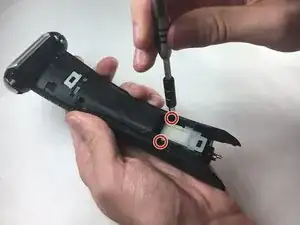
Remove two bottom screws (M2 x 6.9) with the same bit.
-
-
-
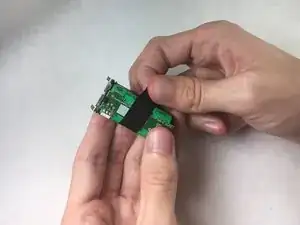
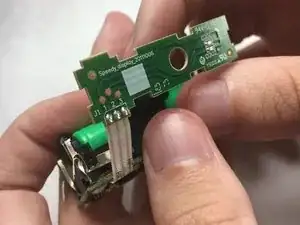
Unwrap electrical tape around the battery pack and LED board.
-
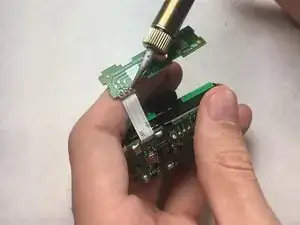
Desolder the LED board from the battery pack.
-
Solder the new LED board back to the connection to battery pack.
-
-
-
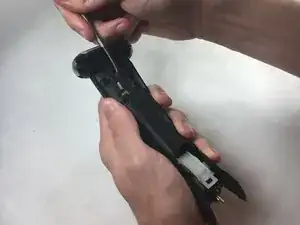
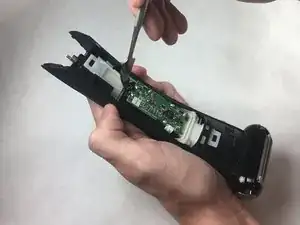
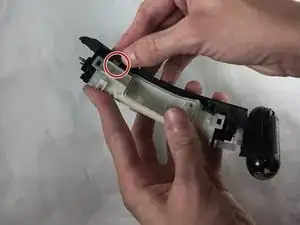
Using the spudger, unclip the plastic housing around white casing.
-
Remove one half of the black housing first, and then proceed to the next half.
-
-
-
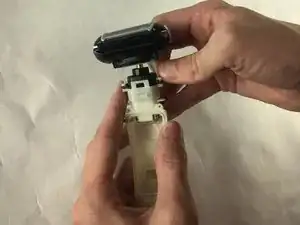
Once housing is removed, pull off shaver head. *Once black housing is removed this part may fall off*
-
-
-
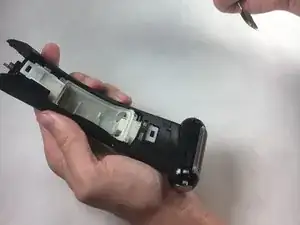
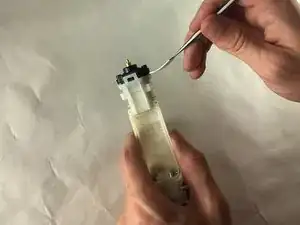
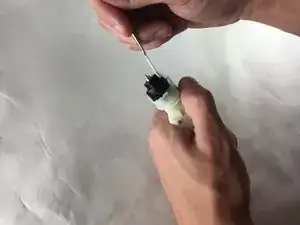
Use spudger to pry motor out of the white housing.
-
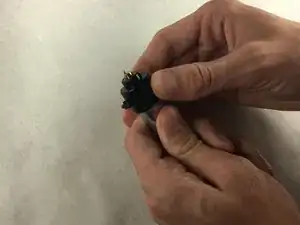
Pull waterproofing case off of the motor.
-
To reassemble your device, follow these instructions in reverse order.
Ein Kommentar
Great guide. Thanks
