Einleitung

  1. ps1N3YWvlwoPCJvo
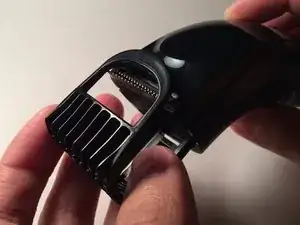
    • Remove the comb from the top of the trimmer.

  2. eWQbEBL2MbNQaiaR
    eWQbEBL2MbNQaiaR
    kbvAaUieps43ysO4
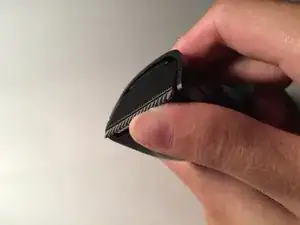
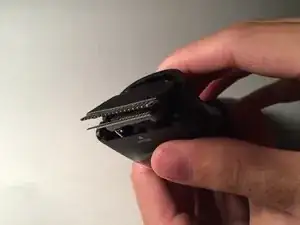
    • Place your thumb underneath the blade and push upward to remove it.

  3. lVGTxMvTcYJPYLAe
    lVGTxMvTcYJPYLAe
    mq6tULvJ6OD4DjgN
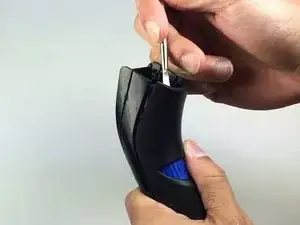
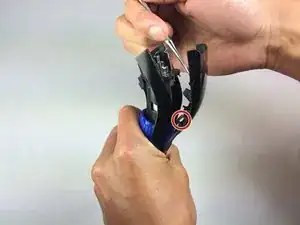
    • Hold trimmer towards you as shown in the diagram.

    • Insert your prying tool/metal spudger into the marked area.

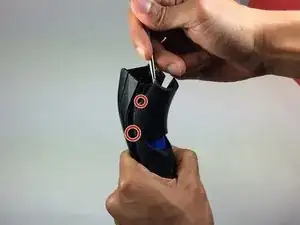
  4. PyQBCnwgBZjlEY6p
    PyQBCnwgBZjlEY6p
    chtavHQsCaY14o3X
    pLwivUBPFMW3mFmp
    • Apply gentle pressure and begin prying open the back panel.

    • Separate the panel one notch at a time. Listen carefully as you're prying the panel apart and notice each individual notch release.

    Thank you for this part!

    Direct Heart lines -

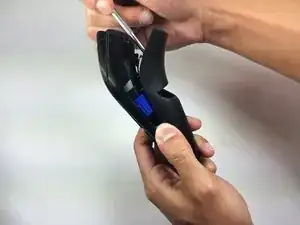
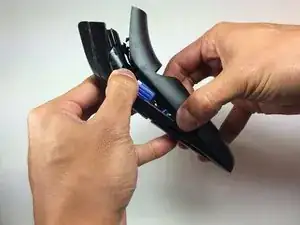
  5. MMUXStWQGDTBaKbC
    MMUXStWQGDTBaKbC
    hY5PunLkluK6VEIQ
    JNLcLtJvguk4iQlj
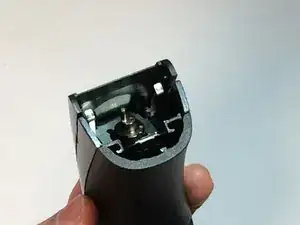
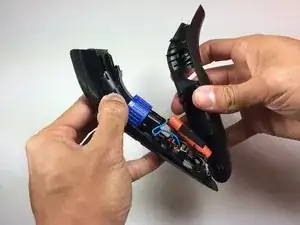
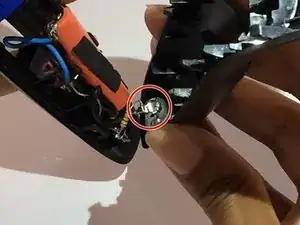
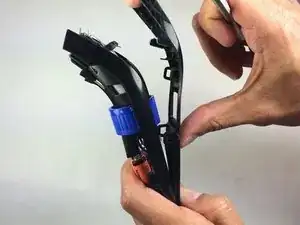
    • Pull the trimmer apart using your hands once the panel is at least halfway apart.

    • Pull the wires attached to the battery off of the power connectors before completely removing the back panel.

  6. MOxZtp6gKieGEJnB
    MOxZtp6gKieGEJnB
    icvoWOSdPOiwnlgD
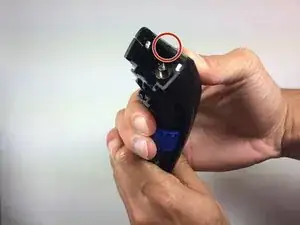
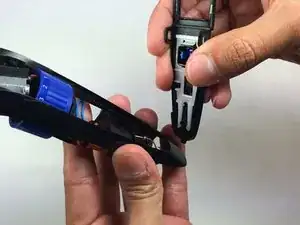
    • Hold the trimmer towards you.

    • Place the metal spudger tool in the marked area.

    Removing this front panel isn’t necessary to replace the battery. This step is a waste of time.

    michaelwmudd -

  7. MYDRKIAt2KXshLhT
    • Apply gentle pressure and begin prying the front panel.

    • Separate the front panel one notch at a time.

  8. iiU3TiCxTTRNsxJQ
    iiU3TiCxTTRNsxJQ
    HrL2Pxf2C2SAbxeE
    • Pull the trimmer apart using your hands once the panel is at least halfway apart.

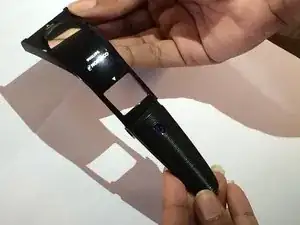
  9. BxyBA3ISCLOWTmGh
    • Remove the front panel completely from the rest of the beard trimmer.

  10. AQqRVXf1pLIkHVhI
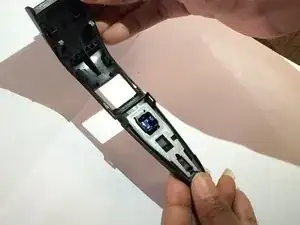
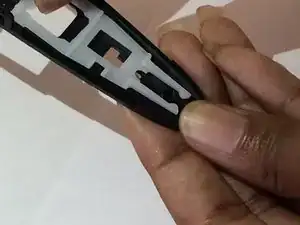
    • Rotate the front panel so that the power switch is facing away from you.

  11. JiR6cNlfZrP1pSno
    JiR6cNlfZrP1pSno
    GMyExDAkNPJaKPTL
    rMMcwVjQSbdkgnvh
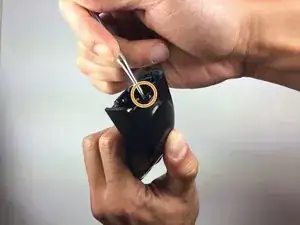
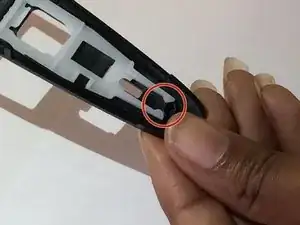
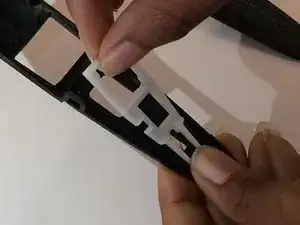
    • Push the white plastic frame upward to remove it from the notch.

    • Pull the white plastic frame off the front panel of the beard trimmer.

  12. tEm2Dtp4knwPRmNI
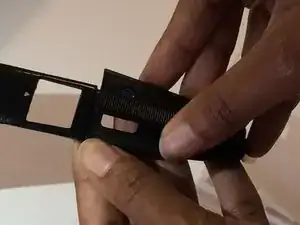
    • Remove the power switch from the front panel once the white plastic frame is removed.

Abschluss

To reassemble your device, follow these instructions in reverse order.
Tamara Titus

Mitglied seit: 03/09/15

133 Reputation

0 Kommentare