Einleitung
This guide will help the user replace the white plastic housing of the player, and will allow the user to replace inner parts.
Werkzeuge
-
-
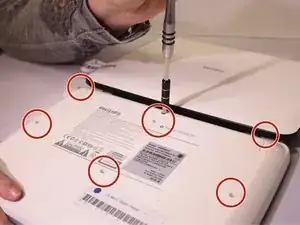
Lay the player flat so the bottom outside is showing. Using the Phillips #0 screwdriver, unscrew all the housing screws on the bottom of the player.
-
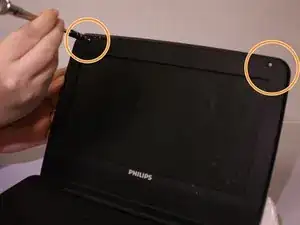
Have the player sitting upright, remove the rubber stoppers in order to get to the screw. Unscrew the inside screws by the screen using the Philips #0 screwdriver.
-
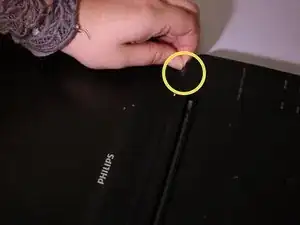
Remove the rubber stoppers for the bottom two screws as well. Unscrew the middle two screws.
-
-
-
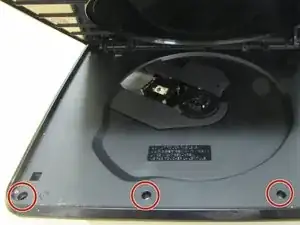
Open the disc flap and remove the screws inside with the Phillips #0 screwdriver. There will be three screws.
-
-
-
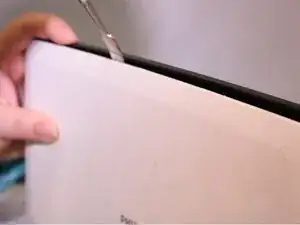
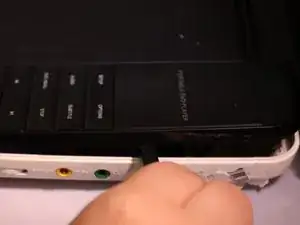
Start removing the inside black face plate of the player by using a prying method between the white outer housing and the black face plate with a metal spudger.
-
Pull the black face plate off once you have pried it from the white housing. The bottom inside layer should pop off.
-
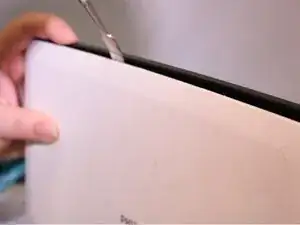
Using the same prying method with the metal spudger, start prying off the screens white outer housing.
-
-
-
The light panel on the front can just pop right off.
-
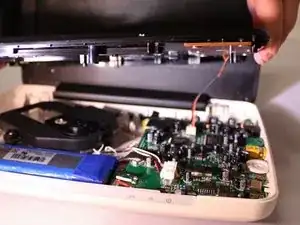
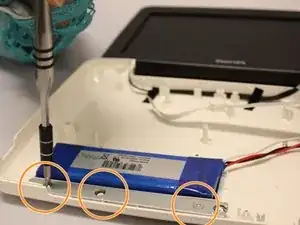
To remove the metal bar against the battery, unscrew the screws with the phillips #0 screwdriver.
-
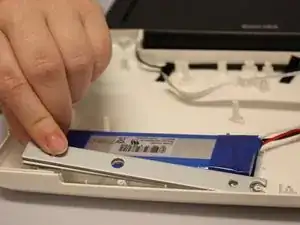
After unscrewing you can just lift the metal bar off.
-
To reassemble your device, follow these instructions in reverse order.



Can you provide one for the bad motor and how to fix the problem. Please, email me at syaiugligs@gmail.com when you have the guidelines available.
Thank you!
Sylvester Yaiuglig -
The screws on the top of the screen and bottom are not necessary
grace nicosin -