Einleitung
Werkzeuge
-
-
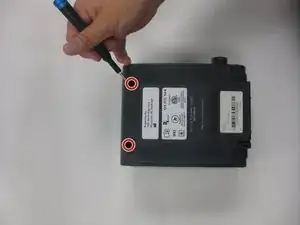
Turn the device upside down so that the rubber feet are facing you.
-
Use the TR15 screw head to remove the two 46.5mm length crews located on the back.
-
-
-
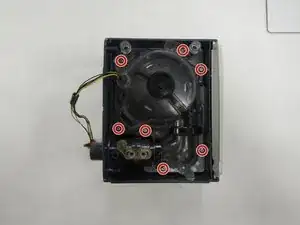
Using a Torx TR10 screwdriver, remove the seven 13.5 mm screws that are securing the inner casing.
-
Remove the inner casing.
-
-
-
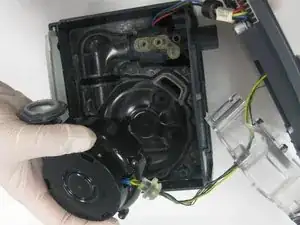
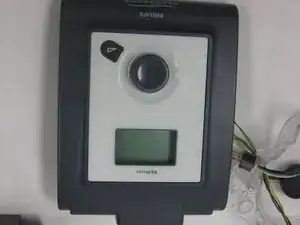
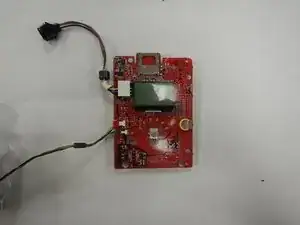
Remove the circular piece by popping it off to separate the circuit board from the top cover.
-
-
-
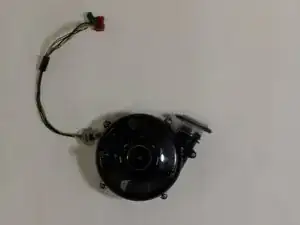
Disconnect the green and red wire connectors from their white connectors to disconnect the blower motor.
-
Abschluss
To reassemble your device, follow these instructions in reverse order.
Ein Kommentar
These steps may be out of sequential order. Step 4 should probably be Step 1 and perhaps some are even missing.
