Einleitung
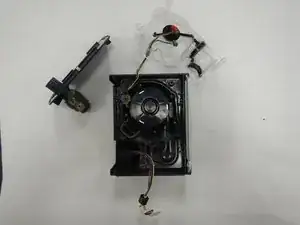
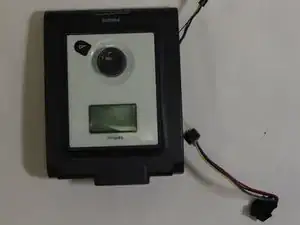
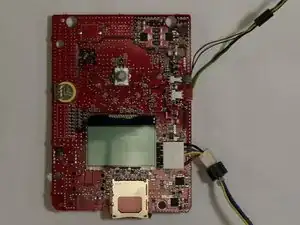
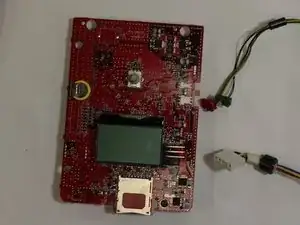
This guide will show you the process of removing the circuit board from the Philips Respironics System One REMstar ventilator. The circuit board controls all of the operations of the device, including critical pressure and volume managements, so it’s key that the board is functioning correctly if the device is in use on a patient. Be sure to run thorough diagnostics tests on the device after a replacement has been made to ensure the device is functioning as intended.
Werkzeuge
-
-
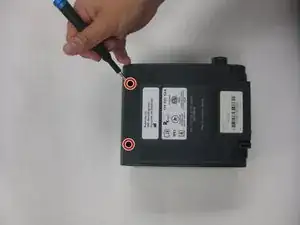
Turn the device upside down so that the rubber feet are facing you.
-
Use a Torx TR15 screwdriver to remove the two 46.5mm screws located on the back.
-
-
-
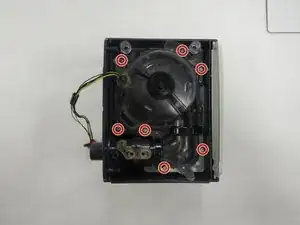
Using a Torx TR10 screwdriver, remove the seven 13.5 mm screws that are securing the inner casing.
-
Lift out the inner casing.
-
-
-
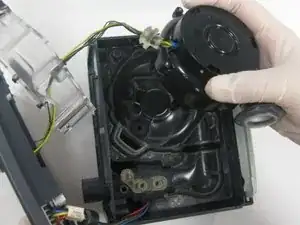
Remove the side panel by lifting it up out of the base.
-
Remove the grouped wire and wire connector.
-
-
-
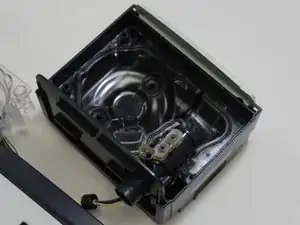
Remove the circular piece by popping it off to separate the circuit board from the top cover.
-
-
-
Separate the green, red, and white wire connectors from their connections on the circuit board.
-
To reassemble your device, follow these instructions in reverse order.
Ein Kommentar
Do you happen to have a part number or link for replacement pcb?
