Einleitung
The optional internal backup battery protects the ventilator from low, or failure of, AC power. If AC power fails, the ventilator automatically switches to operation on backup battery with no interruption in ventilation. The battery powers the ventilator until AC power is again adequate or until the battery is depleted. The 4.4-V, 11.5-Ah lithium-ion battery has a run-time of at least six hours under normal conditions.
PLEASE NOTE: This repair guide was developed by the iFixit team based on Philips's own service manual. Neither iFixit nor this repair guide is endorsed by or affiliated with Philips.
Replacing the battery is discussed in:
- chapter 5-4 “Preparing for ventilation - About the optional backup battery” of user manual
- appendix A-3 “First-time installation - Installing the optional battery” of user manual
- chapter 7.3 “Component Removal/Installation - Internal Battery” of service manual
Werkzeuge
-
-
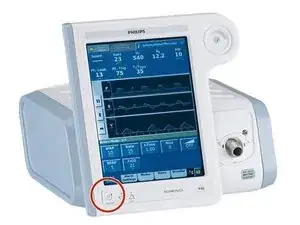
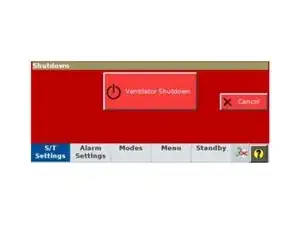
Press and release the ON/Shutdown key, opening the Shutdown window in the screen.
-
Select Ventilator Shutdown, which will shut down the ventilator.
-
-
-
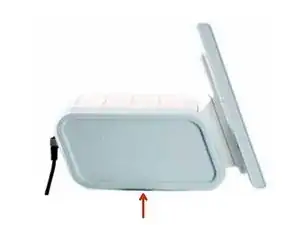
The battery is located behind the left side panel of the device.
-
Remove the side panel by turning the captive Phillips head fastener a 1⁄4 turn and releasing.
-
-
-
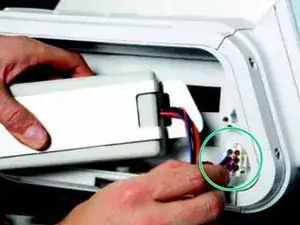
Disconnect the battery cable by pinching the battery connector and pulling it out.
-
Remove the battery and bracket.
-
Holding the battery so that the vent hole faces up and the Philips logo faces out, thread the battery cable through the battery bracket. Position and place the battery inside the battery compartment.
-
Pinching the end of the battery connector, plug it in so that it locks in place.
-
-
-
Reinstall the battery bracket by fastening the two screws with the 3mm hex key.
-
Reinstall the side panel and secure the fastener with a 1⁄4 turn clockwise.
-
-
-
Connect the ventilator back to the AC power.
-
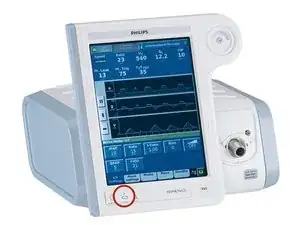
Make sure the battery is properly installed by verifying that the yellow Battery (charged) LED on the front panel flashes. The flashing LED indicates the battery is being charged.
-