Einleitung

This guide will walk you through step-by-step on how to properly remove and install the optical drive in the PlayStation 2 Slimline.

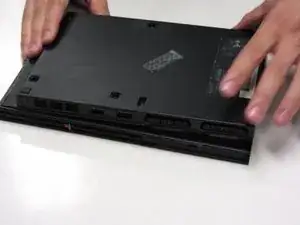
    • Turn off the PlayStation 2 and carefully unplug it from the power source. Also, it is important to eject the CD from the console before flipping the it upside down.

  1. rrxNCIoAMHJAQYbe
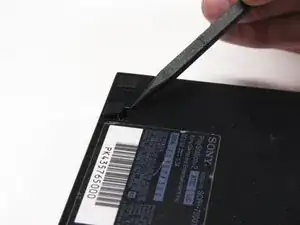
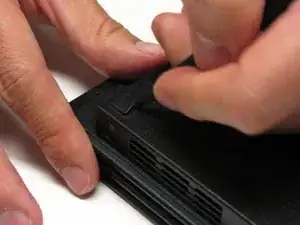
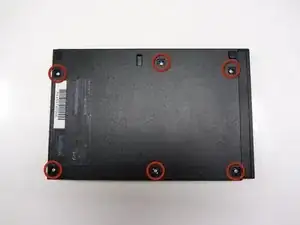
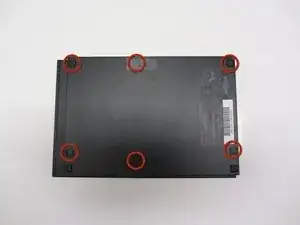
    • Locate the six feet on the bottom of the PS2.

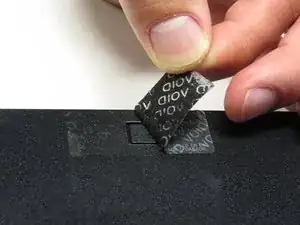
    • Five of these feet are in plain sight while the last foot is located under the black void sticker on the back of the device.

    • Some versions of the console, such as the PAL Version, may not have this sticker. In this case, the foot or the screw should be in plain sight.

  2. XQThRiIVRdtfUQao
    XQThRiIVRdtfUQao
    CePSemaKYMndK2lE
    xRGCV3jyVnRXsExG
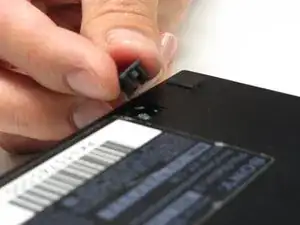
    • Remove the five visible feet from the bottom of the device using a spudger.

  3. TyDcmOhovTXCtDUV
    TyDcmOhovTXCtDUV
    3FwDx6oGEXcqdp5D
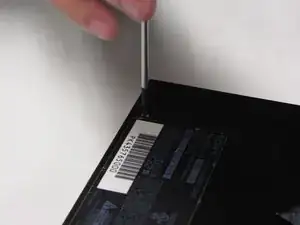
    • Remove the sticker and then remove the 6th foot.

  4. VSZUQRQLZhPX3K3r
    VSZUQRQLZhPX3K3r
    IqZSVQMBAt61xeun
    FS61tBC1AeuAIULo
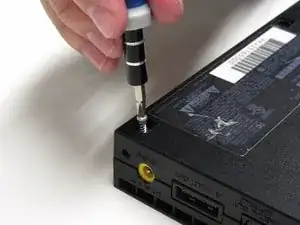
    • After all of the feet have been removed, Use a Phillips #1 screwdriver to remove the six 4.0mm screws from the base of the PS2.

  5. yKUm3LR1HlJljbpB
    yKUm3LR1HlJljbpB
    ANm1oOasZFjwWdIy
    aTKEotTNmoZOBNdi
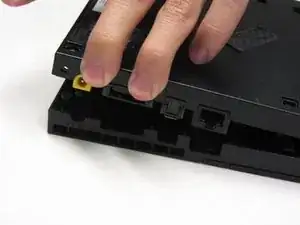
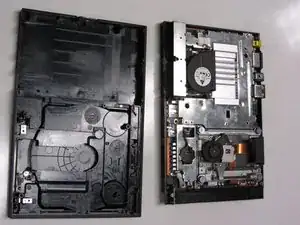
    • Once all of the screws have been removed, pry apart the plastic covers. Start by lifting the side containing the power cable and Ethernet port. Then, lift the opposite side to fully separate the two sides.

    • You may need to apply some gentle force to detach the covers. Be careful not to break the plastic screw pins.

    It took force to open it, but i broke a plastic pin where the screws enter

    Vasco Mateus -

    You can use a pick to get the thin edge up without breaking anything.

    Mira Mogzec -

  6. TlVTEuM4vBKmcycD
    • If done correctly, you should have a fully detached plastic backing, revealing the electronic components of the PlayStation 2.

  7. bJDswokALugTiESO
    bJDswokALugTiESO
    PpqMnSwdS5hgVGIT
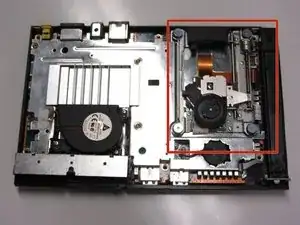
    • Locate the optical drive on the motherboard.

  8. rXRCXGfhofpIKLpA
    rXRCXGfhofpIKLpA
    xZpKpQjIMHwm6ZoI
    ZkliX1EUGTIJrEI2
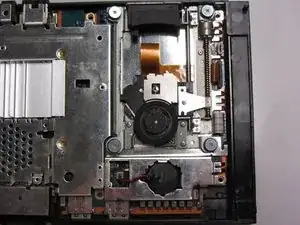
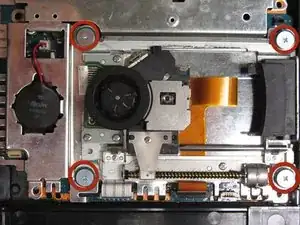
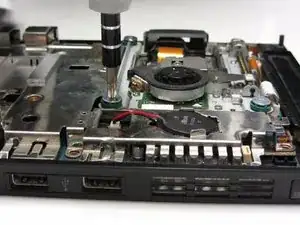
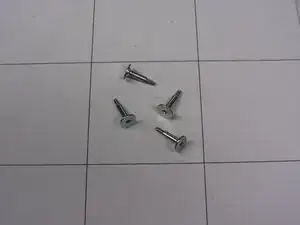
    • Unscrew the four 4.0mm screws that mount the optical drive to the motherboard.

  9. HAsbLXH2A3idQIp1
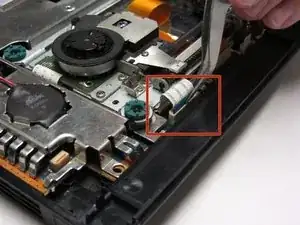
    • Locate the three ribbons that are attached to the motherboard.

    • Note: These ribbons are different sizes: one large, one medium and one small sized ribbon.

  10. EXIHQyLWFVR1NcX4
    EXIHQyLWFVR1NcX4
    l5TACcoOID5nQAof
    thSOPZEE1W2hp6NY
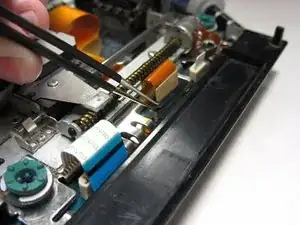
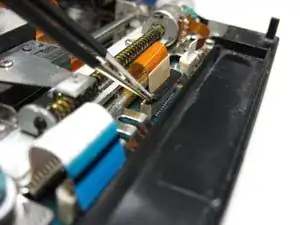
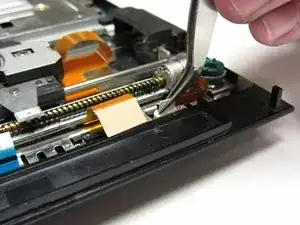
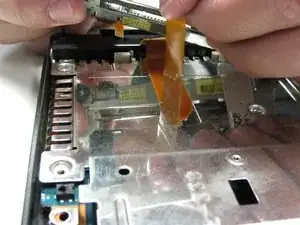
    • Using tweezers, gently detach all three ribbons from the motherboard terminal. Unlock the middle orange ribbon to lift the black tab up on either side.

    • IMPORTANT: The orange ribbon is glued to the metal chassis. Gently pull the ribbon upward to make sure that you don't rip it.

  11. EPrdUueOYl3aiStF
    EPrdUueOYl3aiStF
    ZhUNbAlMVcw2jL1G
    QxUIBCLGUpDHHCle
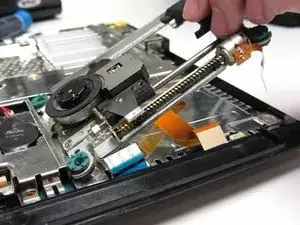
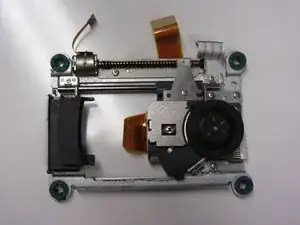
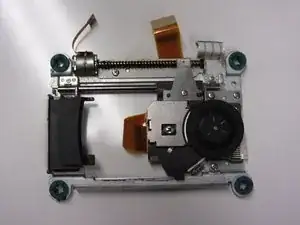
    • Gently lift the optical drive away from the motherboard.

Abschluss

To reassemble your device, follow these instructions in reverse order.

Jared Hirata

Mitglied seit: 10/04/13

681 Reputation

Ein Kommentar

I think that if the entire disc drive, assembled with a simple click in connection, would be much easier and faster.
Fernando Salazar -