Einleitung
The guide will show users how to remove the laser lens of the PlayStation 3 Super Slim. By showing the removal of the correct screws and cables, the guide will be able to give users the ability to remove their optical drive from its enclosure. After removing the optical drive, The user will open up the optical drive to be able to remove the laser lens. This allows for the replacement of a component of the PlayStation 3 Super Slim that reads the Blu-Ray discs.
Werkzeuge
-
-
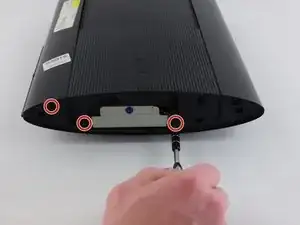
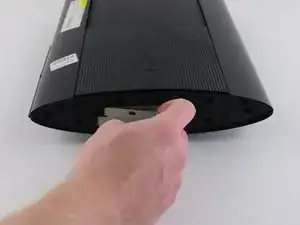
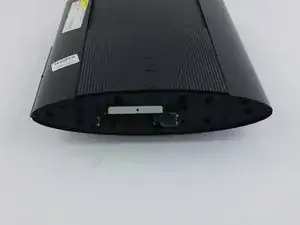
Remove all three black 9.8mm long screws with a T-8 security screwdriver.
-
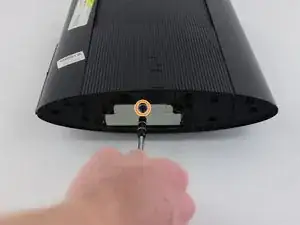
Remove the blue 7.9mm long screw with a Phillips #1 screwdriver.
-
-
-
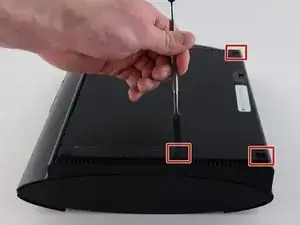
On the bottom of the device, pry out the three rubber feet covers with the metal spudger.
-
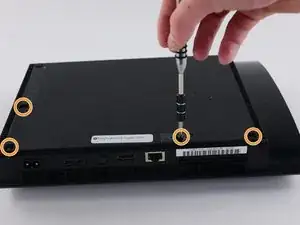
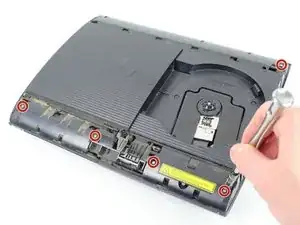
Remove the four black 36.3mm long screws underneath with a Phillips #1 screwdriver.
-
-
-
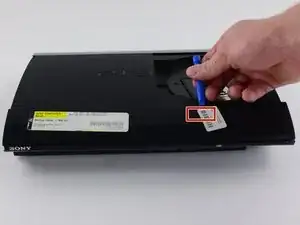
On the top of the device, unlatch the hook on the furthest right beneath the front panel, lift the panel slightly and apply pressure.
-
Unlatch the second right-side hook by sliding a plastic opening tool in the marked area.
-
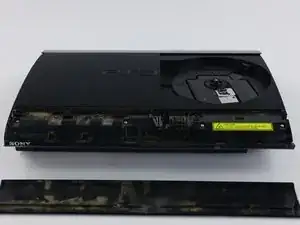
Slide the panel to the left to unlatch the rest of the hooks.
-
-
-
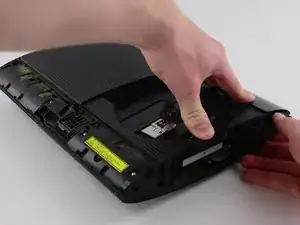
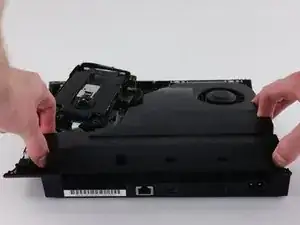
Remove the back panel by pressing down the tab on the right side of the device, and sliding the panel to the left.
-
-
-
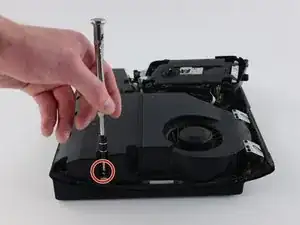
Remove the five silver 20.8mm long screws with a Phillips #1 screwdriver.
-
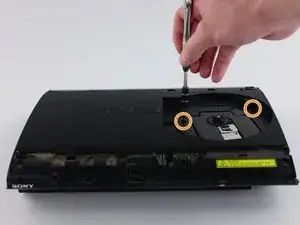
Remove the two black 9.9mm long screws in the disc reader with a T-8 security screwdriver.
-
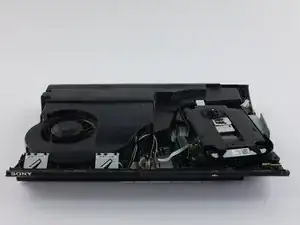
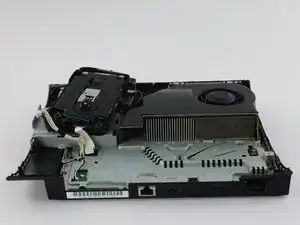
Remove the top black plastic shell.
-
-
-
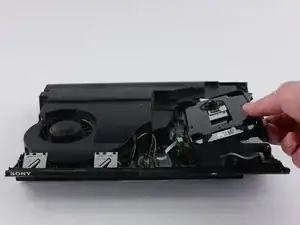
Move the optical drive to the side to reveal one of the silver 8.8mm long screws.
-
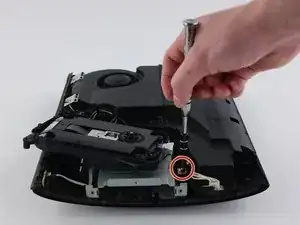
Remove the two silver 8.8mm long screws on either side with a Phillips #1 screwdriver.
-
-
-
Remove the cable from the plug and remove the wires from the two plastic hooks.
-
Remove the power supply unit.
-
-
-
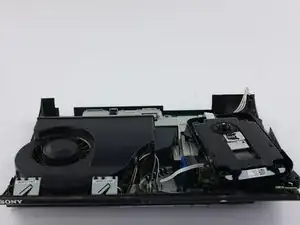
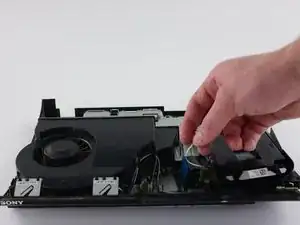
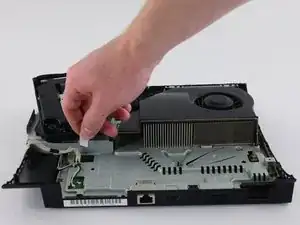
Remove the front white flex-ribbon cable by pulling upward from its base.
-
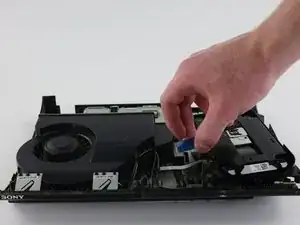
Remove the black and blue flex-ribbon cable behind it by pulling upward on the black tab, then pulling out the cable.
-
-
-
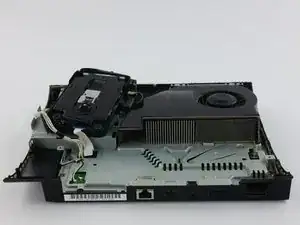
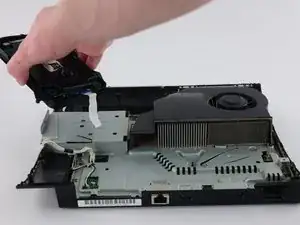
Rotate the device 180 degrees.
-
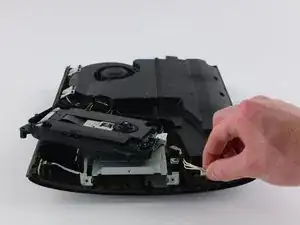
Remove the back white flex-ribbon cable by pulling upward from its base.
-
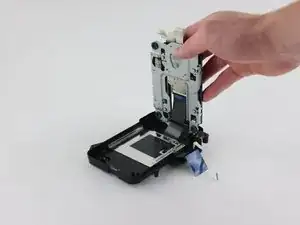
Remove the optical drive.
-
-
-
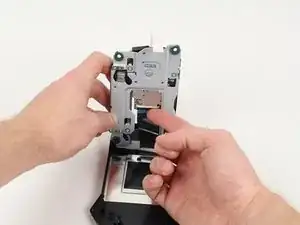
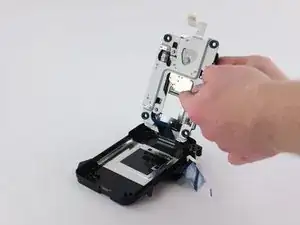
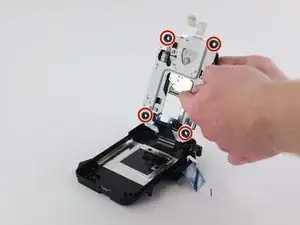
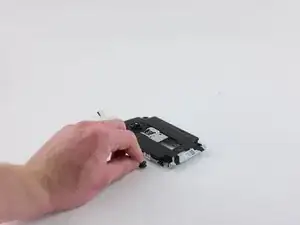
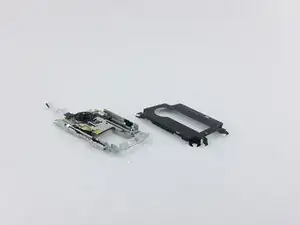
Lift up the free end of the laser lens to separate the two layers.
-
On the bottom of the laser lens, flip up the black plastic latch to remove the flex ribbon cable.
-
To reassemble your device, follow these instructions in reverse order.
5 Kommentare
so i did follow this to a tee and not only does the laser not want to work but it keeps makeing this buzzing sound whenever the disk tray is closed
is there something i might be doing wrong
Very Good but please show us how to remove lens only
wtersad -
like the video,
Where is the parts purchased from?
Thanks Joe
Laser is KEM-850a. You can order them from ebay. gamesunlimited and ep game supply are good stores. You can also order these from groupvertical.com or sourcleyplus.com

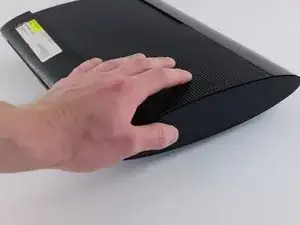
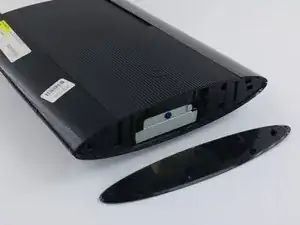
Just wanted to add: the HDD bay cover isn't on the right all the time, it varies with each unit. The side without the rubber PS logo is the bay cover.
Yash -