Einleitung
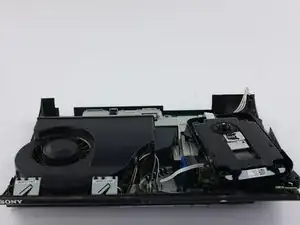
This guide starts with the process of opening up the Playstation 3 Super Slim and moves on to remove the optical drive in its entirety. If your PlayStation 3 Super Slim is not reading disks properly or you know that the problem with your device is due to a faulty optical drive, consider following these steps to replace it. Before following the steps to replace the optical drive, be sure that you have all the correct tools necessary, enough time to do the job carefully, and an uncluttered and clean workspace. When following the steps, make sure that you read them carefully and do not put too much pressure on the various parts of your device so that they do not break. Good luck with the replacement process and take your time!
Werkzeuge
Ersatzteile
-
-
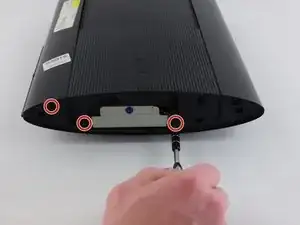
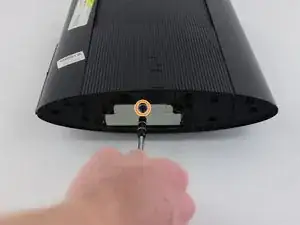
Remove all three black 9.8mm long screws with a T-8 security screwdriver.
-
Remove the blue 7.9mm long screw with a Phillips #1 screwdriver.
-
-
-
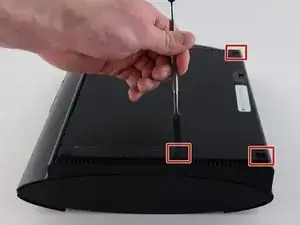
On the bottom of the device, pry out the three rubber feet covers with the metal spudger.
-
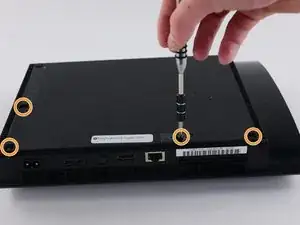
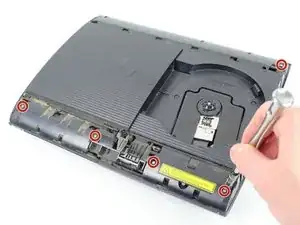
Remove the four black 36.3mm long screws underneath with a Phillips #1 screwdriver.
-
-
-
On the top of the device, unlatch the hook on the furthest right beneath the front panel, lift the panel slightly and apply pressure.
-
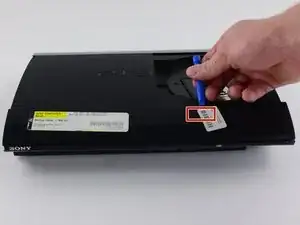
Unlatch the second right-side hook by sliding a plastic opening tool in the marked area.
-
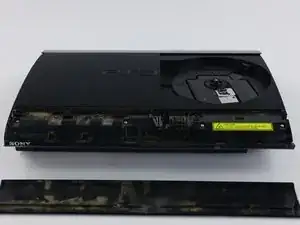
Slide the panel to the left to unlatch the rest of the hooks.
-
-
-
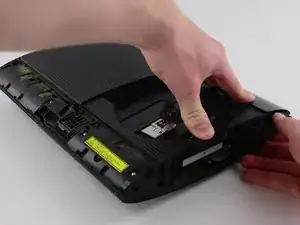
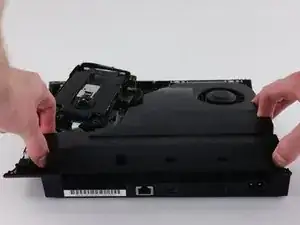
Remove the back panel by pressing down the tab on the right side of the device, and sliding the panel to the left.
-
-
-
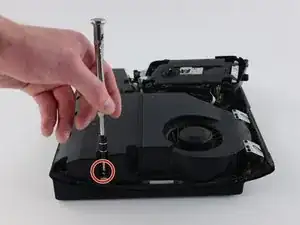
Remove the five silver 20.8mm long screws with a Phillips #1 screwdriver.
-
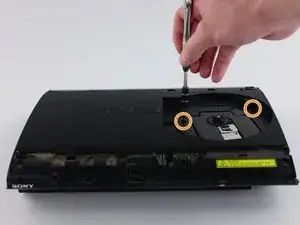
Remove the two black 9.9mm long screws in the disc reader with a T-8 security screwdriver.
-
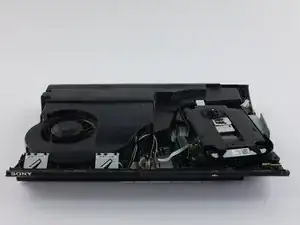
Remove the top black plastic shell.
-
-
-
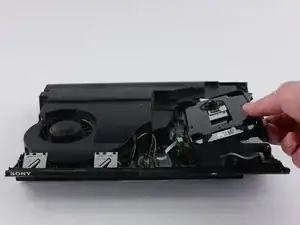
Move the optical drive to the side to reveal one of the silver 8.8mm long screws.
-
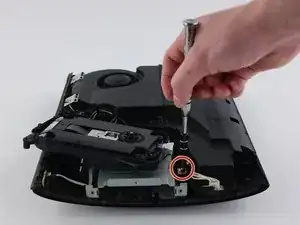
Remove the two silver 8.8mm long screws on either side with a Phillips #1 screwdriver.
-
-
-
Remove the cable from the plug and remove the wires from the two plastic hooks.
-
Remove the power supply unit.
-
-
-
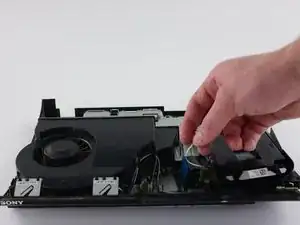
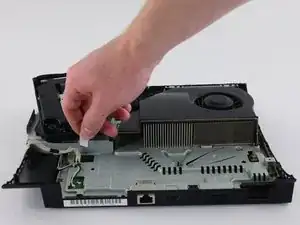
Remove the front white flex-ribbon cable by pulling upward from its base.
-
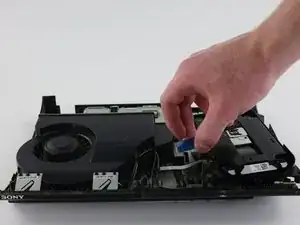
Remove the black and blue flex-ribbon cable behind it by pulling upward on the black tab, then pulling out the cable.
-
-
-
Rotate the device 180 degrees.
-
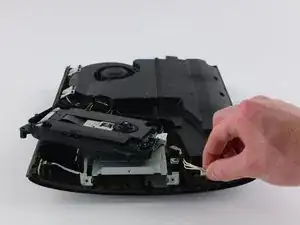
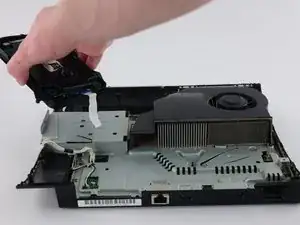
Remove the back white flex-ribbon cable by pulling upward from its base.
-
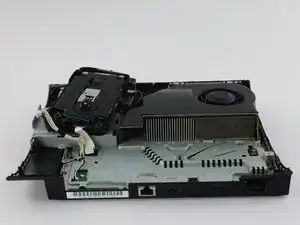
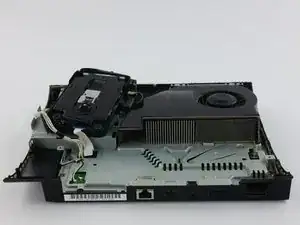
Remove the optical drive.
-
Install the replacement optical drive. To reassemble your device, follow these instructions in reverse order.
5 Kommentare
It might be useful to have pictures of the super slim too since it’s in the title. I’m referring to CECH-3xxx / 4xxx mostly because the shell and disassembly looks a bit different. Great guide all the same. Thanks!
Hi i have a Question
I change the Optical Drive on my PS 3 Super Slim Named KEM850 PHA KES850 .But the new drive only play DVD not Blueray Game or Movie
An update was made without drive on board connected .can be this the problem. how can i fix them
Please Help
s
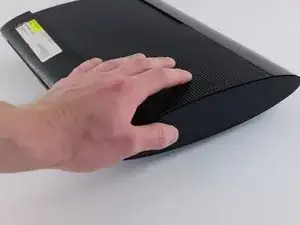
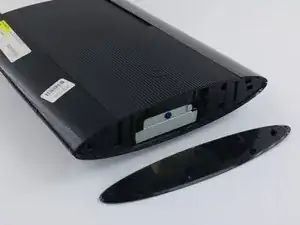
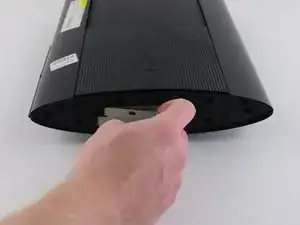
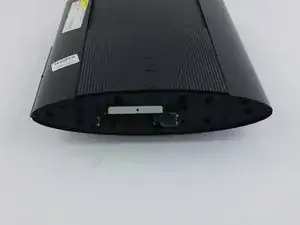
Just wanted to add: the HDD bay cover isn't on the right all the time, it varies with each unit. The side without the rubber PS logo is the bay cover.
Yash -