Einleitung

However, the Sony engineers also included a thermal pad to aide heat transfer in their design. These thermal pads can be worn out with excessive use, or severe overheating events. After this, it is best to replace the pads to keep the device performing optimally.

  1. B3TPuKdxuRb6aQkh
    B3TPuKdxuRb6aQkh
    tmUbbiMvL1FbGrbZ
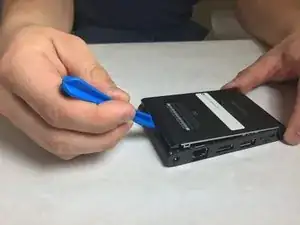
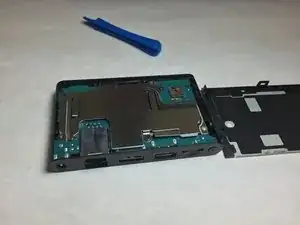
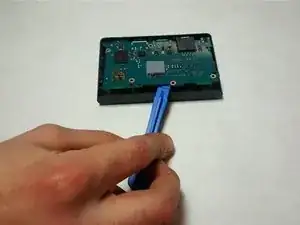
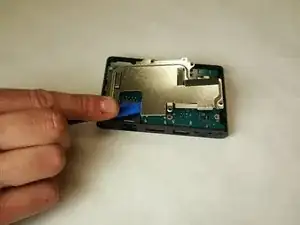
    • Use the plastic spudger to pry up the bottom piece of the case to release the clips.

  2. gLpHhPsJ2NZ6Y4Br
    gLpHhPsJ2NZ6Y4Br
    5ouphDpIPUkKV2fJ
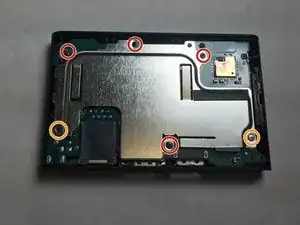
    • Remove the four 6 mm Phillips screws.

    • Remove the two Phillips #0 screws.

  3. UIWLFR3Sh54QABu1
    UIWLFR3Sh54QABu1
    nLKApqqdJSJGpsTB
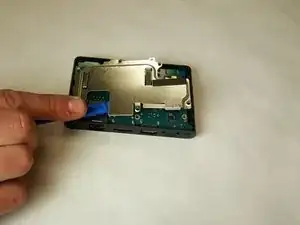
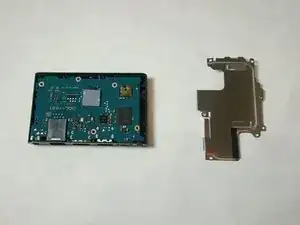
    • Remove the heat shield using the plastic opening tool.

    • Slide the tool around the edges until the shield is free.

  4. LMyr4AJpVkjBOpUQ
    LMyr4AJpVkjBOpUQ
    YntOfju1MXsTAJ1X
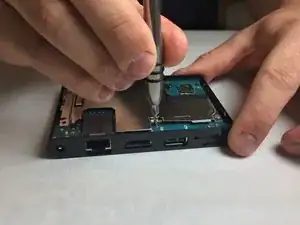
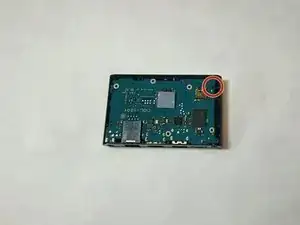
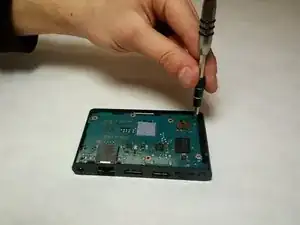
    • Remove the last 6mm Phillips #0 screw from the motherboard.

  5. tFsgXTdH2UaBRqIH
    tFsgXTdH2UaBRqIH
    C4icg2xRQaVJFHZF
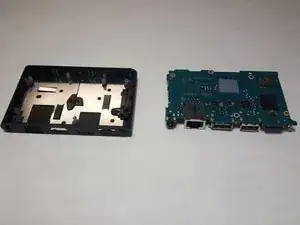
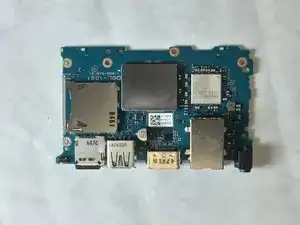
    • Use a plastic opening tool to pry up gently on the motherboard, and remove it.

  6. ip3AYvEvyZUVeoLx
    ip3AYvEvyZUVeoLx
    JYuGajg3rfFHANYK
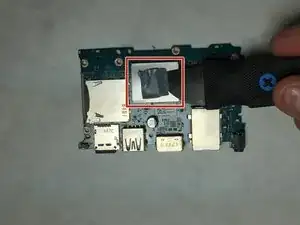
    • Remove the old thermal pad with an ESD safe tool, like a Jimmy.

  7. EYWnPFj1yeOqveR5
    EYWnPFj1yeOqveR5
    KIswQVUvkK2IBPkH
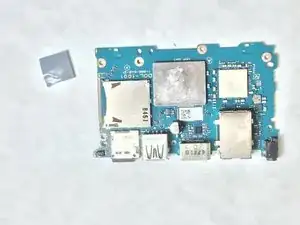
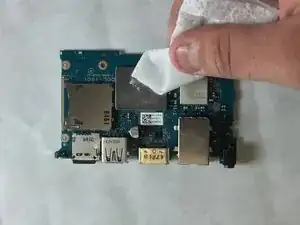
    • Wipe down the area where the old thermal pads were located with rubbing alcohol.

    • It is important that the area be as clean as possible.

Abschluss

To reassemble your device, follow these instructions in reverse order.
Theodore Hesse

Mitglied seit: 22/01/16

145 Reputation

2 Kommentare

Photos for steps 6 through 9 will be posted soon!

Luk Davis -

Do you replace the thermal pad? Your directions do not state where to do this, and if so what part and size do you recommend?

Daimonion -