Einleitung
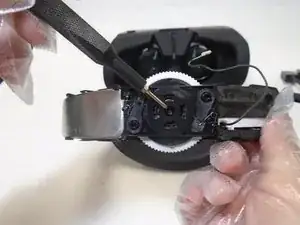
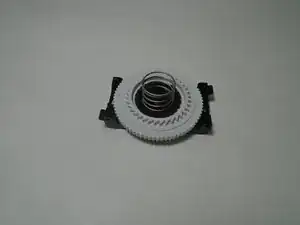
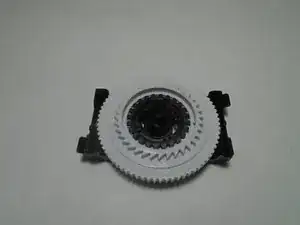
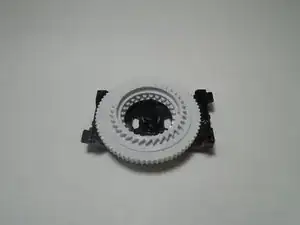
Over long periods of time and use, the manual adjustment wheel for the PlayStation VR headset can wear and the teeth can dull. This guide will assist with replacing the mechanical adjustment wheel for the PlayStation VR headset using basic household tools. While this project doesn't require a lot of tools, it does require a delicate touch when working with the headband and plastic tabs. If you are too rough with these parts they can become damaged and will require more maintenance.
Werkzeuge
-
-
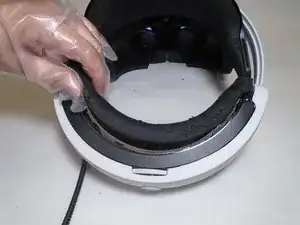
Use your hands to remove the foam piece in the headband.
-
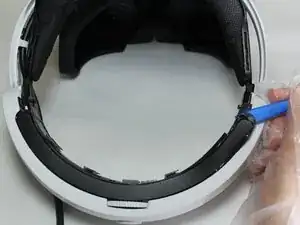
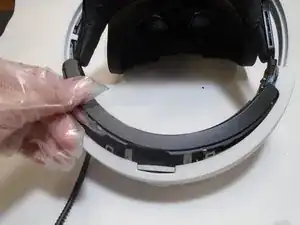
Use the iFixIt Opening Tool to pry the top and bottom trim pieces off of the rear band assembly.
-
-
-
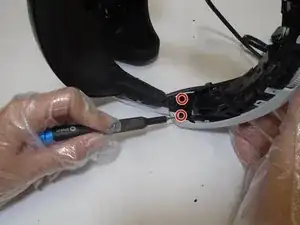
Remove a total of four 5 mm screws from inside the left and right sides of the headband using a Phillips #00 screwdriver.
-
-
-
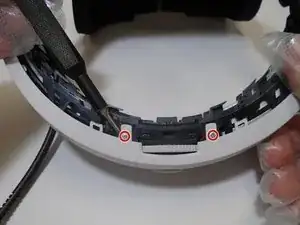
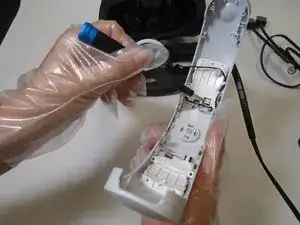
Remove three silver 5 mm screws that are securing the rear white cover of the band using a Phillips #00 screwdriver.
-
-
-
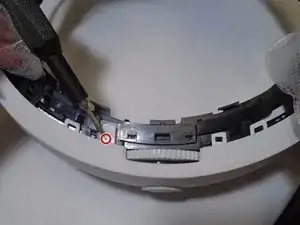
Remove the 6 mm screw from the retainer securing wires to the rear band assembly using a Phillips #00 screwdriver.
-
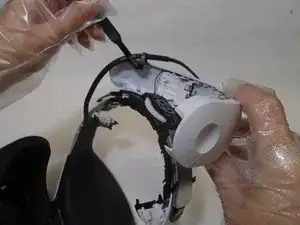
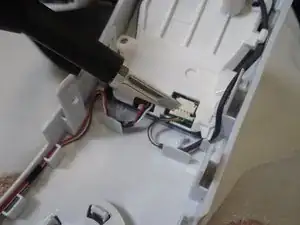
Use a spudger to flip up the retaining flap connected to the rear LEDs.
-
-
-
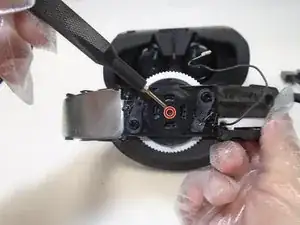
Remove the single 5 mm screw from the center of the headband adjuster using a Phillips #00 screwdriver.
-
-
-
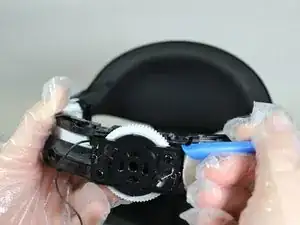
Disassemble the adjuster assembly spring, small gear, large gear, and bracket in order to replace the broken component.
-
To reassemble your device, follow these instructions in reverse order.
