Einleitung

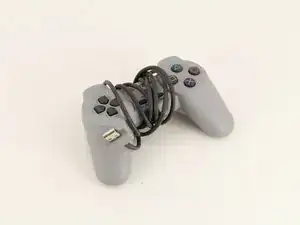
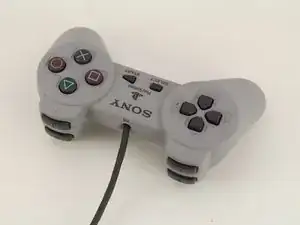
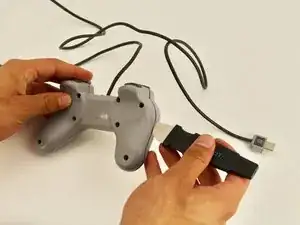
This guide will demonstrate how to replace the controller cord for a Playstation Classic Controller. You should only need a Phillips #0 Screwdriver and optionally the Jimmy tool.

  1. K2JKMIIiDYXk5TT6
    K2JKMIIiDYXk5TT6
    KABdPI4dlCdhjcSE
    HVkDHjlOeLKF3iDk
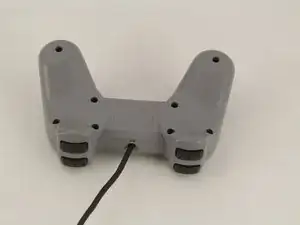
    • Turn the controller over so that the screws are facing up.

  2. 3UDYQvQplXGyVRRq
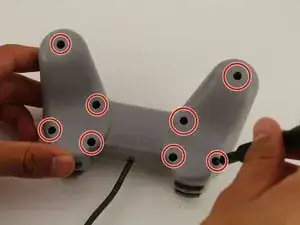
    • Use a small Phillips #0 screwdriver to remove the eight Xmm screws.

    • Make sure to store the screws in a safe place so they are not lost before reassembly.

  3. OWbJqsaMqoYMQUjT
    OWbJqsaMqoYMQUjT
    eoJQcqaJfh5TqI42
    CrJX33hC3MsnX1ao
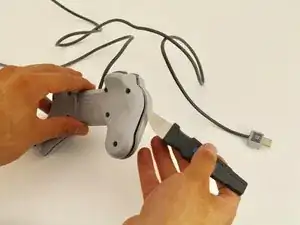
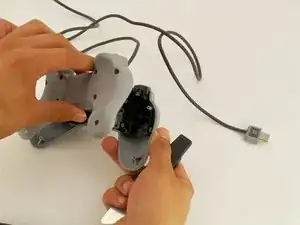
    • Use the Jimmy tool to take the back part off and get into the controller.

    • It shouldn’t take too much force to remove the back part. Make sure all screws are taken out beforehand so you avoid hurting yourself or damaging the controller.

  4. TjGGyqDqGtstn6ZR
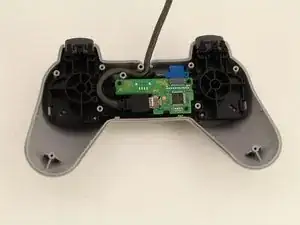
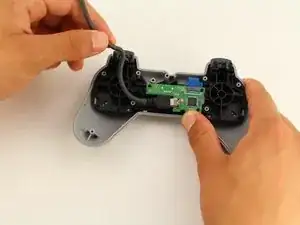
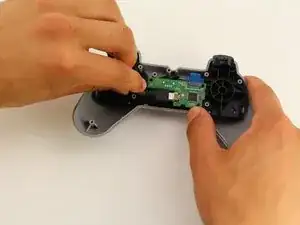
    • You will notice that the controller cord is plugged into a Micro USB port on the controller motherboard.

  5. EmAHMTSmuknhxbc5
    EmAHMTSmuknhxbc5
    NqmiD6KdcUrKvAOZ
    vntmHKPqZt4MNmmX
    • To unplug the cord from the controller motherboard, carefully take the cord out from in between the small pegs that it is nestled into.

    • When unplugging the cord, hold the controller so that no significant pressure is being applied to the motherboard that will damage it.

Abschluss

To reassemble your device, follow these instructions in reverse order.

Maxwell Webb

Mitglied seit: 22/04/19

631 Reputation

2 Kommentare

Will this fix the controller being unresponsive?

Jamal Saeed -

maybe but It depends

enrique bengaura -