Einleitung

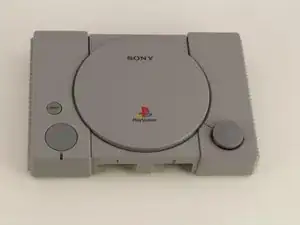
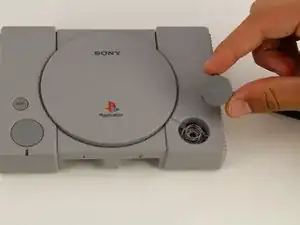
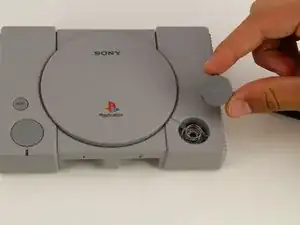
This guide will show you how to replace the “Open” button on the PlayStation Classic.

  1. fMXgckYPW1Xa4pB3
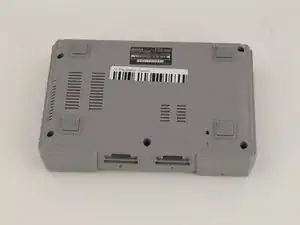
    • Flip the console so its back is facing up.

  2. UoKRAM2Oc2Sghrql
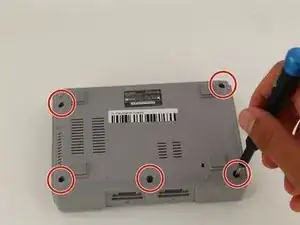
    • Remove the five 3mm screws using the Phillips #00 screwdriver.

    • Make sure to keep your screws together in a secure location to avoid misplacement.

  3. Z6P2MjH1L3H6pxJS
    Z6P2MjH1L3H6pxJS
    3MSJbBLh3UKv6SJm
    MMBXgBKdgAoKBxNy
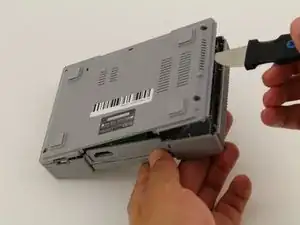
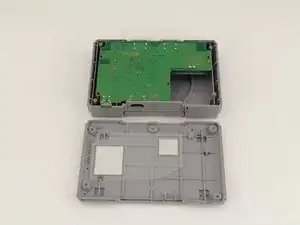
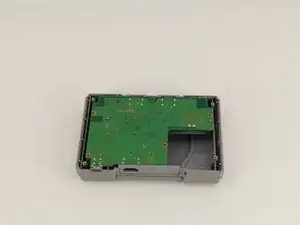
    • Remove the back plate from the rest of the console using your hands or the Jimmy tool.

  4. dEnf2ksem4lYZDg2
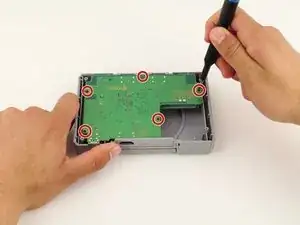
    • Unscrew the motherboard's five 3mm screws with the Phillips #00 screwdriver.

    • Be careful not to apply too much force. The motherboard is flimsy and easy to break.

    • Keep track of your screws once they are removed.

  5. NnWJhN5EQeWjKNMl
    NnWJhN5EQeWjKNMl
    NQ2evRTVFPbhsXOQ
    KN4KgHJ2eetLjDTP
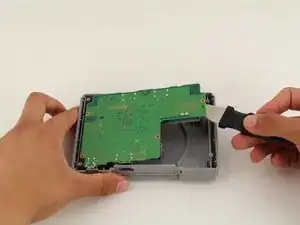
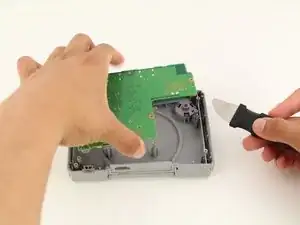
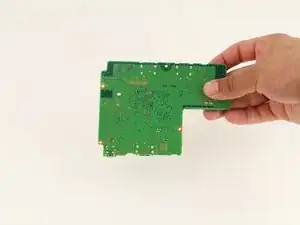
    • Carefully remove the motherboard from the the rest of the console using your hands or the Jimmy tool.

  6. nbyCgitMygRci3IT
    nbyCgitMygRci3IT
    DtIS3yhyjDTB5Ynj
    emRYo5ORndGmrFSh
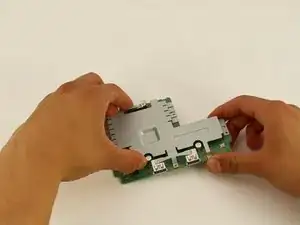
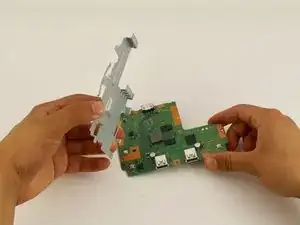
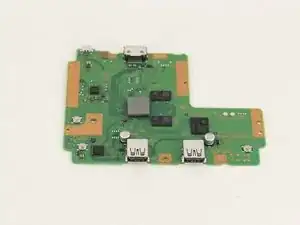
    • The motherboard is connected to its metal protective casing with sticky pads. No tools are required to remove it.

    • Pull the metal casing off the motherboard.

    • Remember to be gentle when handling the motherboard.

    Alguien sabe repara puertos USB no me reconoce nada ni los controles

    Juan Abraham Avila Yampey -

  7. SBtkDZO2ngVMcGe5
    SBtkDZO2ngVMcGe5
    YRuhWlNKBPKblyLG
    cbn4xsFiunMaMbBM
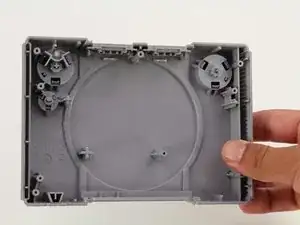
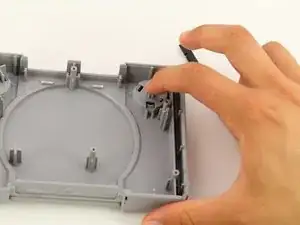
    • Remove the motherboard using the previous guide and isolate the top shell of the casing.

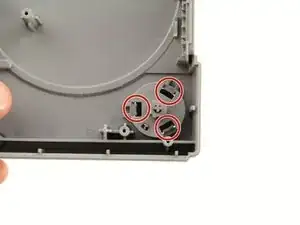
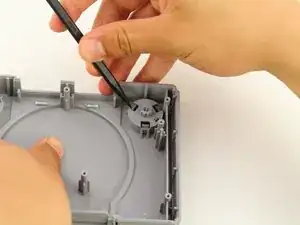
    • Use the Spudger to apply pressure inwards on the three plastic clips highlighted in the red circles.

  8. 4iFIw5BBFeJMGUYS
    4iFIw5BBFeJMGUYS
    rpabUDS5IqmIPNeu
    PqrUlOR2FGDmWC2q
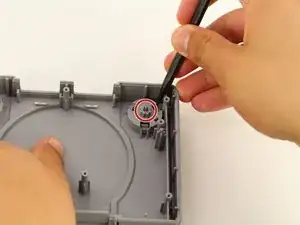
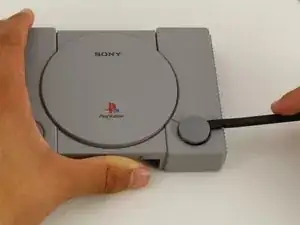
    • After all three clips are pushed in, apply pressure on the cylindrical piece circled in red.

    • Push softly on the button till a small gap is created on the other side.

    • You are not trying to fully remove the Open Button in this step.

  9. tgenKuPibjswBPNw
    tgenKuPibjswBPNw
    OuEjqxnAQtSLTv6S
    eqmV3PFrKhoUd1UX
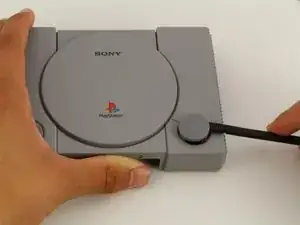
    • Use the black spudger to softly pry out the open button from the top of the casing.

    • Once enough of a gap has been created, use your fingers to grab and slowly remove the open piece.

    • An unrestrained string is under the open button and can fall out easily. To avoid losing the spring, complete this step on a flat surface and be gentle while removing the open button.

Abschluss

To reassemble your device, follow these instructions in reverse order.
Maxwell Webb

Mitglied seit: 22/04/19

631 Reputation

0 Kommentare