Einleitung

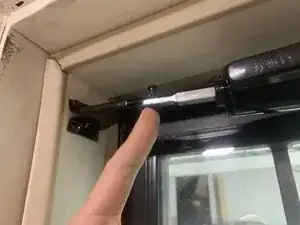
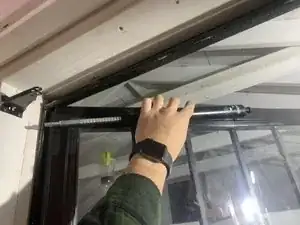
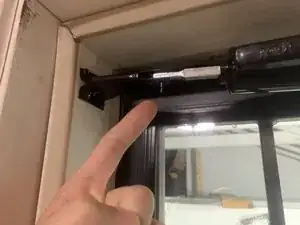
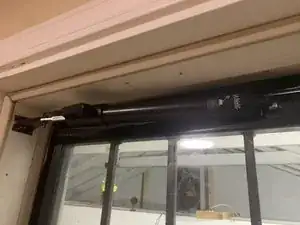
Do you have a door that just doesn’t seem to want to close? Your screen or storm door constantly being left open because the little cylinder up there at the top just isn’t working how it used to? Well if you follow this short guide you will be able to save yourself grey hairs and daily annoyances.

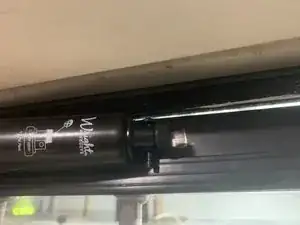
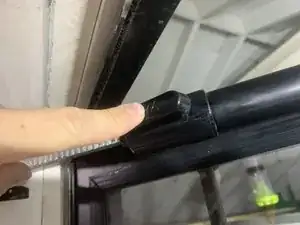
Some call it a “Door Closer” or “Pneumatic door closing cylinder”

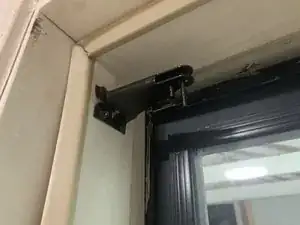
There are several reasons why your door might not be closing, a bent cylinder, twisted or incorrectly placed brackets. We will be addressing the last two of these issues in this guide.

  1. UVmUVuUUdGXPTMhG
    UVmUVuUUdGXPTMhG
    ZaXXAPGvOXIHGH6d
    GIupCu3kTkNjuuAW
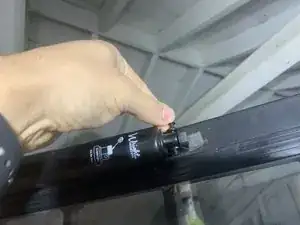
    • Remove the old piston from its current position.

    • Pull out two pins—one on both sides of the piston.

  2. VmAbnlYbMkbf2LsN
    • Unpack your new brackets and piston.

    • Be sure to lay out all the parts to ensure that you have an accurate inventory of all parts.

  3. vPdLGUDY2HdLfDnn
    vPdLGUDY2HdLfDnn
    q5jvWHCgip14ZmKy
    G2NAAYoZ2a14HVGI
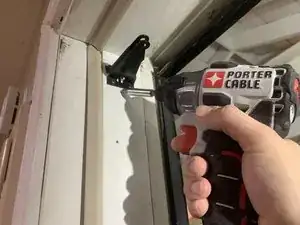
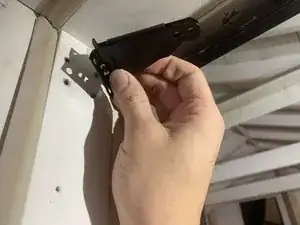
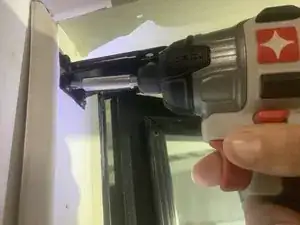
    • Use the cordless drill to remove the old bracket attached to the door trim.

    • Improperly placed brackets can cause the piston to malfunction.

  4. lwETeXbQ1OMmXe43
    lwETeXbQ1OMmXe43
    Ov5cUhX2AvQbrxJk
    ACThFPRqwIFiwRLX
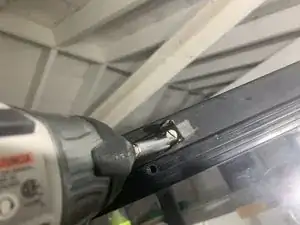
    • Remove the bracket that is attached to the storm door.

    • There are only 1-2 screws holding this one in, being that it is a metal door. These screws are shorter and have a tighter thread pattern.

  5. dUywF5y6j5vdMIWP
    dUywF5y6j5vdMIWP
    TZRg6RpKDwMfBuew
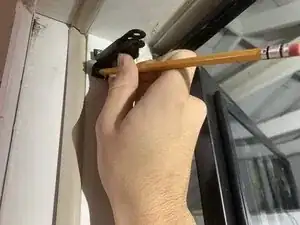
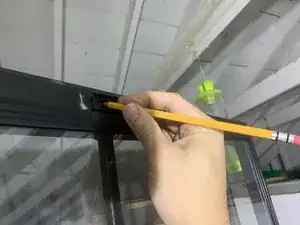
    • Lay out the placement of the new brackets.

    • The template for new brackets can be found in the instruction manuals given with the new hardware. Be sure to pay attention to the type of door it is being installed on.

  6. koCFB5aWSXPblOIS
    koCFB5aWSXPblOIS
    NXBHP55gEVLViKkf
    HFbtPcMhUUYL1bTZ
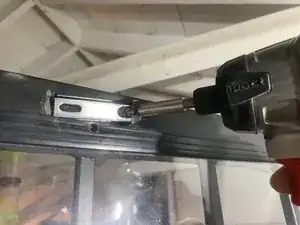
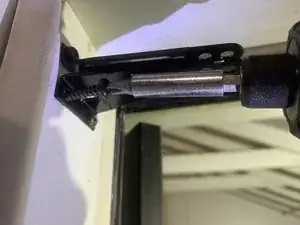
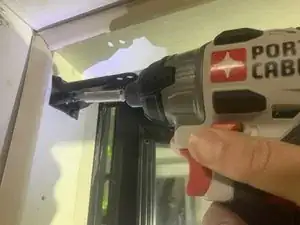
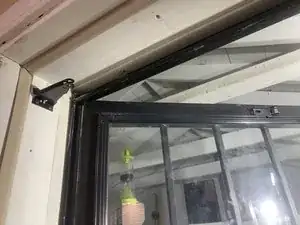
    • Once marked, use a cordless drill with a Philips #2 bit to drive the four 1 1/2" screws into the bracket into the trim.

    • Ensure that the bracket is roughly square to the naked eye.

  7. hZxnxg5kv4GW12k1
    hZxnxg5kv4GW12k1
    IYBgTVuxI21IBKno
    1TctMCODSAEsdgy5
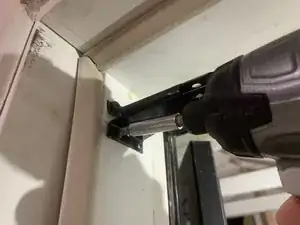
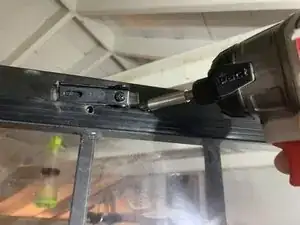
    • Use the cordless drill to attach the smaller bracket to the storm door.

    • Ensure screws are tight but not overtighten to the point the screw head is ruined by the over-torque (otherwise known as being "stripped").

  8. eRVZENGgQlk52Lat
    eRVZENGgQlk52Lat
    sf3XNLLb5xPI1f41
    ZFoiWH1YBQQk2rnq
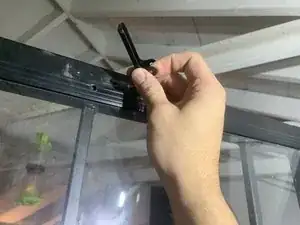
    • Using the two pins that were previously removed, secure the piston to the brackets.

    • The metal arm side is attached to the door trim side.

    • The piston side is attached to the door-mounted bracket.

  9. REppWYJHhJ1PG2nf
    REppWYJHhJ1PG2nf
    ZwygqmQ3S35rseJf
    • Depress the plunger.

    • Open the door as wide as the piston will allow you to.

    • If the steps were followed correctly, the door will shut on its own via the piston!

Abschluss

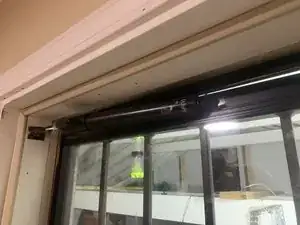
You have now fixed your door and saved your future self countless frustrations and gray hairs!
James Huang

Mitglied seit: 23/09/21

169 Reputation

0 Kommentare