Einleitung
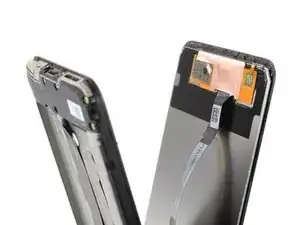
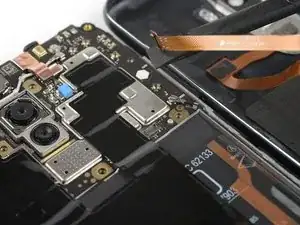
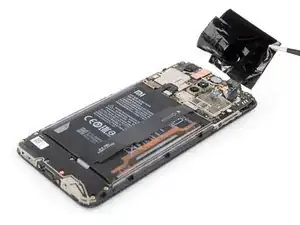
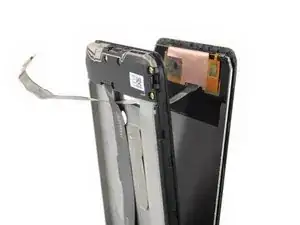
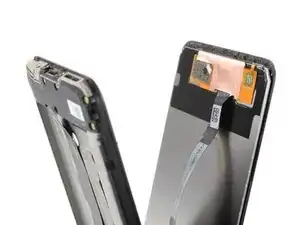
Use this guide to replace a cracked or broken screen on your Xiaomi Pocophone F1.
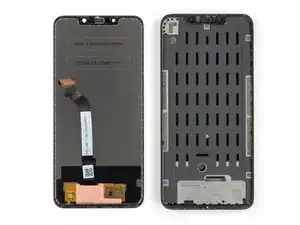
If the frame is deformed, it's important to replace it to make sure the new screen will mount correctly and won’t suffer damage from uneven pressure.
If your battery is swollen, take appropriate precautions. For your safety, discharge your battery below 25% before disassembling your phone. This reduces the risk of a dangerous thermal event if the battery is accidentally damaged during the repair.
In order to remove the Screen & Digitizer you need to remove the battery first. Do not reuse the battery after it has been removed, as doing so is a potential safety hazard. Replace it with a new battery.
Note: This guide instructs you to replace only the screen while leaving the original frame and motherboard in place. However, some replacement screens for this phone come pre-installed in a new frame (a.k.a. chassis), which requires a very different procedure. Make sure you have the correct part before starting this guide.
You’ll need replacement adhesive to reattach components when reassembling the device.
Werkzeuge
-
-
Before you begin, switch off your phone.
-
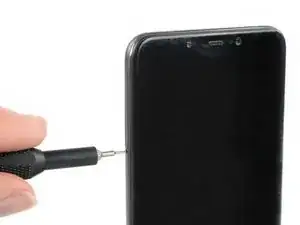
Insert a SIM eject tool or a paperclip into the small hole on the SIM card tray on the left edge of the phone.
-
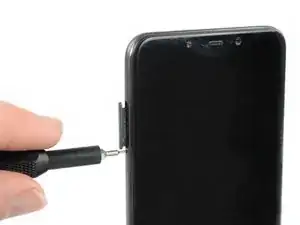
Press firmly to eject the tray.
-
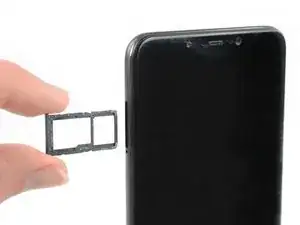
Remove the SIM card tray.
-
-
-
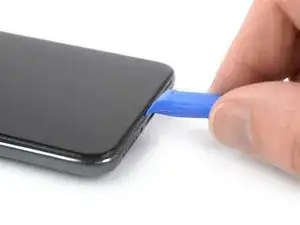
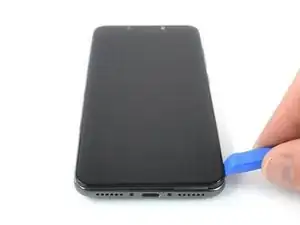
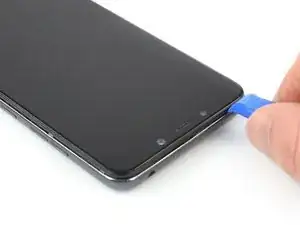
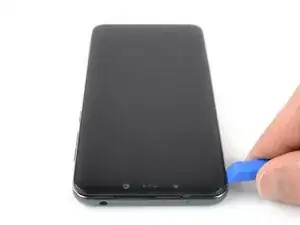
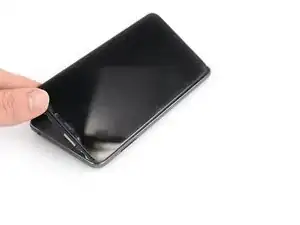
Insert an opening tool between the screen and the back cover at the bottom edge of the screen.
-
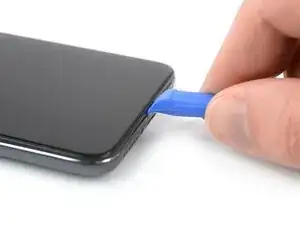
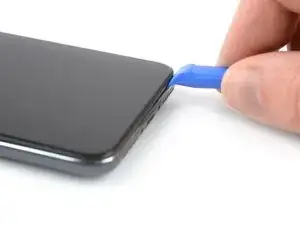
Slide the opening tool to the bottom right corner to release the plastic clips holding the back cover in place.
-
-
-
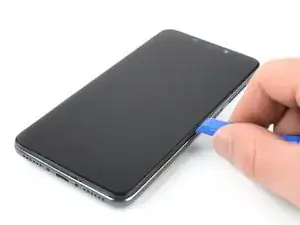
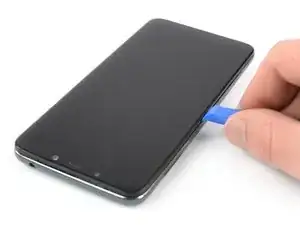
Slide the opening tool around the bottom right corner.
-
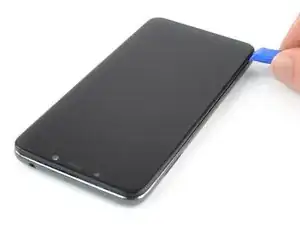
Slide the opening tool along the right edge of the Pocophone F1 to release the plastic clips.
-
-
-
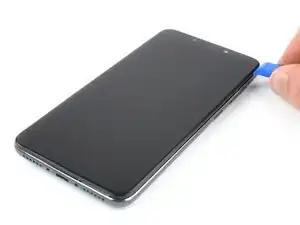
Slide the opening tool along the top edge of the phone to release the plastic clips holding the back cover in place.
-
-
-
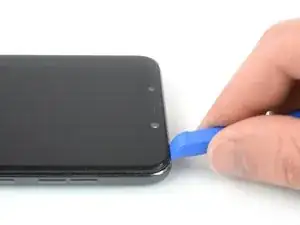
Slide the opening tool along the left edge of the phone to release the remaining plastic clips.
-
-
-
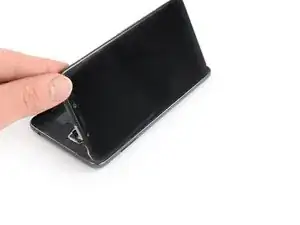
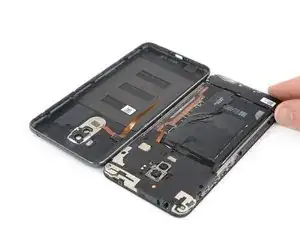
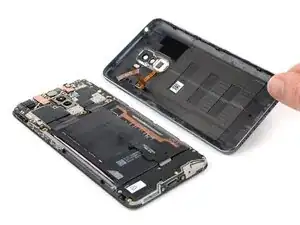
Carefully fold the phone assembly to the left side of the back cover like you'd open a book page.
-
-
-
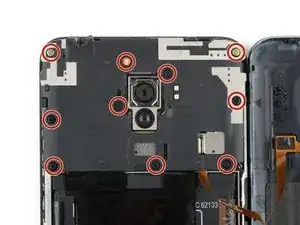
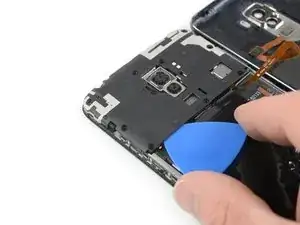
Slide an opening pick under the bottom left corner of the motherboard cover.
-
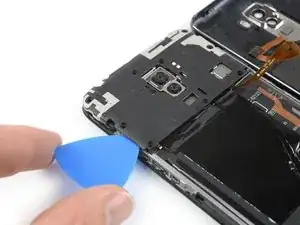
Slide the opening pick around the corner and along the left edge of the motherboard cover to release the plastic clips holding it in place.
-
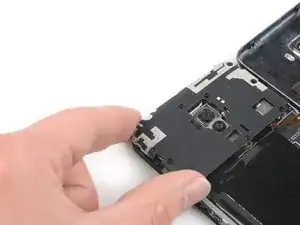
Use the opening pick to pry up the motherboard cover.
-
-
-
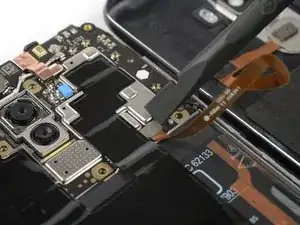
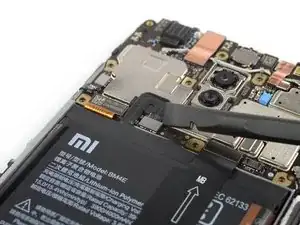
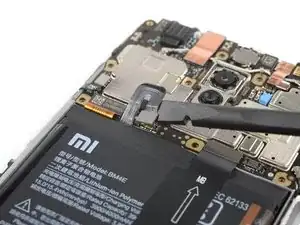
Use the flat end of a spudger to pry up and disconnect the fingerprint flex connector.
-
Remove the back cover.
-
-
-
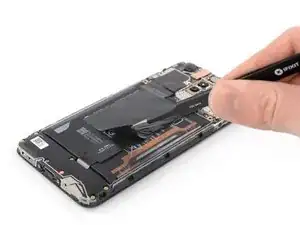
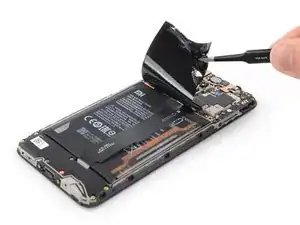
Use a pair of tweezers to peel the black protective foil off the battery and logic board and remove it.
-
-
-
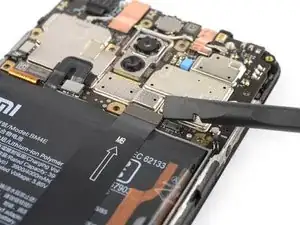
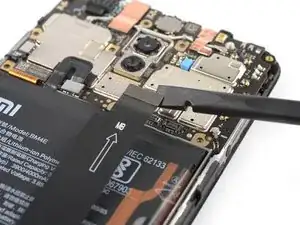
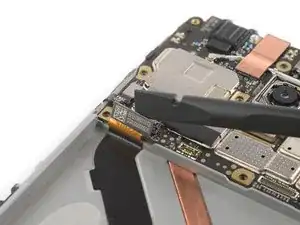
Use the flat end of a spudger to pry up and disconnect the interconnect flex cable.
-
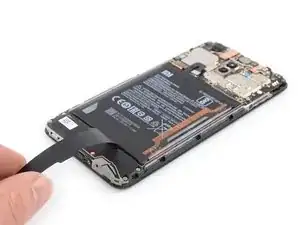
Fold the interconnect flex cable out of your way in order to get access to the battery.
-
-
-
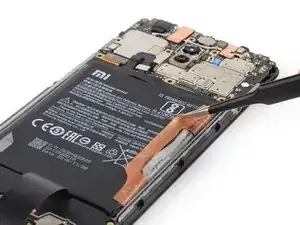
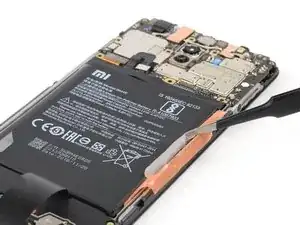
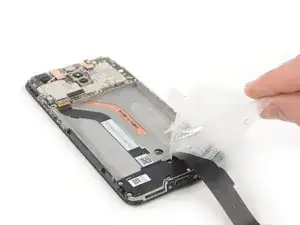
Use a pair of tweezers or your fingernails to peel the orange sticker off the battery.
-
Peel the small white sticker off the battery.
-
-
-
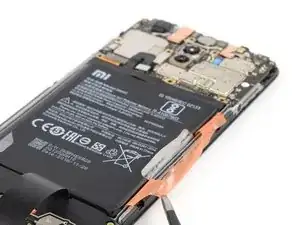
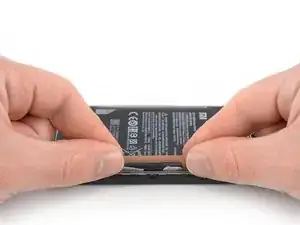
Grab both ends of the orange sticker.
-
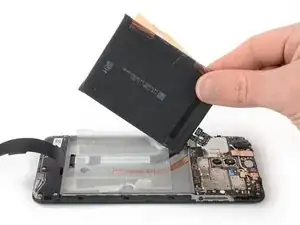
Pull both ends of the orange sticker straight up to lift the battery out of its recess.
-
-
-
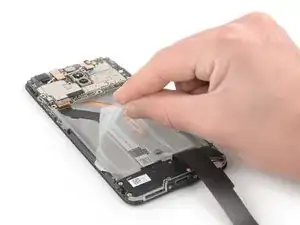
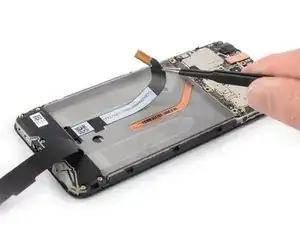
Use the flat end of a spudger to pry up and disconnect the display flex cable.
-
Peel the display flex cable off the midframe.
-
-
-
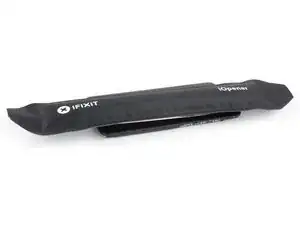
Apply a heated iOpener to the screen to loosen the adhesive underneath. Apply the iOpener for at least two minutes.
-
-
-
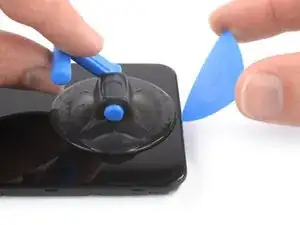
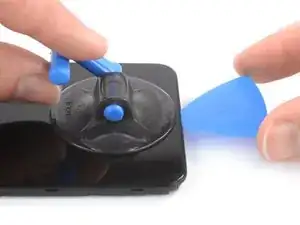
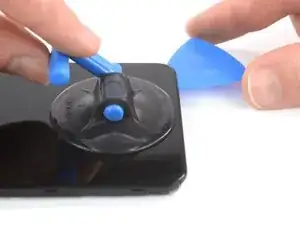
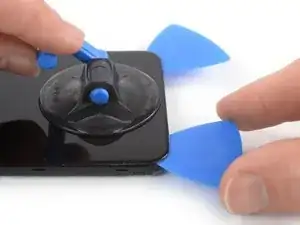
Secure a suction handle to the bottom of the screen, as close to the edge as possible.
-
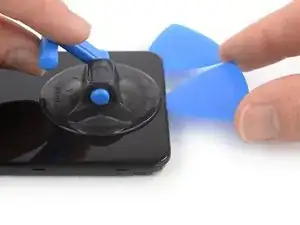
Lift the rear glass with the suction handle to create a small gap between the screen and the frame.
-
Insert an opening pick into the gap.
-
Slide the opening pick to the bottom right corner.
-
-
-
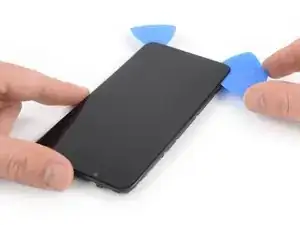
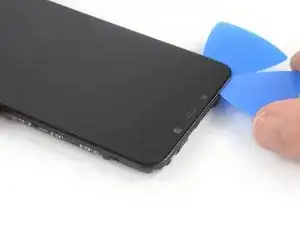
Insert a second opening pick under the center of the bottom edge of the screen and slide it to the bottom left corner to cut the adhesive.
-
Leave the picks in their place to prevent the adhesive from resealing.
-
-
-
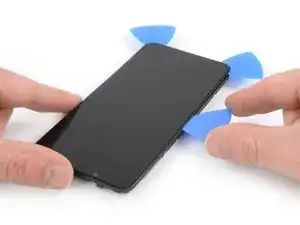
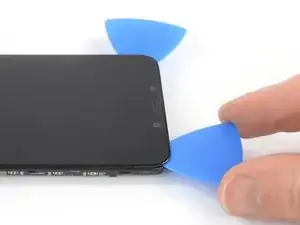
Insert a third opening pick under the bottom left corner of the phone.
-
Slide the opening pick up to the top left corner to slice the adhesive. Leave it there to prevent the adhesive from resealing.
-
-
-
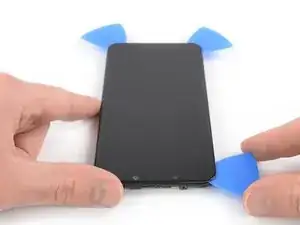
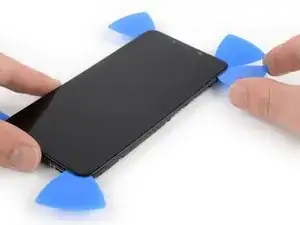
Insert a fourth opening pick at the top left corner.
-
Slide the opening pick along the top edge of the phone to cut the adhesive. Leave the pick in the top right corner of the screen to prevent the adhesive from resealing.
-
-
-
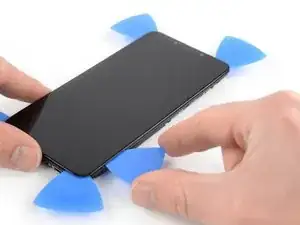
Insert a fifth opening pick and slide it along the right edge of the phone to cut the remaining adhesive.
-
If possible, turn on your device and test your repair before installing new adhesive and resealing.
Compare your new replacement part to the original part—you may need to transfer remaining components or remove adhesive backings from the new part before installing.
To reassemble your device, follow these instructions in reverse order. Apply new adhesive where necessary after cleaning the relevant areas with isopropyl alcohol (>90%).
The best way to secure the new screen is to apply a sheet of custom-cut double-sided tape to the back of the screen.
Secure the new battery with pre-cut adhesive or double-sided adhesive tape. In order to position it correctly, apply the new adhesive into the device at the places where the old adhesive was located, not directly onto the battery. Press the new battery firmly into place.
For optimal performance, calibrate your newly installed battery.
Take your e-waste to an R2 or e-Stewards certified recycler.
Repair didn’t go as planned? Try some basic troubleshooting, or ask our Answers community for help.
