Einleitung
Before you begin taking the device apart, make sure that you have conducted a thorough diagnosis to ensure that you will in fact need to replace the battery. Once you have determined that the battery no longer holds a charge, then you may proceed with this guide. It's also important that you have the appropriate tools and preferably a flat surface to work on, with good lighting.
Werkzeuge
-
-
Begin by having the side with volume and power button face up towards you.
-
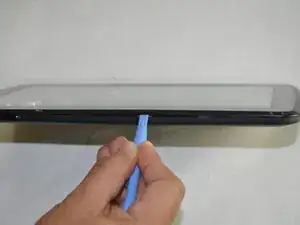
Insert a plastic opening tool between the display and the back cover.
-
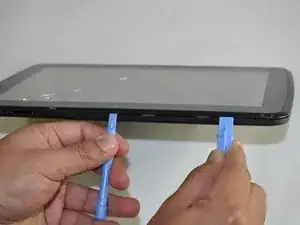
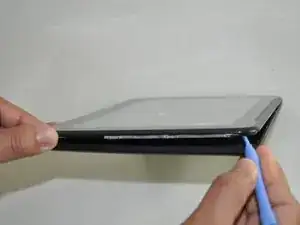
Once you have one plastic opening tool in, you can insert another one. While holding one in place, slide the other along the gap to release the tabs.
-
-
-
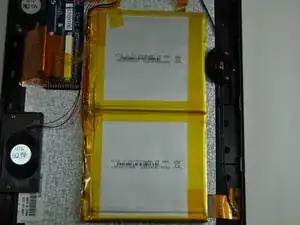
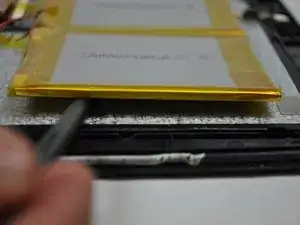
Begin by inserting the flat end of a spudger underneath the battery to separate the glue from the battery.
-
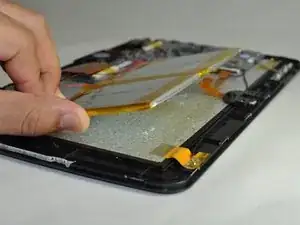
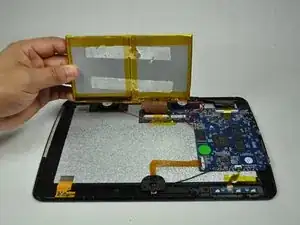
Gently lift up the battery as you continue to separate the glue from the battery.
-
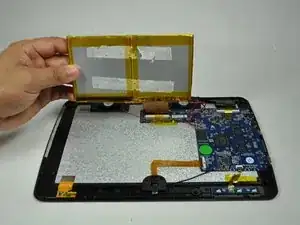
Once the glue has been separated, gently lift up the battery and you will notice two wires attached to the motherboard.
-
-
-
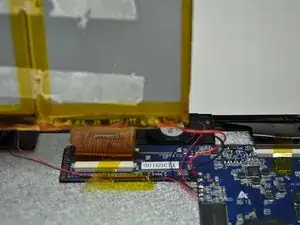
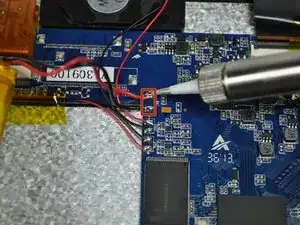
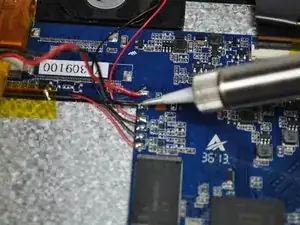
Follow the (Black and Red) wires from the battery to the motherboard.
-
The two wires (Black and Red) must be removed from the motherboard, as they are connected to the battery.
-
To reassemble your device, follow these instructions in reverse order.
