Einleitung
This guide will show how to remove the face plate, which is necessary to exposing the internal components.
Werkzeuge
-
-
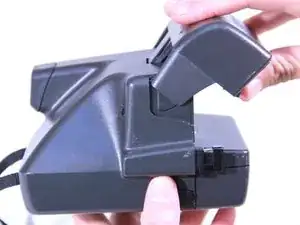
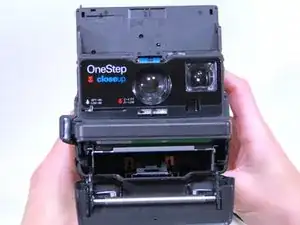
Begin by opening the top of the camera (flash assembly) to a slight angle.
-
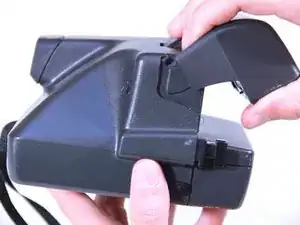
Next, angle the flash assembly slightly upward and pry off the connections carefully.
-
-
-
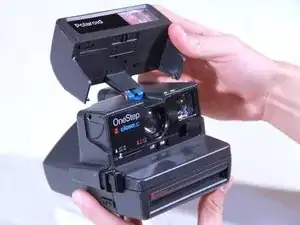
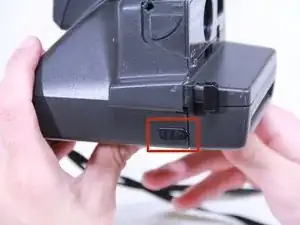
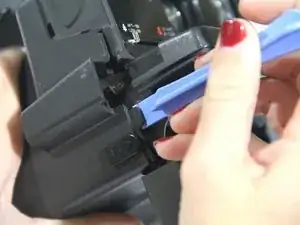
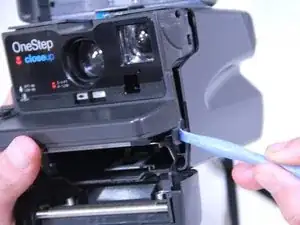
Insert the blue plastic opening tool between the rear case and the plastic tabs directly under the shelf, and pry it loose.
-
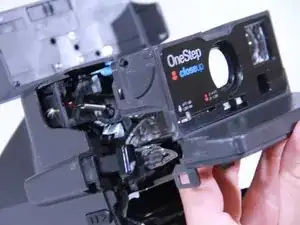
Pull off the face plate.
-
Abschluss
To reassemble your device, follow these instructions in reverse order.
Lens Replacement Guide - Steps 5 through 8 need titles
Step 6 - remove first bullet
Step 2 - 3 need titles
Add titles to all steps of all guides
Primary lens replacement guide
Step 4 is not a step review titles for all steps.
hani -
Proofread your guides carefully.
Dan Brown -