Einleitung
This lens is what focuses the light on the mirror, and by extension the film, when taking photos. The shutter lies directly behind it. It is very easy to replace, as it only requires the removal of the front plate to access, and is held in place only by grooves into which it snaps into place. This guide will illustrate how to remove this primary lens.
Werkzeuge
-
-
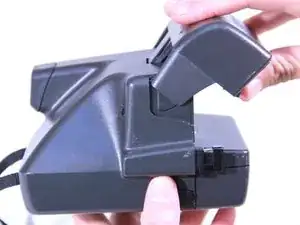
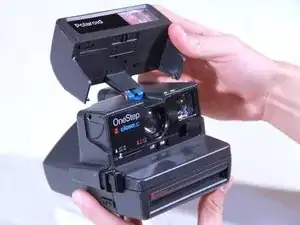
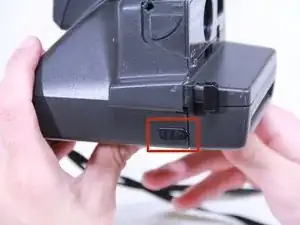
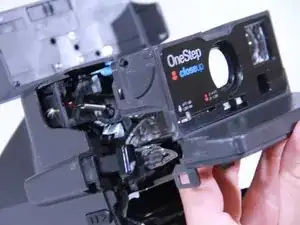
Begin by opening the top of the camera (flash assembly) to a slight angle.
-
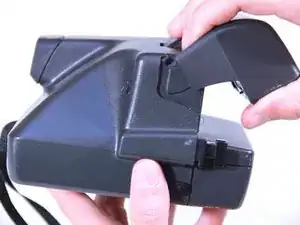
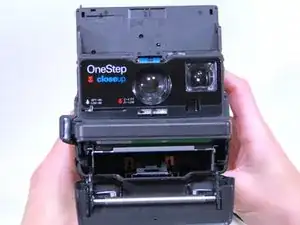
Next, angle the flash assembly slightly upward and pry off the connections carefully.
-
-
-
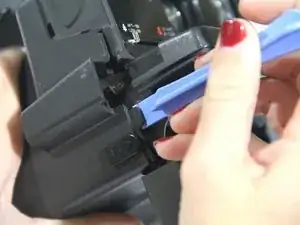
Insert the blue plastic opening tool between the rear case and the plastic tabs directly under the shelf, and pry it loose.
-
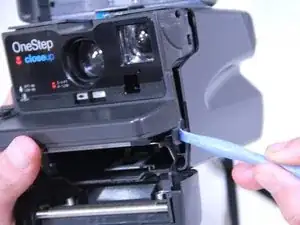
Pull off the face plate.
-
-
-
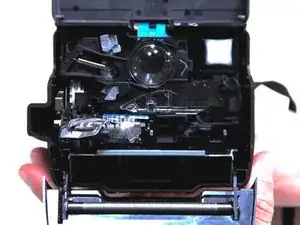
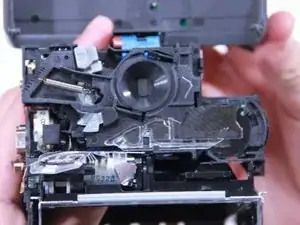
Once the front assembly is removed, the primary lens should be exposed without any trouble.
-
-
-
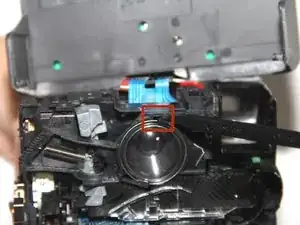
Use your spudger to leverage the lens from the groove at the top (red).
-
Pry the lens loose. It may pop out, so have a method in place to prevent it from dropping.
-
To reassemble your device, follow these instructions in reverse order.
Lens Replacement Guide - Steps 5 through 8 need titles
Step 6 - remove first bullet
Step 2 - 3 need titles
Add titles to all steps of all guides
Primary lens replacement guide
Step 4 is not a step review titles for all steps.
hani -
Proofread your guides carefully.
Dan Brown -