Einleitung
The rear viewfinder is the first of two lenses through which one's eye views a scene; a part of the close up lens (from which the camera derives its name) slides in place over the two viewfinders to help the photographer position a bust or other object for close up shots.
Accessing this part requires a deep disassembly of the camera, and could lead to extensive minor damage, so be very careful during both disassembly and reassembly.
Werkzeuge
-
-
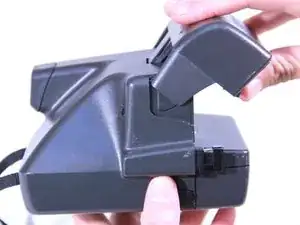
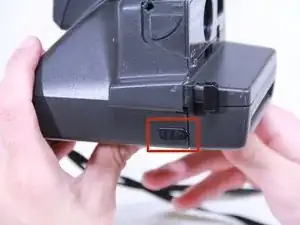
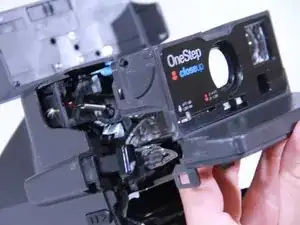
Begin by opening the top of the camera (flash assembly) to a slight angle.
-
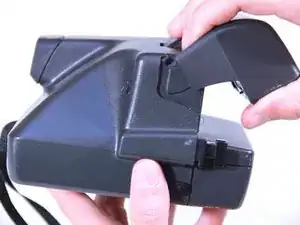
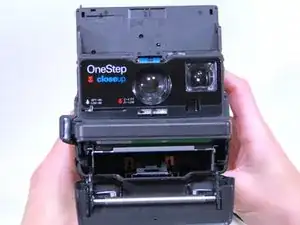
Next, angle the flash assembly slightly upward and pry off the connections carefully.
-
-
-
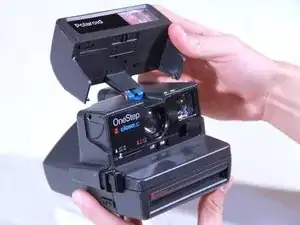
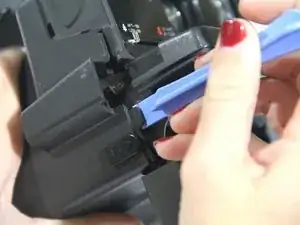
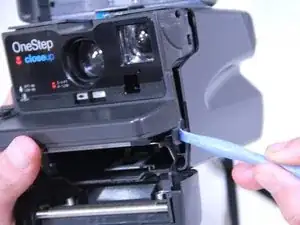
Insert the blue plastic opening tool between the rear case and the plastic tabs directly under the shelf, and pry it loose.
-
Pull off the face plate.
-
-
-
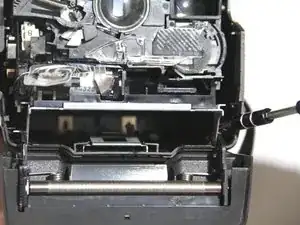
To remove the rear casing, use a spudger to leverage the sides of the metal frame at the bottom loose. If the spudger is in danger of breaking, it is safe to use a screwdriver.
-
With that, the entire inner assembly should be separated from the rear casing. Carefully remove it.
-
-
-
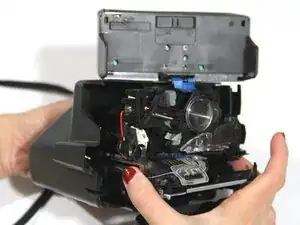
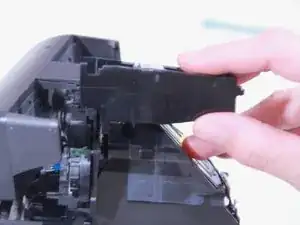
Once the rear casing is removed, lower the flash. The rear viewfinder lens assembly is located on the left side of the camera, when looking at it from the rear.
-
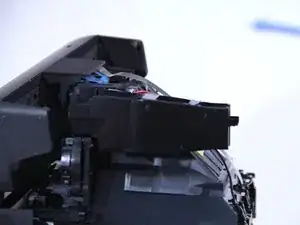
Simply wiggle the assembly loose.
-
-
-
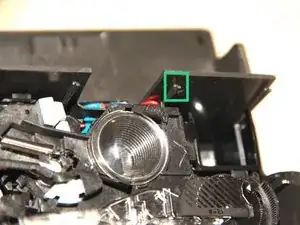
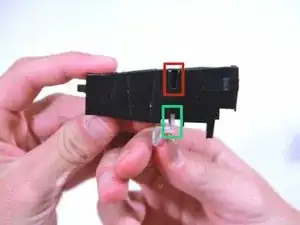
In this case, there is a notch that is part of the lens shape (green) that fits into a matching groove in the enclosure (red). You will need to employ leverage to push the lens notch in and down while pulling the wall of the enclosure up in order to remove the lens.
-
To reassemble your device, follow these instructions in reverse order.
Lens Replacement Guide - Steps 5 through 8 need titles
Step 6 - remove first bullet
Step 2 - 3 need titles
Add titles to all steps of all guides
Primary lens replacement guide
Step 4 is not a step review titles for all steps.
hani -
Proofread your guides carefully.
Dan Brown -