Einleitung
Charging port is very important for every device. If you don't fix it on time, the device won't turn on anymore.
Werkzeuge
-
-
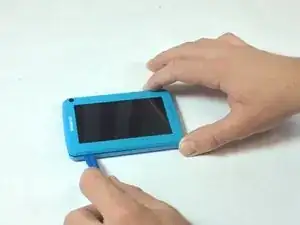
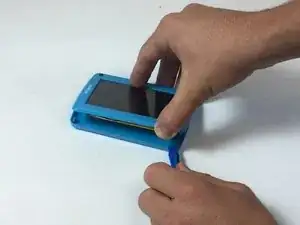
Pry the seam between the screen and the case and slide it on all four sides with a large plastic opening tool until the plastic case comes off.
-
-
-
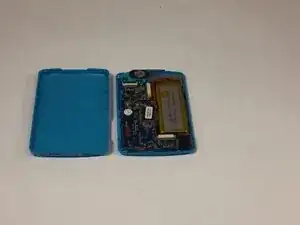
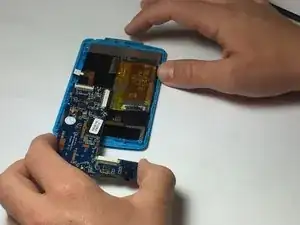
Lift the device off of the case and flip over the device so that it sits screen side down.
-
-
-
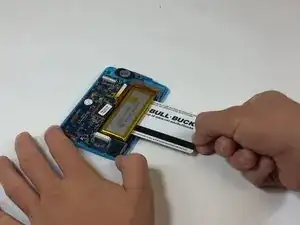
Wedge a plastic card beneath the battery unit and wiggle the card side to side and up and down gently until the glue sealing the battery to the device is broken.
-
-
-
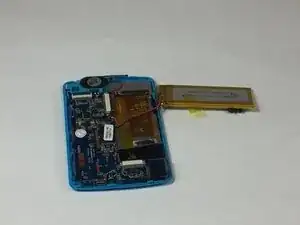
Peel back any yellow tape not directly attached to the battery.
-
Using a soldering iron, desolder the two wires that connect the battery to the motherboard.
-
-
-
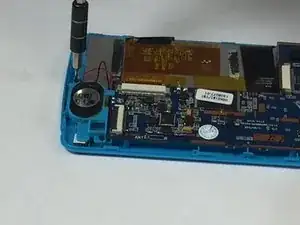
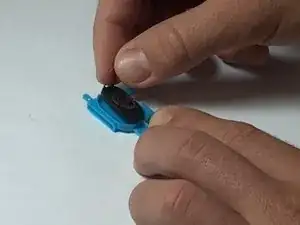
Remove the two 5mm screws attached to the top right and bottom left corners of the speaker
-
-
-
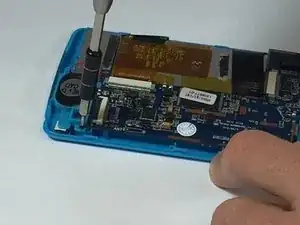
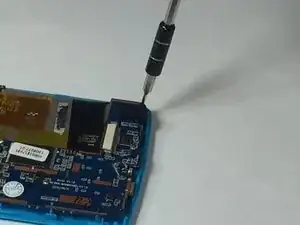
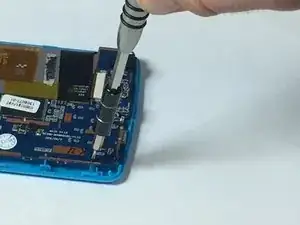
Using the ph#00 screwdriver, remove the four 5mm screws connecting the motherboard to the casing.
-
-
-
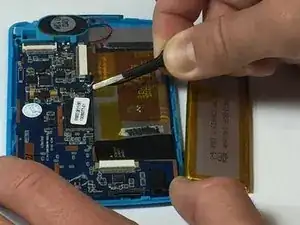
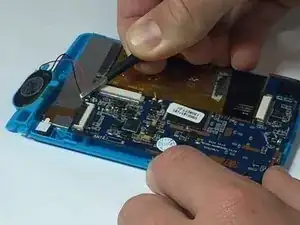
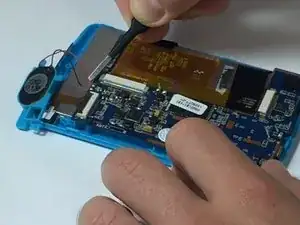
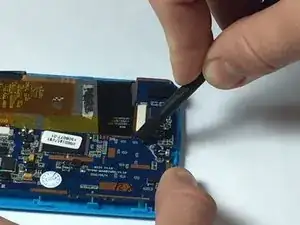
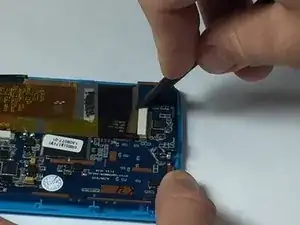
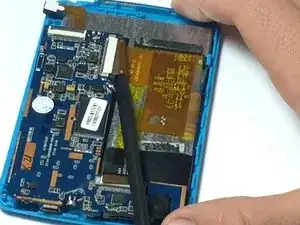
Using a spudger or a fingernail, detach the two ribbons from the motherboard by pushing the plastic tab away from the Zero Insertion Force connectors.
-
-
-
Desolder each side of the USB port where it is attached to the motherboard.
-
The USB port will now be loosened from the motherboard.
-
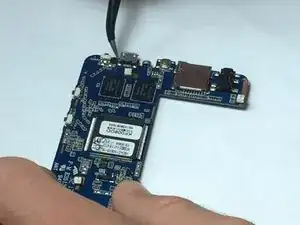
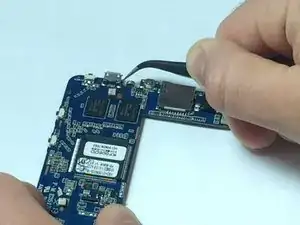
Using tweezers, pull the USB port straight out from the motherboard without wiggling it up, down, or side to side.
-
The USB port is now replaceable.
-
To reassemble your device, follow these instructions in reverse order.
