Einleitung
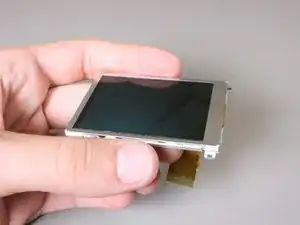
When the screen on your camera breaks, it becomes almost completely unusable. This guide will show you how to replace the LCD screen on a Polaroid i533 camera.
Werkzeuge
-
-
Remove the four 3mm screws from the left-hand side of the camera screen.
-
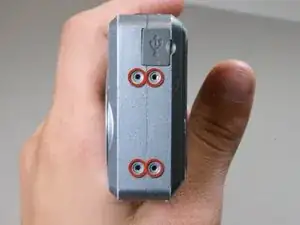
On the right-hand side of the camera screen, unscrew and remove the two 3mm screws.
-
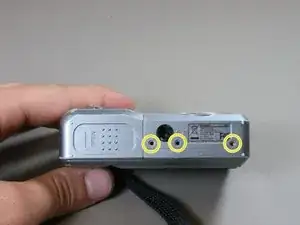
On the bottom of the camera, unscrew and remove the three 3mm screws.
-
-
-
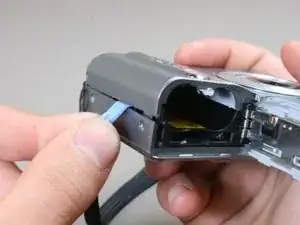
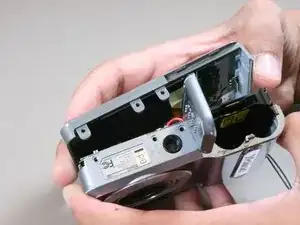
Slide the battery door open and slightly open the side of the case with a plastic opening tool.
-
-
-
Gently pull the cover away from the rest of the camera. Do not separate the pieces completely.
-
-
-
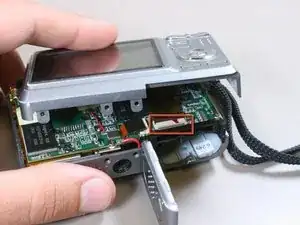
Locate where the LCD screen ribbon is attached to the logic board.
-
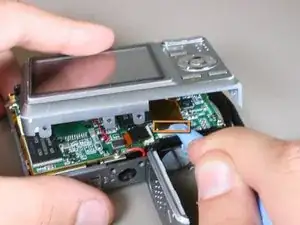
Using the iFixit plastic opening tool, flip up the black tab that connects the LCD screen ribbon to the motherboard.
-
-
-
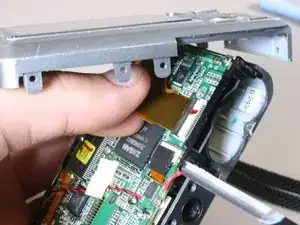
Gently pull the ribbon away from the motherboard. This will allow the cover to separate from the rest of the camera.
-
-
-
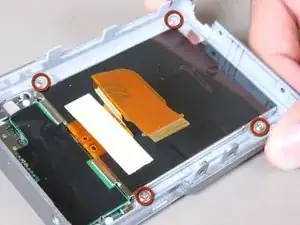
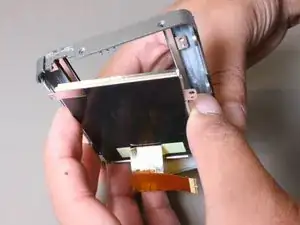
Locate the four screws in each corner of the LCD screen and carefully remove them. After they have been removed, ensure the screws stay separate from the 3mm case screws.
-
To reassemble your device, follow these instructions in reverse order.
Ein Kommentar
great job and information
