Einleitung
Before beginning this repair guide, make sure the laptop is powered off and that it is not plugged into any chargers. If laptop was just in use, be cautious of pieces inside the device as they may be hot to touch.
Werkzeuge
-
-
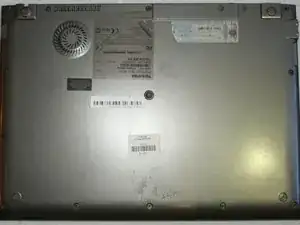
Flip the laptop over, with screen facing down to reveal bottom panel.
-
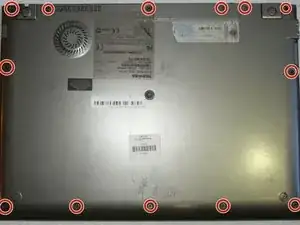
Remove thirteen 1.4mm Phillips #0 screws around the border of the frame.
-
-
-
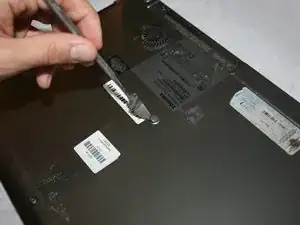
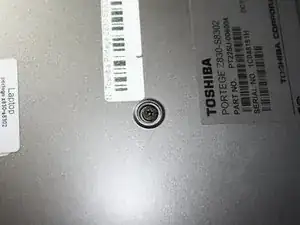
Using the metal spudger, remove the rubber fitting in middle of back panel to reveal hidden screw.
-
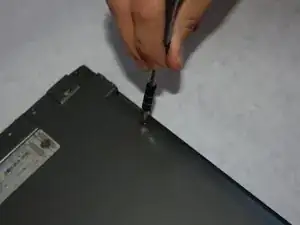
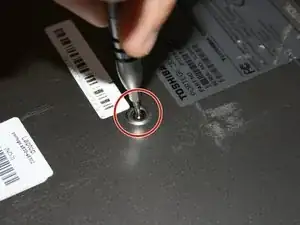
Use a Torx T7 bit screwdriver to remove screw.
-
-
-
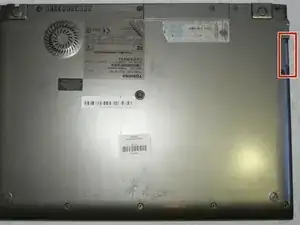
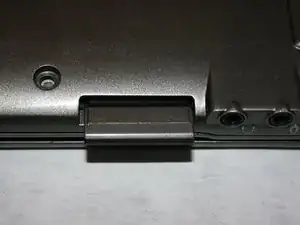
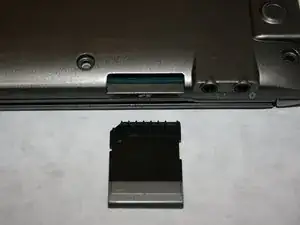
Remove the SD card in top right hand corner of the device, next to the headphone ports.
-
Push in the SD card then pull out completely to remove from slot.
-
-
-
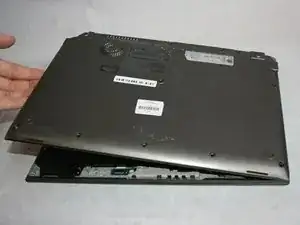
Lift the back plate starting at the opposing edge to the SD card. Lift from left to right and continue lifting this plate at this angle until its free from the laptop.
-
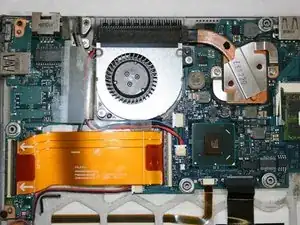
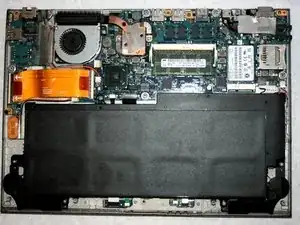
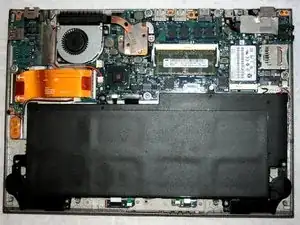
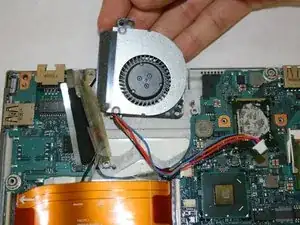
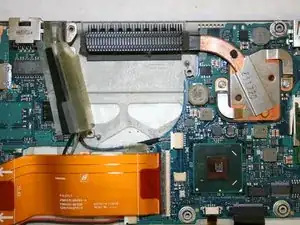
Once the backplate is completely off, this will reveal the inside components of the device.
-
-
-
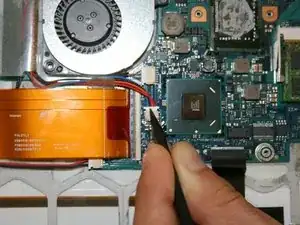
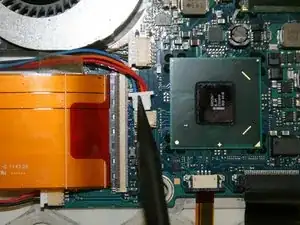
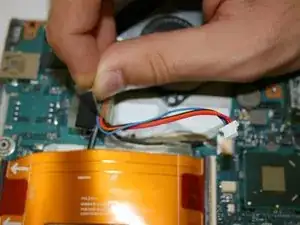
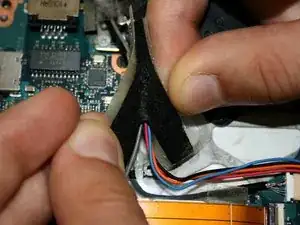
Lift up the wire and peel back the clear protective tape.
-
Split the black protective foam inside the tape in half to uncover the wires.
-
To reassemble your device, follow these instructions in reverse order.
