Einleitung

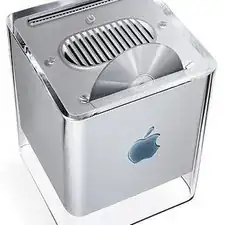
Diese Anleitung zeigt dir, wie du den Arbeitsspeicher deines PowerMac G4 Cube tauschen kannst. Diese Anleitung involviert das entfernen des äußeren Gehäuses.

  1. Pw6YRIHwmiDYUWTX
    Pw6YRIHwmiDYUWTX
    2STkBEy42mB2okjN
    AuJkNVuB3RH4NjKl
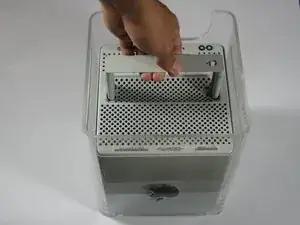
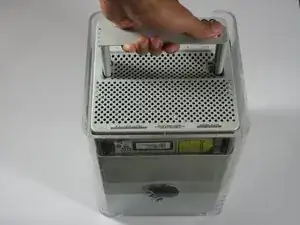
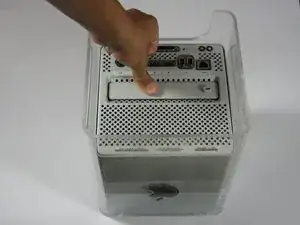
    • Löse den hinteren Griff aus dem PowerMac. Ziehe den Cube langsam mit dem Griff heraus. Achte auf alle Teile, die sich mit dem äußeren Gehäuse verfangen könnten.

    • Drücke den Griff wieder hinein, nachdem du den Kern des Cube aus dem Gehäuse geholt hast.

  2. LcbZviJ66TLLxqjB
    LcbZviJ66TLLxqjB
    bZeTYLJE3xXU2NMS
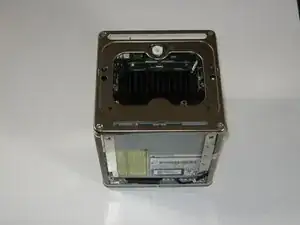
    • Lege den Cube umgekehrt hin und entferne die vier T10 Torx-Schrauben an der Frontplatte. Entferne dann die beiden Schrauben an jeder Seite.

  3. SQpN2vvIHqUw2jgM
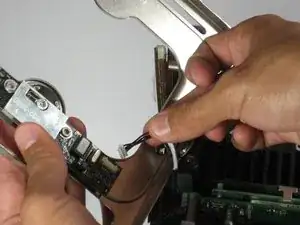
    • Hebe langsam die Platte vom Cube und stecke das Netzkabel ab.

  4. 4Prl4EyQ6c6CByBP
    • Entferne die vier Säulen von jeder Ecke.

    • Die Säulen sollten sich recht leicht entfernen lassen.

    If the Cube has an Airport card installed, it must be removed. This can be accomplished by disconnecting its antenna, and pulling gently on the clear plastic tab on its end. The bracket it is contained in must be unlatched from the frame and rotated out of the way to get to the two optical drive mounting screws beneath it.

    olearydq -

    There is a ribbed cooling plate attached to the hard drive that must be removed before step 7.

    isitism -

    There is no need to remove the four pillars. Skip step 4. In step 5, don't turn the Cube on it's side. The Airport slot swings out like a door, providing access to the IDE ribbon and power cables to complete step 6. Complete steps 6 and 7 while the cube is upright.

    Timothy Hood -

    You really don’t need to remove all four pillars, or any of them depending on the repair you’re doing. They can be pulled out easily enough, just remove any that get in the way.

    N B -

  5. GVhAFOiiHClwsfgP
    GVhAFOiiHClwsfgP
    TIunmSLVRDJBRhnm
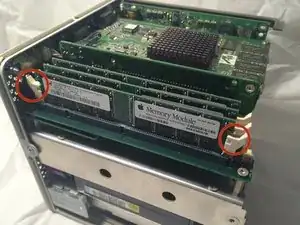
    • Drücke die beiden Clips (links und rechts jeweils am Arbeitsspeicher-Baustein) herunter.

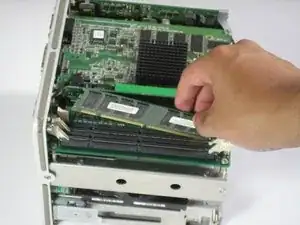
    • Entferne den Arbeitsspeicher-Baustein.

Abschluss

Um den Arbeitsspeicher wieder einzubauen musst du die Anleitung in umgekehrter Reihenfolge befolgen.

Ryan Chun

Mitglied seit: 24/06/10

1055 Reputation

Ein Kommentar

Unless you have really fat fingers, you shouldn’t need to remove the metal plate and pillars. I’m able to replace the RAM without those steps.
Chris Sebes -