Einleitung
Ich werde euch erklären, wie ihr das Motherboard ausbauen könnt.
Werkzeuge
-
-
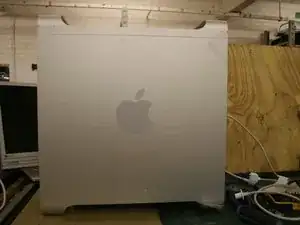
Stelle deinen G5 auf eine geeignete Unterlage.
-
Entferne das Stromkabel.
-
Lege dir zwei Schraubendreher bereit. T10 und Kreuzschlitz (vielleicht brauchst du auch zwischendurch einen T15).
-
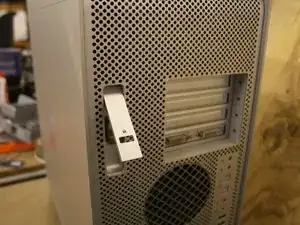
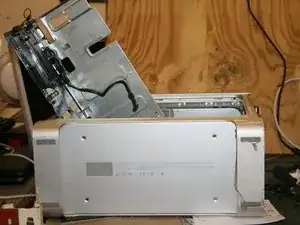
Öffne das Gehäuse, indem du an der Verriegelung ziehst.
-
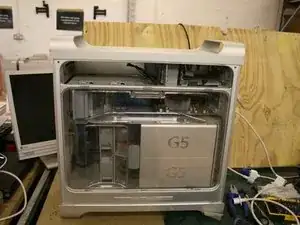
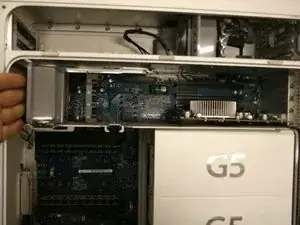
Nehme die Plastikabdeckung heraus.
-
-
-
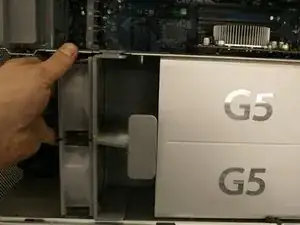
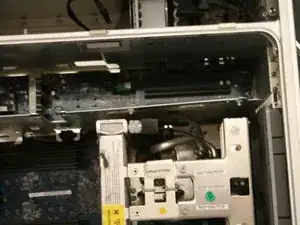
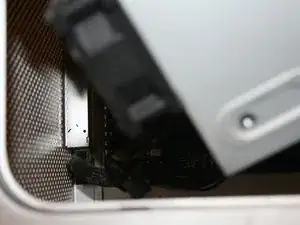
Mache einen kleinen Lüfter mit einem Lautsprecher in der oberen linken Ecke des Motherboards ausfindig.
-
Ziehe ihn vorsichtig hervor.
-
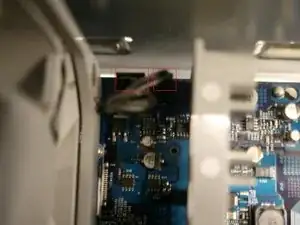
Es gibt zwei Verbindungen, die getrennt werden müssen (zweites Bild).
-
-
-
In Schritt 5 wird die Abdeckung entfernt, die den Prozessor vor äußeren Beschädigungen schützt
-
Die Abdeckung ist an vier Stiften befestigt. Um die Abdeckung zu entfernen, muss sie nach links gezogen werden.
-
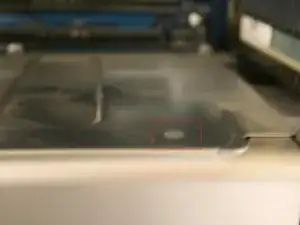
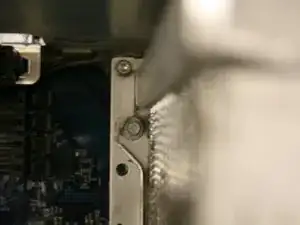
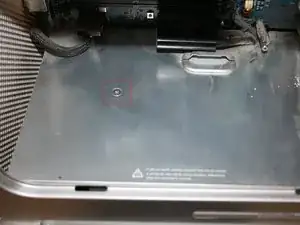
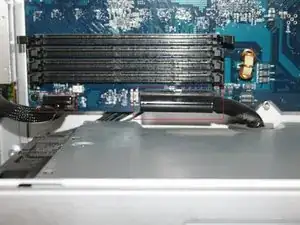
VORSICHT: Möglicherweise befindet sich ein Kunststoffstift (Gummi) (siehe Abbildung 2), der zu Garantiezwecken angebracht wurde. Bevor du die Abdeckung verschiebst, solltest du diesen Stift suchen und entfernen
-
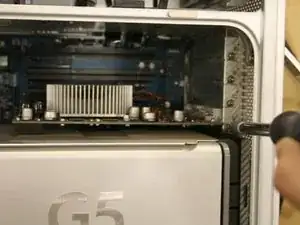
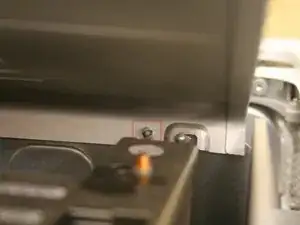
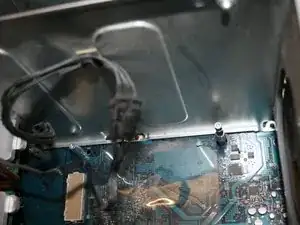
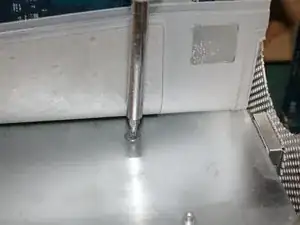
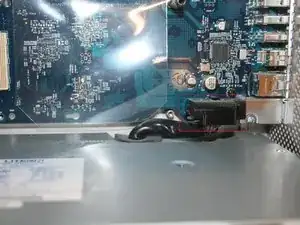
Er kann auch von innen weggedrückt werden (indem die Unterseite der Abdeckung zuerst angehoben wird) (siehe Bild 3).
-
-
-
In den nächsten beiden Schritten wird gezeigt, wie der Prozessor entfernt wird.
-
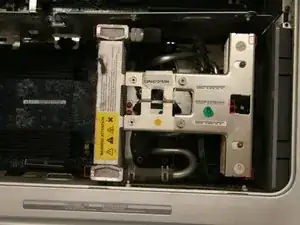
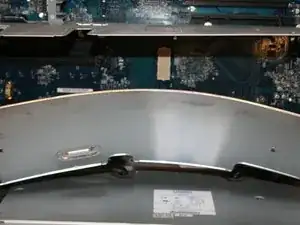
Es sollte so aussehen (Bild 1), wenn die Abdeckung entfernt wurde.
-
Entferne die 8, auf den Abbildungen 2 und 3 gezeigten, Schrauben (verwendeT10 und T15 Schraubendreher).
-
Der Prozessor sollte jetzt herauskommen.
-
-
-
Trenne das mit dem Prozessor verbundene Kabel.
-
Finde den Seitenlüfter (rechte Wand), drücke auf die Stifte und ziehe am Lüfter.
-
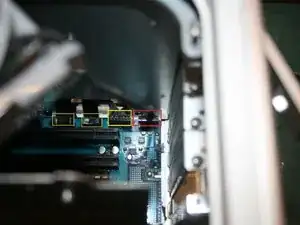
Trenne das Lüfterkabel (rotes Quadrat) und die restlichen Gelb markierten, wenn möglich.
-
-
-
Löse die beiden Kreuzschlitzschrauben an der unteren Abdeckung des Netzteils.
-
Entferne die unteren Schrauben, mit denen der Prozessor befestigt ist (insgesamt vier). Dies hilft, die Abdeckung zu entfernen, ohne das Motherboard zu beschädigen.
-
-
-
Die Abdeckung sollte jetzt herauskommen. Dabei muss sie etwas gebogen werden, achte dabei auf das Motherboard.
-
Entferne die Stecker (wie in Bild 2 und 3 gezeigt)
-
-
-
Finde die vier Kreuzschlitzschrauben an der Unterseite des G5.
-
Entferne sie und ziehe das Netzteil.
-
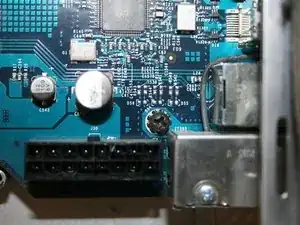
Trenne den Stecker von der Stromversorgung (Bild 3, Festplattenkabel)
-
-
-
Entferne die ROT und GELB markierten Schrauben.
-
Die ROTEN sind kleine schwarze Schrauben, siehe Bild 2
-
Die GELBEN Schrauben befestigen den Prozessor und müssen entfernt werden.
-
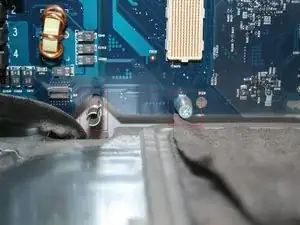
GRÜN - Pins, die das Motherboard in Position halten.
-
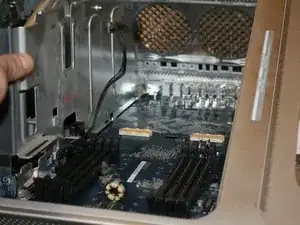
Um das Motherboard zu entfernen, ziehe daran (siehe Abbildung 3). Es sollte nun auf den grün markierten Stiften gleiten.
-
-
-
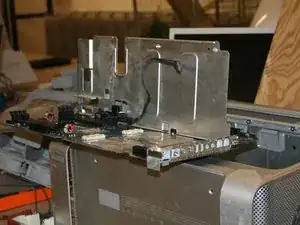
Das Motherboard sollte jetzt einfach heraus zu nehmen sein.
-
Hoffe es hat dir gefallen, Michal Scrumpymacs
-
Um dein Gerät wieder zusammenzubauen, folge den Schritten in umgekehrter Reihenfolge.
7 Kommentare
This guide applies, it seems, to liquid-cooled CPU G5s, which are rather rarity IMO.
Air-cooled G5s are completly different kettle of fish, and they come in two flavours as far as CPUs brackets (those studs on which CPUs are attached to the aluminum case) are concerned. One uses phillips screws and some guiding rods (AFAIR) - plain and simple solution, while the other uses allen bolts and sort of "expanding" studs, which have tendency to get stuck, PERMANENTLY, to the CPU's base plate. Which means, in turn, that you can easily tear them completelly off their sockets (weak and shallow ones) while attempting to lift the CPU.
Besides, the whole thing (getting the MB out) is exercise in high dexterity and saintly patience thanks to Apple's decision to save few cents on machines costing thousands of $ by making all wires shorter than necessary for easy dismantling, by an inch. Bunch of smart-!@# morons, if you'd ask me... and this is not the only issue with these machines (which are otherwise great computers).
da Cat -
Hi,
Thanks for a great guide.
I am tearing down my Mac G5 tower (air cooled) to use the casing for a new home build.
I am currently struggling with the CPU brackets and the bolts fixing it. It seems to be some kind of "wonder"-screws that no of my screwdrivers nor bits are able to handle. Im actually considering just ripping the whole thing, even though I might damage the case and other components which I might want to keep to my build.
If you have any thoughts on how to get around this, please leave a comment.
Best regards
Mark.
@Markus Forsberg:
I think you mean the hexagonally-screws to get off the CPU with the cooling fins. For those you will need an allen wrench with 2.5mm. To get at the two screws in the round hole of the middle from the cooling fins you will need an extra long allen wrench (minimum 16cm or longer).
The other screws at the CPU brackets are called torx screws (looks like nearly a star or something like that)
Hope it will help you.
Best regards
Sven -
