Einleitung
This guide shows the hidden screws you must remove when replacing the keyboard.
Werkzeuge
Ersatzteile
-
-
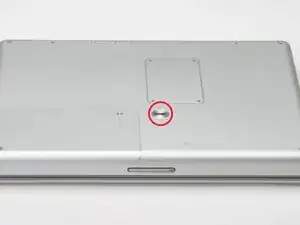
Use a coin to turn the battery locking screw 90 degrees to the right.
-
Lift the battery out of the computer.
-
-
-
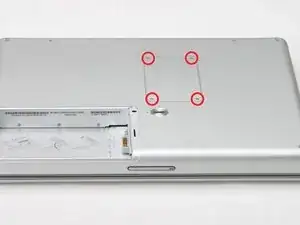
Remove the four Phillips screws from the memory door.
-
Slide the memory door away from the memory compartment.
-
-
-
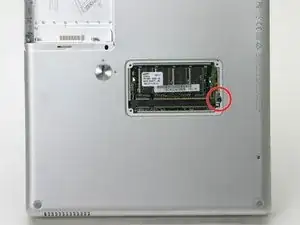
Remove the long black Phillips screw next to the memory card.
-
Remove the small EMI finger beneath the black screw.
-
-
-
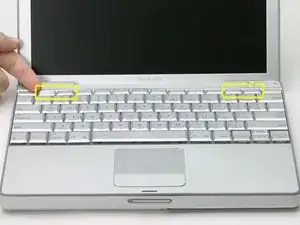
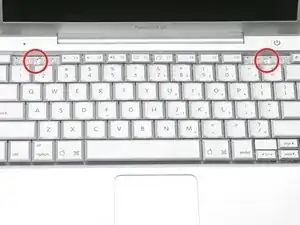
On the keyboard, remove the F1, F2, F11, and F12 keys.
-
This is scary - take a deep breath before continuing. Place your index finger under the upper left corner of the key and lift up until you hear a click. Then, transfer your finger to the left edge of the key and lift up to pull the key off.
-
You're freeing the two tabs on the left of the key from the two small holes in the plastic scissors mechanism.
-
-
-
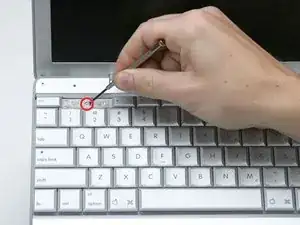
Use your fingernail or a small flathead screwdriver to peel up the gray stickers covering each of the screws.
-
-
-
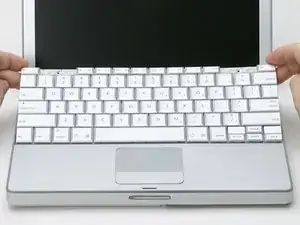
Lift the keyboard by the 'esc' and 'eject' keys and gently lift up until the keyboard is vertical.
-
-
-
Grasp the keyboard connector ribbon near the connector and disconnect it from the logic board.
-
To reassemble your device, follow these instructions in reverse order.
