Einleitung
Replacing a defective fan is pretty easy and will keep your laptop running cool.
Werkzeuge
Ersatzteile
-
-
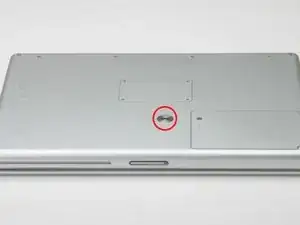
Use a coin to turn the battery locking screw 90 degrees clockwise.
-
Lift the battery out of the computer.
-
-
-
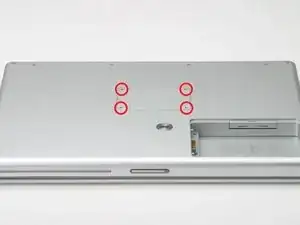
Remove the four Phillips screws from the memory door.
-
Slide the memory door away from the memory compartment.
-
-
-
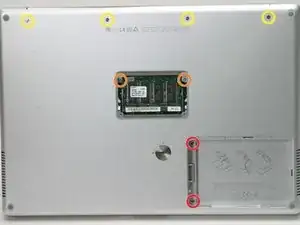
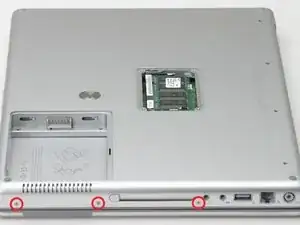
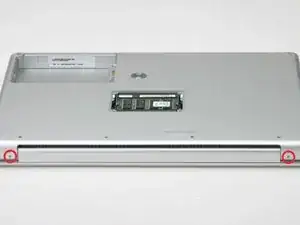
Remove the following 8 screws:
-
Two 3 mm Phillips in the battery compartment, on either side of the battery contacts.
-
Two 9 mm Phillips on either side of the memory compartment.
-
Four 16 mm Phillips along the hinge.
-
-
-
Rotate the computer 90 degrees clockwise, so that the power receptacle faces you.
-
Remove the three 3 mm Phillips screws.
-
-
-
Turn the computer 90 degrees clockwise so that the hinge faces you.
-
Remove the bottom 5 mm Phillips screw on either side of the hinge (two total).
-
-
-
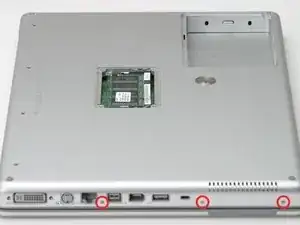
Rotate the computer 90 degrees clockwise, so that the ports face you.
-
Remove the three 3 mm Phillips screws.
-
-
-
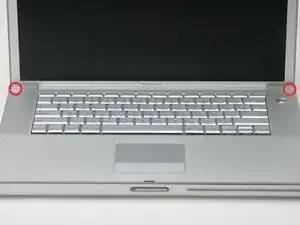
Turn the computer over and open the display.
-
Remove the 4.2 mm 1/16" H 1.5 hex screws in either corner, next to the display (a T6 Torx driver will also do the job nicely).
-
-
-
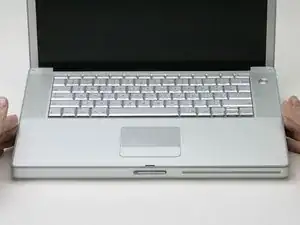
Grasp the back corners of the upper case and pull up, disengaging hidden tabs on the sides. Do not pull the upper case off yet; you still need to free tabs in the front of the case.
-
-
-
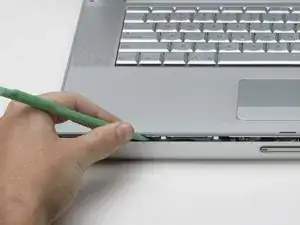
Pry up the left side of the upper case slightly with your hand and wedge a spudger into the seam between the upper case and lower case.
-
Leave the tool in place applying pressure to the upper case for the next step.
-
-
-
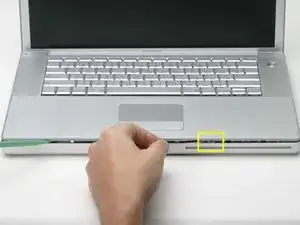
Place enough pressure on the upper case to allow you to slide a tool just within the seam between upper case and lower case as shown in the picture. A dentist's hook, push pin, or similar tool will work.
-
Delicately slip the tip of your tool behind the silver metal latch and pull it forward while pulling up on the case. This may take some effort.
-
Alternatively, you can free the clasp with a small flathead screwdriver through the CD slot. The clasp is 1-3/16 in (3cm) from the left side of the slot. Use the screwdriver to lift out (or press back) the felt lining; then use the screwdriver to pull the clasp (shiny metal) forward to free it from the catch behind it (dull metal).
-
-
-
Lift the back of the case up and work your fingers along the sides, freeing the case as you go. Once you have freed the sides, you may need to rock the case up and down to free the front of the upper case.
-
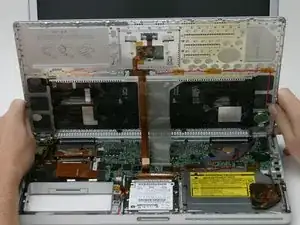
Rotate the upper case up and toward the screen, so that the upper case rests against it.
-
-
-
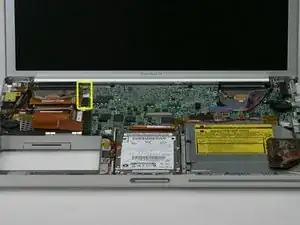
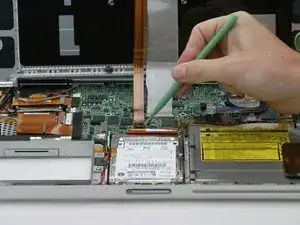
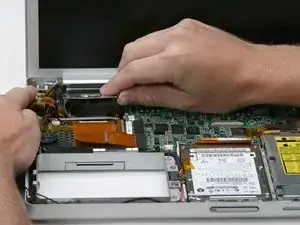
Remove the orange tape securing the trackpad ribbon to the logic board.
-
Disconnect the trackpad ribbon from the logic board.
-
-
-
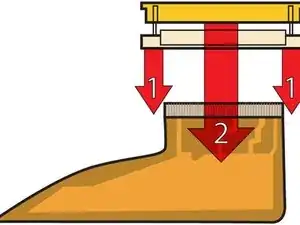
1) With your fingernails, grasp the locking bar on either side and pull up a small amount (about 1/16" or 2 mm).
-
2) After disengaging the locking bar, slide the cable out of the connector.
-
-
-
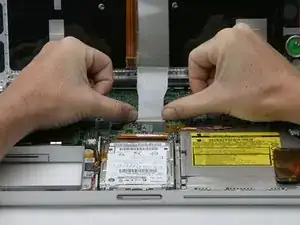
Loosen the keyboard ribbon clamp by pushing the thin black piece toward the screen, using the tips of your fingers.
-
Slide the grey keyboard ribbon out of the loosened connector.
-
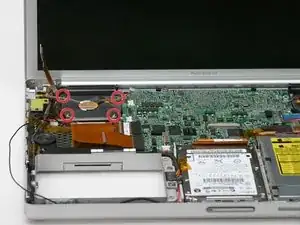
Remove the upper case from the computer.
-
To reassemble your device, follow these instructions in reverse order.
2 Kommentare
The most challenging part of this and similar repair jobs is replacing the tiny Phillips screws. A fine pair of tweezers or needle-nosed pliers is needed unless one has the type of screwdriver that holds onto the screw heads.
I found that a #000 Phillips screwdriver was needed instead of a #00 for all those tiny screws. Great care is needed to avoid stripping the heads of the screws. When reassembling the computer, I recommend not tightening the screws fully, just enough so the heads don't protrude. After reassembly, with the screws not fully tightened, test that the computer works. If the computer doesn't work it will be easier to disassemble the computer again. If all is right give all the screws the final tightening but be careful not to overtighten.
Tip: During disassembly put the various screws into a clean, dry ice cube tray to keep them secure and separated by where they came from.
The fan discharges through a fine grille. When the fan is removed, one is sure to find this grille covered in dust. Using compressed air to blow out the dust could force it further into the grille. I used a dry Q-tip to remove the accumulated dust before installing the replacement fan.
On reassembly check that the PC card slot is properly lined up if you intend to use it. The eject button should pop out through the slot. I didn't think of this and found the card eject button was trapped in the IN position. That's fine with me because I don't use that slot and it was a nuisance that the eject button would pop out at the least touch.
