Einleitung
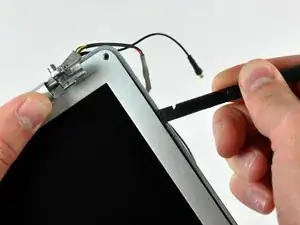
This guide is only used as a prereq to other guides requiring rear bezel removed.
Werkzeuge
-
-
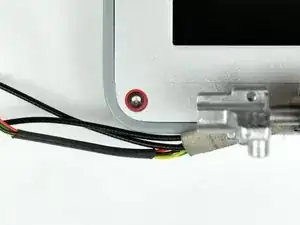
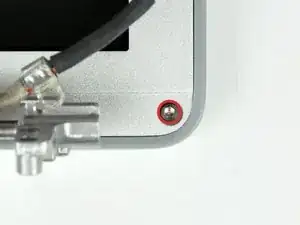
Remove the two 11 mm X 1.5 mm hex screws near the lower left and right corners of the display.
-
-
-
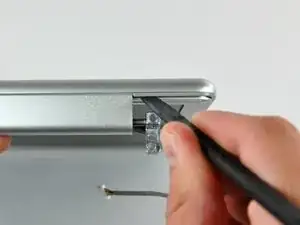
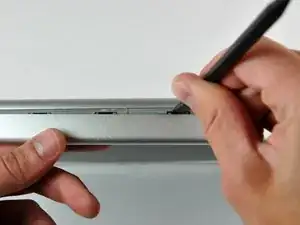
Insert the flat end of a spudger between the front display bezel and the plastic rim attached to the rear bezel near the lower left corner of the display.
-
-
-
With your spudger still inserted under the front display bezel, run it around the lower left corner of the display.
-
Rotate the spudger away from yourself to pry the rear display bezel off the aluminum tabs on the front display bezel.
-
Work your way down the side of the display until the rear display bezel has been separated from the front display bezel.
-
-
-
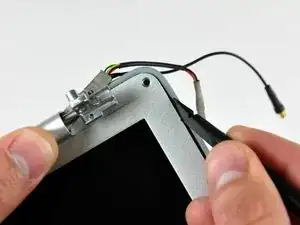
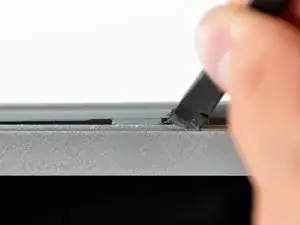
Insert the flat end of a spudger between the rear display bezel and the clutch cover.
-
Twist the spudger to unclip the rear bezel from the clutch cover.
-
-
-
Repeat the previous steps to separate the right side of the rear display bezel from the display.
-
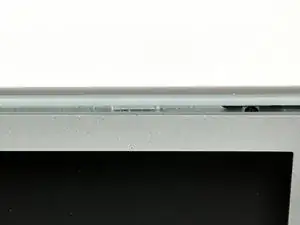
Use your spudger to pry the plastic retaining clips on the rear display bezel over the raised aluminum tabs on the front display bezel.
-
At this point, the clips on the left and right edges of the rear display bezel should be free from the raised aluminum tabs on the front display bezel. If they are not, use a spudger to pry them past the front display bezel.
-
-
-
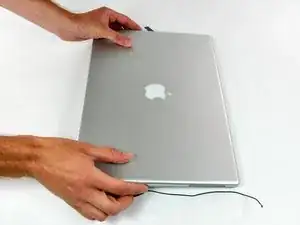
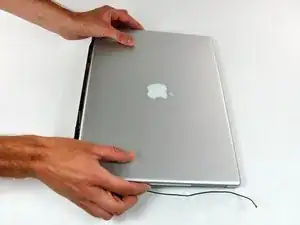
Slightly lift the lower edge of the rear display bezel and push it toward the top edge of the display, releasing the clips along the top edge of the rear display bezel.
-
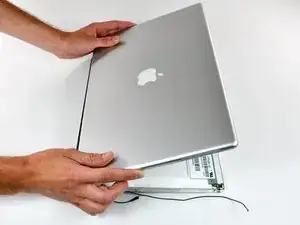
Rotate the rear display bezel toward yourself and lay it flat on the table.
-
-
-
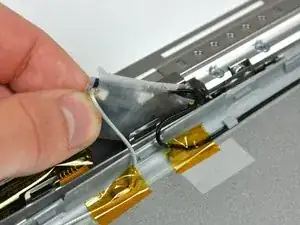
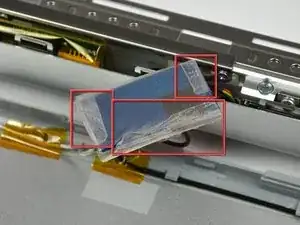
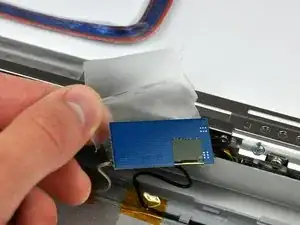
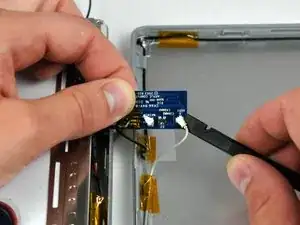
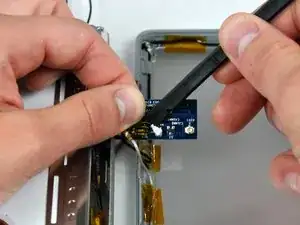
Peel back the three edges of the antenna board cover and remove it from over the antenna board.
-
To reassemble your device, follow these instructions in reverse order.
