Einleitung

56k internal modem, standard on all models.

  1. UIicFGjpFmhKthEX
    UIicFGjpFmhKthEX
    5tolrsUYAtgSUtwS
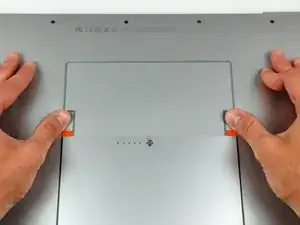
    • Use your thumbs to push the two battery retaining tabs away from the battery.

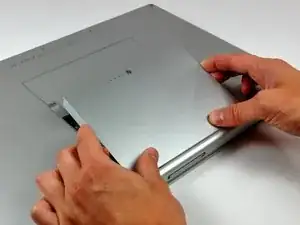
    • The battery should pop up enough to rotate it toward yourself and lift it out of the lower case.

  2. LhYBRZM4BxvdTnTv
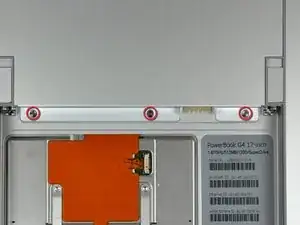
    • Remove the three 2.3 mm Phillips screws securing the memory cover to the lower case.

  3. T5Jly2FAVmAMeZMq
    T5Jly2FAVmAMeZMq
    IkJluYEE2DWGDMpn
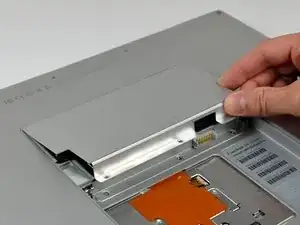
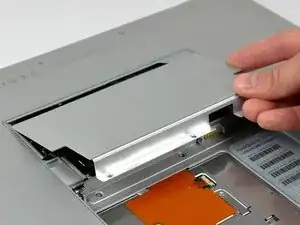
    • Lift the memory cover slightly and pull it toward yourself to remove it from the lower case.

  4. rUgxHaqxJQqkVhbO
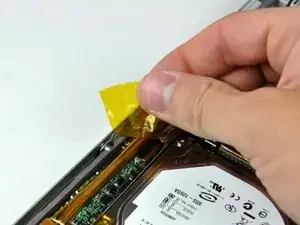
    • Remove the strip of tape covering the speaker cables.

  5. KVqsyvOIXWSyTCWq
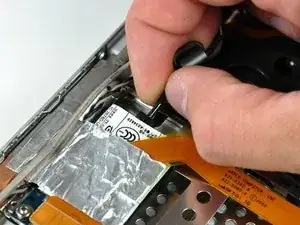
    • Disconnect the RJ-11 cable from the modem.

  6. yKDtXqTNrGK5jWF5
    yKDtXqTNrGK5jWF5
    GUPoCIYgkTNTNlu2
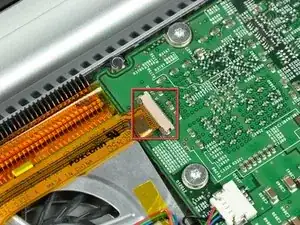
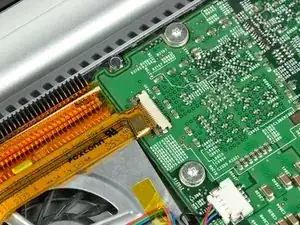
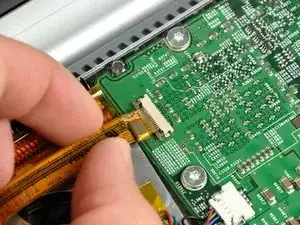
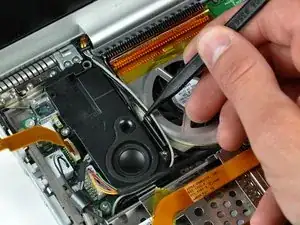
    • Use your fingernails or the tip of a spudger to separate the ZIF cable lock from its socket.

    • The ZIF cable lock will move about 1 mm and stop. Do not attempt to completely remove the ZIF cable lock.

  7. reWOcgV2w4xsf2RY
    • Pull the DC-in cable out of its socket.

  8. ssgs6pYXKpxKtdu6
    • Peel the DC-in cable off the adhesive securing it to the lower case.

  9. CTjRF6Ajh3EWroPE
    CTjRF6Ajh3EWroPE
    PxJLoa1TADPMwJNP
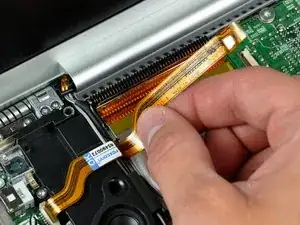
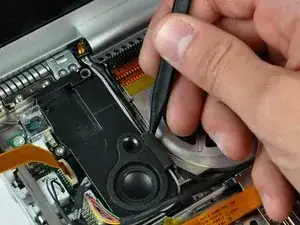
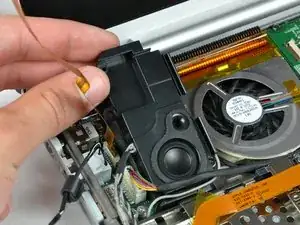
    • Use the tip of a spudger to remove the piece of foam tape from the channel on the side of the left speaker.

    • De-route the cables from the channel in the left speaker.

  10. Op2STKtqK5VPqWDs
    Op2STKtqK5VPqWDs
    bvO1KiZM2FGuBRrH
    HPl5RYyZrlALcxHC
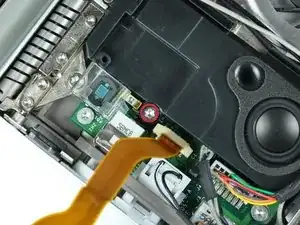
    • Remove the single T8 Torx screw securing the left speaker to the lower case.

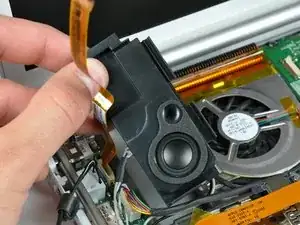
    • Lift the left speaker from its rear edge and maneuver it out of the lower case, minding the cables sitting in the channel near the front edge of the left speaker.

    • Set the speaker next to the lower case.

  11. IY4rZIad4FFNh11p
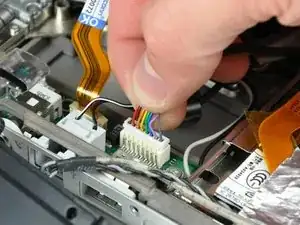
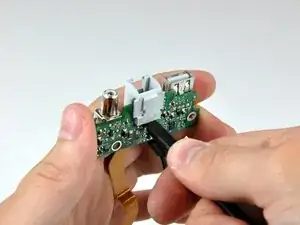
    • Pull the DC power cable connector straight up off the DC-in board.

  12. LvlD4etqiySTqpFk
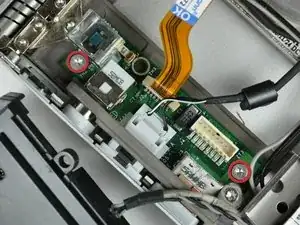
    • Remove the two T8 Torx screws securing the DC-in board to the lower case.

    • New line.

  13. ceLcNfLuGLcjTDIM
    ceLcNfLuGLcjTDIM
    hy6bAf5yUX22pdLH
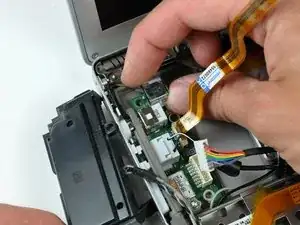
    • Pull the DC-in board away from the side of the lower case to separate the ports from their bezel.

    • Lift the DC-in board out of the lower case.

  14. IIRQiYIsTFis1Pel
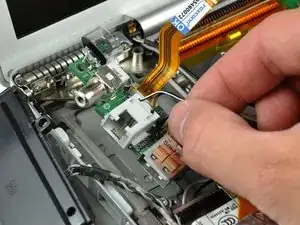
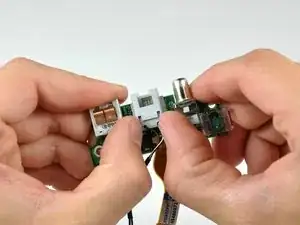
    • Use your thumbs to slide the RJ-11 board slightly away from the DC-In board.

  15. JdPeWCjeGeFnxQvA
    • Use the flat end of a spudger to continue removing the RJ-11 board away from the DC-In board.

Abschluss

To reassemble your device, follow these instructions in reverse order.
Walter Galan

685540 Reputation

0 Kommentare