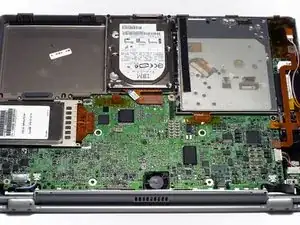
Einleitung
You can install hard drives up to 12.5mm thick.
Werkzeuge
Ersatzteile
-
-
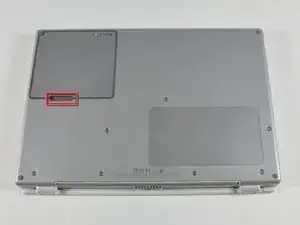
Locate the battery release tab on the underside of the G4.
-
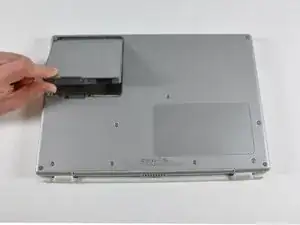
Slide the battery release tab to the left and lift the battery out of the computer.
-
-
-
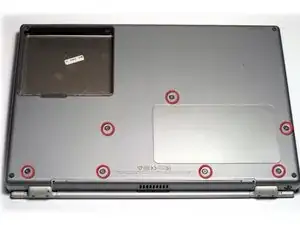
Remove the seven T8 Torx screws from the lower case.
-
Using your thumbs, slide the lower case toward the front of the computer.
-
The lower case may stick in the front on a tab just above the center of the optical drive. Be careful as you work the case off, or you may break the thin strip of plastic just above the drive.
-
Lift the lower case off.
-
-
-
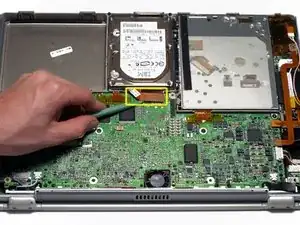
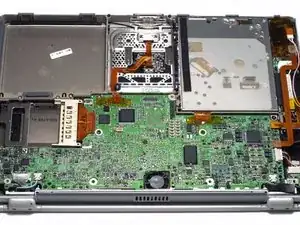
Disconnect the hard drive ribbon from the logic board using a spudger or the tip of your finger.
-
-
-
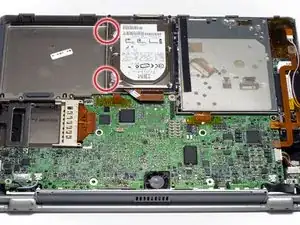
To free the hard drive, remove the two T8 Torx screws from the right wall of the battery housing.
-
-
-
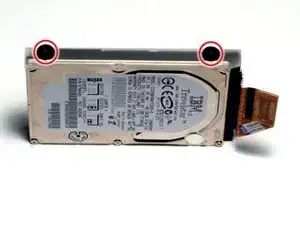
Remove the two black plastic bumpers and two T8 Torx screws from the side of the hard drive.
-
-
-
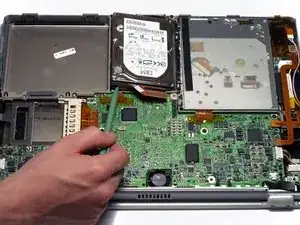
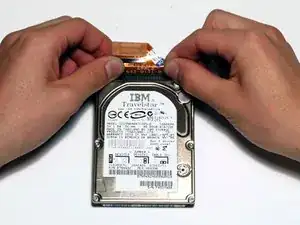
Grasp the orange ribbon cable and disconnect it from the hard drive. If the connector is tight, gently rock it from side to side.
-
To reassemble your device, follow these instructions in reverse order.
2 Kommentare
Easy to do; I have upgraded my Titanium 15 several times and it last ran from a 320gB HDD very successfully. Then it fell off my sofa just once too often... :-(
Oh well, after nine solid years of totally fault-free service (eat ya heart out Mr. Pee Cee!) it will be good for parts and may live on yet.
Shane -
Excellent instructions and illustrations
I’m an amateur, and this was easy. Proceeding very deliberately, it took me 30 minutes. If I had to do it again, probably 10 to 15.
Thank you
lgof -
