Einleitung
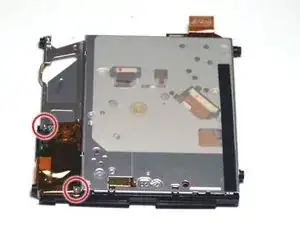
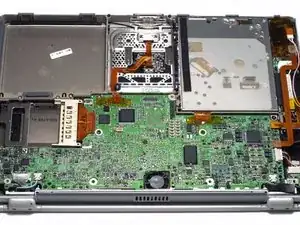
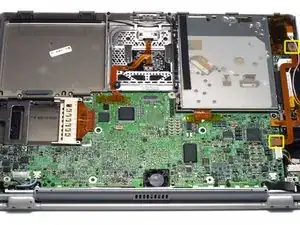
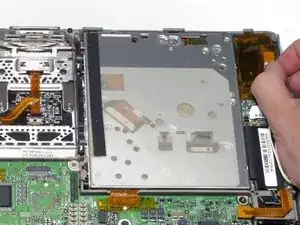
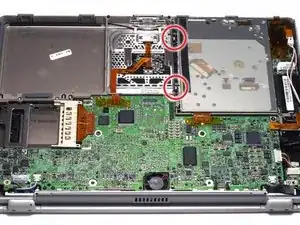
The inverter powers the LCD backlight and is not a difficult part to replace.
Werkzeuge
Ersatzteile
-
-
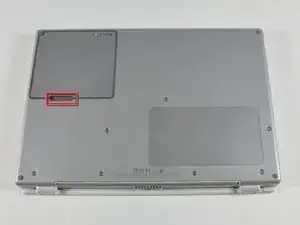
Locate the battery release tab on the underside of the G4.
-
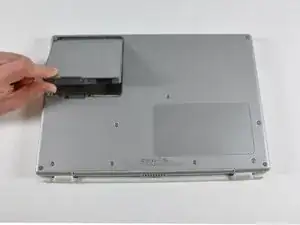
Slide the battery release tab to the left and lift the battery out of the computer.
-
-
-
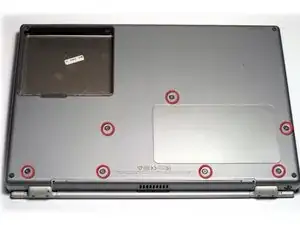
Remove the seven T8 Torx screws from the lower case.
-
Using your thumbs, slide the lower case toward the front of the computer.
-
The lower case may stick in the front on a tab just above the center of the optical drive. Be careful as you work the case off, or you may break the thin strip of plastic just above the drive.
-
Lift the lower case off.
-
-
-
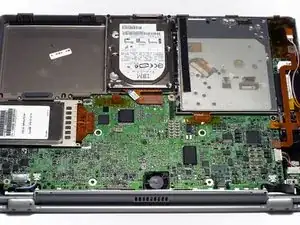
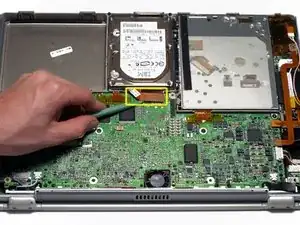
Disconnect the hard drive ribbon from the logic board using a spudger or the tip of your finger.
-
-
-
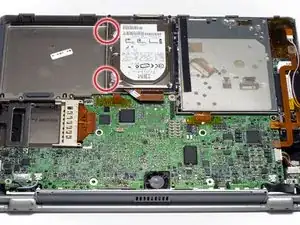
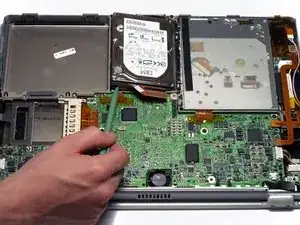
To free the hard drive, remove the two T8 Torx screws from the right wall of the battery housing.
-
-
-
Remove the two silver T8 Torx screws from the black plastic bar.
-
Lift the black plastic bar out.
-
-
-
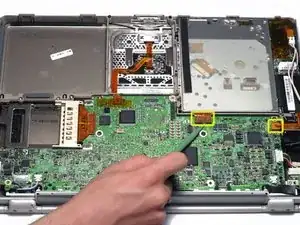
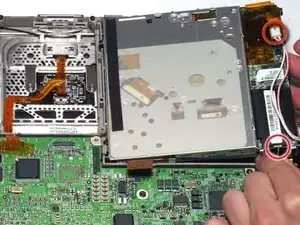
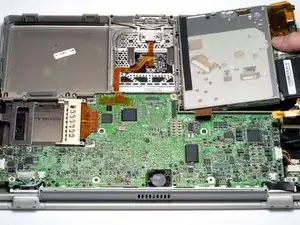
Lift the drive up on the right side so that you can access and disconnect the modem cable and inverter cable.
-
-
-
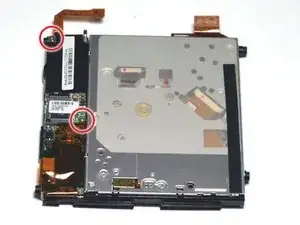
Remove the two T6 Torx screws from the modem.
-
Lift the modem off the optical drive, carefully guiding the orange ribbon cable through the space in the drive mount.
-
-
-
Remove the two T6 Torx screws from the inverter board.
-
Lift the inverter board off the optical drive.
-
To reassemble your device, follow these instructions in reverse order.
