Einleitung
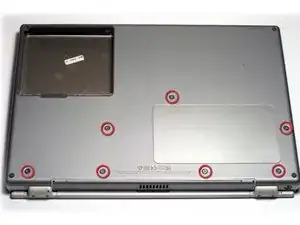
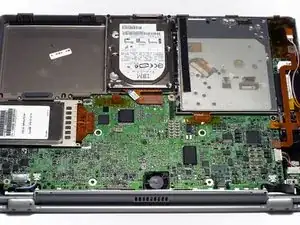
The bottom case slides off easily after removing a few T8 Torx screws.
Werkzeuge
Ersatzteile
-
-
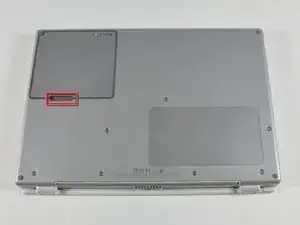
Locate the battery release tab on the underside of the G4.
-
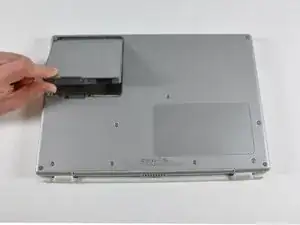
Slide the battery release tab to the left and lift the battery out of the computer.
-
-
-
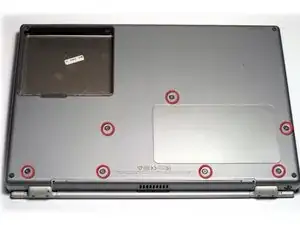
Remove the seven T8 Torx screws from the lower case.
-
Using your thumbs, slide the lower case toward the front of the computer.
-
The lower case may stick in the front on a tab just above the center of the optical drive. Be careful as you work the case off, or you may break the thin strip of plastic just above the drive.
-
Lift the lower case off.
-
To reassemble your device, follow these instructions in reverse order.
Ein Kommentar
This is obviously one of the easier things to replace on old these rickety old PowerBook’s. However, during reassembly, it may be necessary to kind of finagle the case so that it goes down correctly everywhere. For example, don’t just totally screw down one corner, and then do the same moving from screw to screw; instead, start each screw slightly, and then if necessary, finish tightening each screw to encourage that corresponding corner to go down correctly. This may be obvious to some, but because my logic board wasn’t completely sitting ideal, one of the corners was hard to get flus with the top case surround.
Anthony -
