Einleitung

How to remove the hard drive, along with its cable and bracket from your computer.

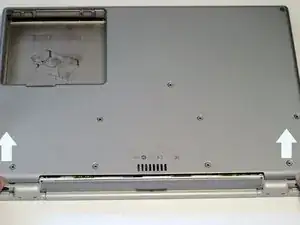
    • Turn the G4 over.

    • Remove the eight Phillips screws from the lower case.

  1. 3Z2bTPhqrVEAnvc4
    • Using your thumbs, slide the lower case away from you.

    • The lower case may stick in the front on a tab just above the center of the DVD drive. Be careful as you work the case off, or you may break the thin strip of plastic just above the drive.

    • Lift the lower case off.

    Please do steps 7 and 8 before you do 5 and 6, because opening the lid without the bottom plate screwed in place easily breaks the plastic around the powerbook as it is pretty fragile after 20+ years. Mine broke even further as it already hat started an to get the bottom top screws back on I had to flip open the display, beg for it not to fall off and let it hang over my table, so the stress from the hinges would be released. It all fit back together, but is broken more than before, changing the PRAM battery (it’s under the dvd drive) went well and the laptop finally turned on again :)

    Jonathan Voß -

  2. 1pZLWuxxG6OxAwE4
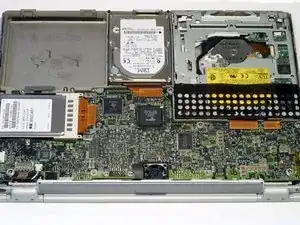
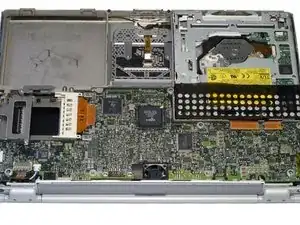
    • Your laptop should look approximately like this.

  3. YMLsWmeYNSmSGA5s
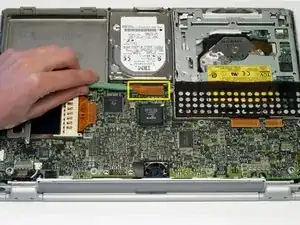
    • Disconnect the hard drive ribbon from the logic board using a spudger or the tip of your finger.

  4. GFLC5rPyT2HIXELh
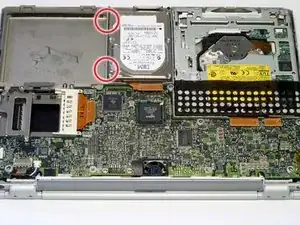
    • To free the hard drive, remove the two T8 Torx screws from the right wall of the battery housing.

  5. QBaSNcTnfwQ6yMbN
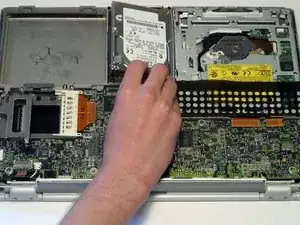
    • Remove the hard drive by gently grasping the orange ribbon cable and lifting the left edge up and out of the computer.

    • There are four rubber bumpers that fit over the hard drive screws. Ensure that these bumpers come out when you remove the hard drive.

  6. o2Hr6AOEDHBhNx41
    • Your laptop should look approximately like this.

Abschluss

To reassemble your device, follow these instructions in reverse order.
iRobot

Mitglied seit: 25/09/09

0 Reputation

0 Kommentare