Einleitung

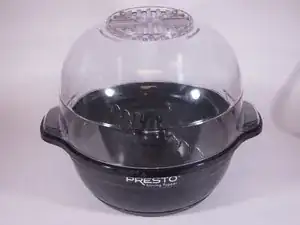
These instructions explain how to take apart the popcorn popper. This could be useful if it is not working properly or if the stirrer is jammed. The only tool needed is a #2 Phillips screwdriver. All the screws except the four large screws attaching the base to the heating plate are identical. Be careful with exposed wires and do not plug in the popper without the wires connected properly.

  1. OPfwsouemKpaKhkR
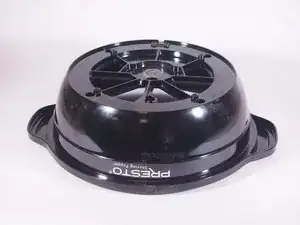
    • Detach the cover/serving bowl from the popper.

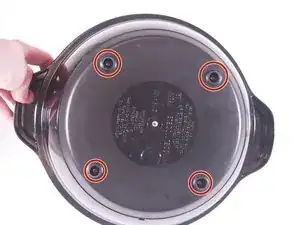
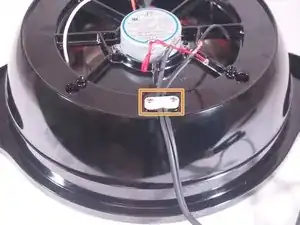
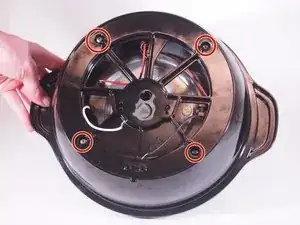
    • Flip the base of the popper over and remove the four 14 mm Phillips #2 screws attaching the bottom cover to the base.

  2. mKToQ1GGb36IGUEX
    mKToQ1GGb36IGUEX
    iKup1D5goc4MYClB
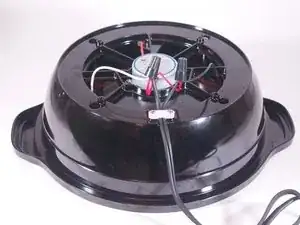
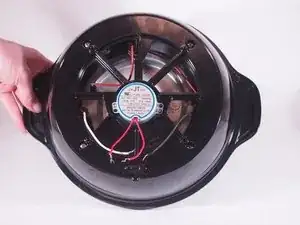
    • Removing the bottom cover exposes the internals of the popper. The base holds together the centrally mounted motor and the wires for the power cord and heating element.

  3. iP1txJAjsHlTZqhL
    iP1txJAjsHlTZqhL
    XoUSqBPNUU6SnjQb
    J43MYUsX5bGmpiMk
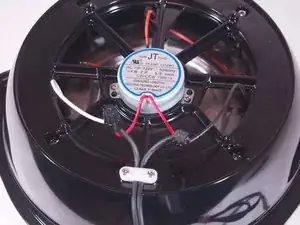
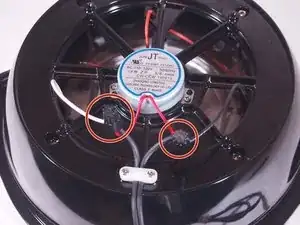
    • Remove the two black wire twist caps, and unwind the different wires.

    • During reassembly, make sure the wires are strongly twisted together (twist clockwise) and the wire caps are firmly attached.

    • Avoid swapping the polarity during reassembly. The neutral (ridged) wire connects to the left motor wire and the white wire to the heater.

    • Remove two more 14 mm Phillips #2 screws attaching the white plastic holding the wall cord to the base.

  4. FHohoyCbJCoUHtJA
    FHohoyCbJCoUHtJA
    bU3tjdCDgWICxQIX
    kMtQTfSZPSq4fHOW
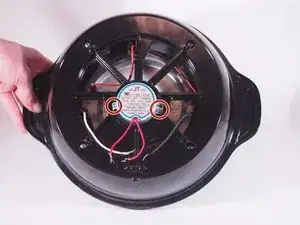
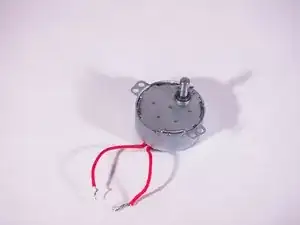
    • Remove the two 14 mm Phillips #2 screws from the motor.

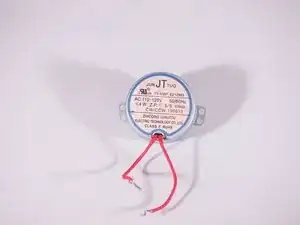
    • Remove the motor from the popper.

    • A spring located in the shaft may force the motor out when the screws are sufficiently loosened.

  5. C3LF51qerYPSrxIH
    • Remove the four 50 mm screws attaching the base to the heating pan.

    • Removing these screws takes significant force.

  6. PC1ycnwFBFx4lnKo
    • Remove the base from the rest of the device.

  7. RrvCMyDLNTgHiWHT
    RrvCMyDLNTgHiWHT
    jiWHC2YtrBsUPFWF
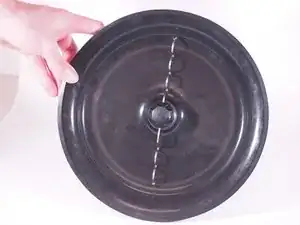
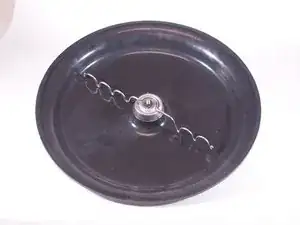
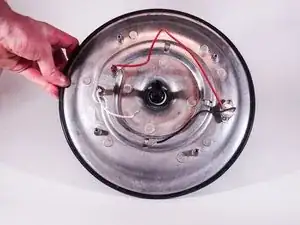
    • This is the nonstick heating pan with the stirrer still attached.

    • The pan surface can be greasy from use.

  8. g6CsSyJsVJmVhe3S
    g6CsSyJsVJmVhe3S
    G2E1vlWnXic1klAf
    imavNUsMO3vFlLCS
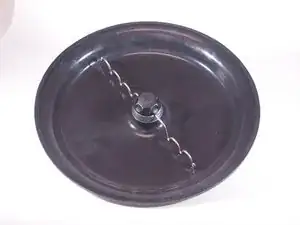
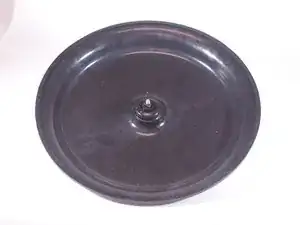
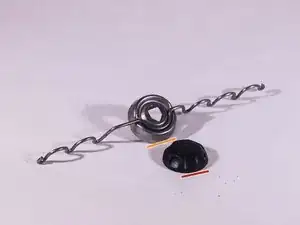
    • The center stirring arm knob can be removed by hand (twisting to the left).

    • The scalloped stirring arm can be directly lifted out from the center mount.

    • During reassembly, note that the scalloped stirring arm is keyed to fit in one direction.

  9. t2T4tjqf4xDXpMiG
    t2T4tjqf4xDXpMiG
    GEZhcgu6uh2VxBiZ
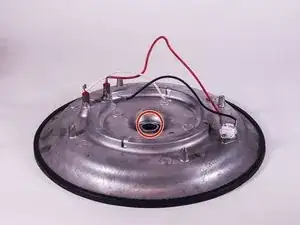
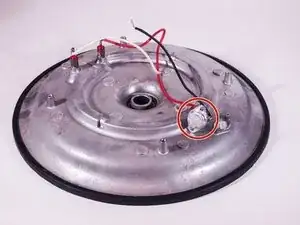
    • Flipping the heating pan over, wires to the thermostat and the plastic motor shaft remain.

  10. u3XreO3OspuJoicn
    u3XreO3OspuJoicn
    rWAGKGqtLkKXW64h
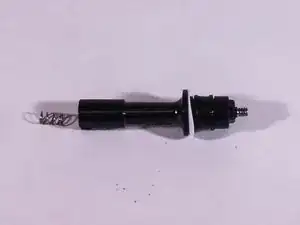
    • Directly pull the motor shaft out.

    • Take care to not misplace the small spring.

  11. WjVTYnDjvXta6ooQ
    WjVTYnDjvXta6ooQ
    F4jZgMScdVWnuCcu
    yBSlWju3K3HHT2dA
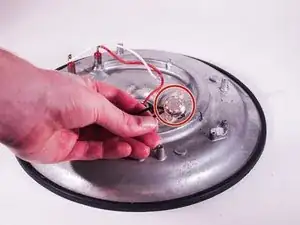
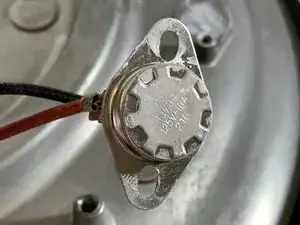
    • Remove two Phillips screws to detach the thermostat.

  12. uBqJe4ZfDoFbRHqS
    uBqJe4ZfDoFbRHqS
    3xuhlft6XBq1vwkk
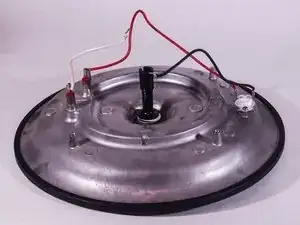
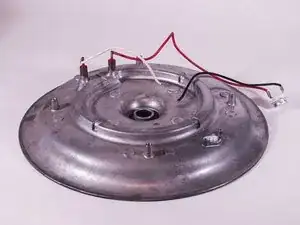
    • This is the heating plate with the rubber gasket removed.

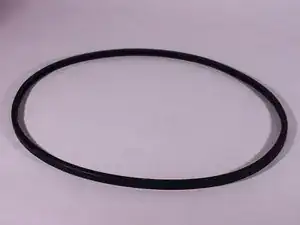
    • During reassembly, be sure to re-attach the gasket around the entire plate before reassembling the bowl.

Abschluss

To reassemble your device, follow these instructions in reverse order.
Andrew Chen

Mitglied seit: 16/09/20

205 Reputation

0 Kommentare