Einleitung
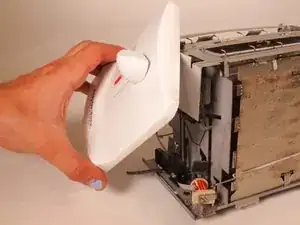
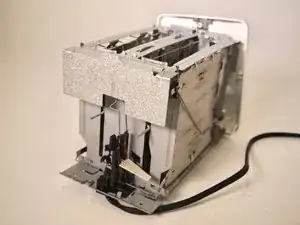
This guide shows you how to disassemble the Proctor Silex 2-Slice Toaster 22205. This toaster is simpler than most, and contains no circuit board or lighting components. Taking it apart is also simple and involves just a few mostly intuitive steps, and it will allow you to access any part of the toaster that may be malfunctioning or needs maintenance. The most important thing to remember is to make sure the toaster is unplugged when it is being taken apart. Also, some of the metal components can be sharp, so be careful when handling them. All the steps here should be able to be reversed to put it back together without any damage or change in functionality of the toaster. Happy deconstructing!
Werkzeuge
-
-
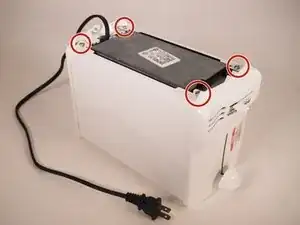
Flip the toaster over.
-
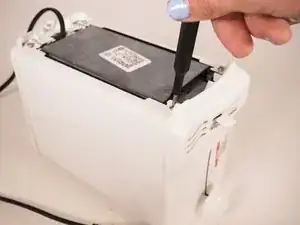
Remove the four 18 mm screws from the corners using a Phillips #00 screwdriver.
-
-
-
Flip the toaster right-side up.
-
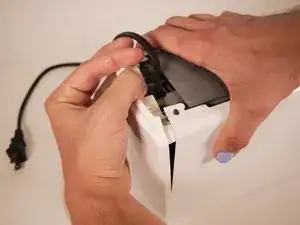
Lift the metal housing upwards from the back.
-
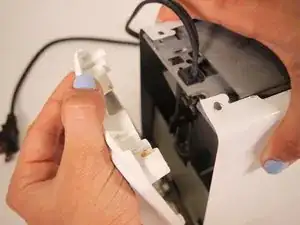
Lower the front of the housing to free it from the tabs that connect it to the plastic front panel.
-
Once the housing is free from the tabs, it can be completely removed.
-
-
-
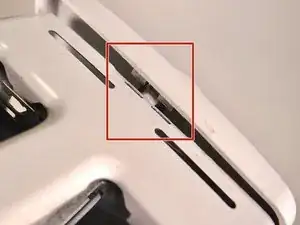
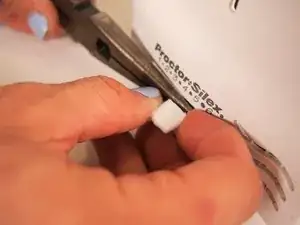
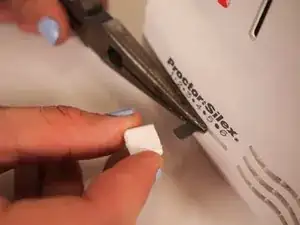
Use pliers to hold the metal part of the cook-time adjustment lever.
-
Use strong and steady force to remove the plastic endpiece from the lever.
-
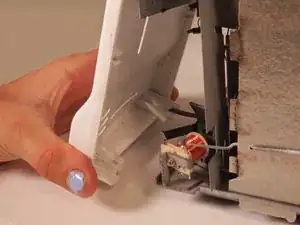
Pull the plastic front panel from the bottom to clear it of the lever.
-
-
-
The toaster has been deconstructed!
-
To completely remove the front panel, remove the plastic handle on the lever used to pull down the toaster. However, this is quite difficult, must be glued back on, and isn't necessary to reach the working parts of the toaster.
-
When exposed to the heat of the toaster, the bimetallic strip bends, pushing a plunger connected to a switch.
-
When the strip has bent far enough the plunger closes a switch, causing current to flow through the coil. The magnetized coil will then pull the latch open.
-
This simultaneously turns causes the toast to pop up by releasing the spring loaded toasting lever, and turning the toaster off by breaking the circuit connecting it to the power source.
-
The cook-time adjustment lever changes the distance between the plunger and the switch. The further the distance, the more the strip has to bend, and so the hotter the toaster will get before it turns off.
-
To reassemble your device, follow these instructions in reverse order. Please note that the plastic endpiece on the lever should be glued back on to ensure it doesn't fall off during use.
