Einleitung

  1. VkJ3RBar2HBedGD2
    VkJ3RBar2HBedGD2
    A1YqfNOUd1ytigeu
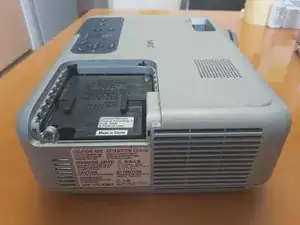
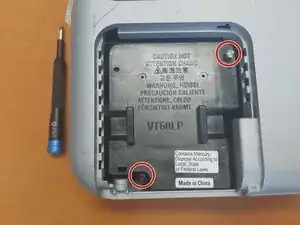
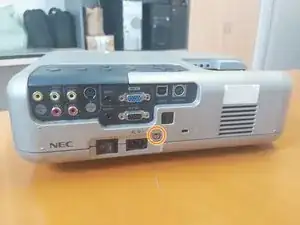
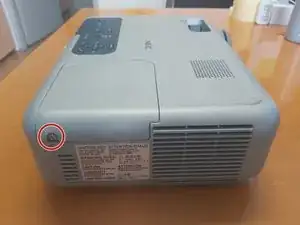
    • Unscrew the screw and remove the cover.

  2. dbRHn3IYOxInBQFH
    dbRHn3IYOxInBQFH
    nA53VagpCJJIYxyq
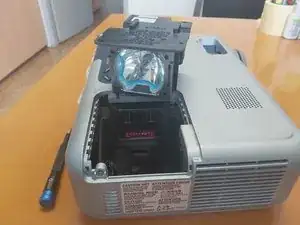
    • Unscrew the two screws that are holding the lamp in place.

    • Pull the lamp out.

  3. W4uhYD1iQsETbogP
    W4uhYD1iQsETbogP
    tEjXGn5yfaIF2GLt
    DPkhBNb6MW6XCVHH
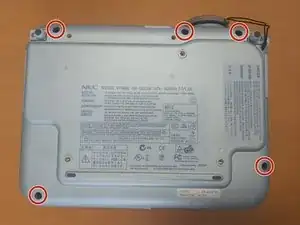
    • Remove 5 screws from the bottom.

    • Remove 1 screw from the back.

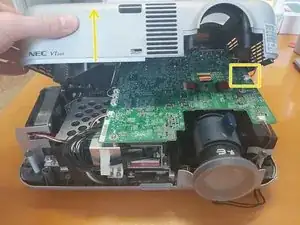
    • Slowly lift the upper housing and disconnect the connector.

    • Do not lift the upper housing too quickly as it could damage the connector cable.

  4. lGkULqZvDdryJaL5
    lGkULqZvDdryJaL5
    Y4I2QEOfU33PskPX
    HHlCcnPqx6qtG4kd
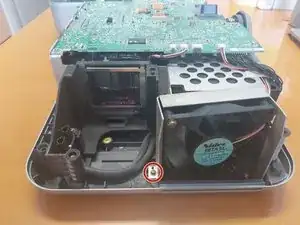
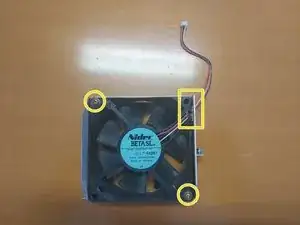
    • After removing the upper housing. Turn the projector to see the fan.

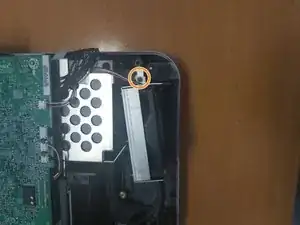
    • Unscrew two screws from each side of the fan holder.

    • Remove the fan from holder by unscrewing the two screws.

    • Carefully take out the fan. Keep an eye on the wires that go through the holder.

Abschluss

To reassemble your device, follow these instructions in reverse order.
Klemen Hodžić

Mitglied seit: 01/11/20

414 Reputation

0 Kommentare