Einleitung
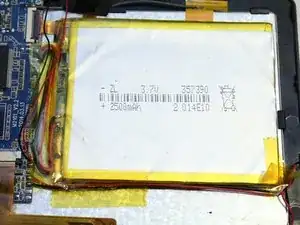
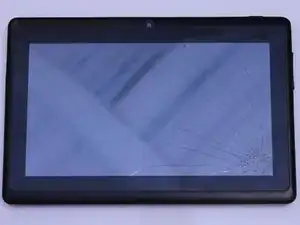
After repeated use of electronic devices, it is common for the battery to lose charge and eventually die. This guide outlines how to access your device's battery and replace it.
Werkzeuge
-
-
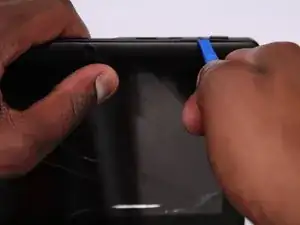
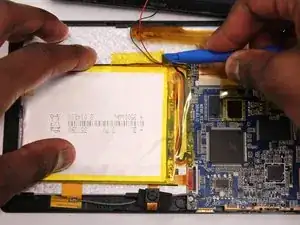
Starting near the headphone port, fit the flat end of the spudger in between the screen and back case.
-
Pry the back case from the screen around each point on the device to release the clips securing the case halves to each other.
-
-
-
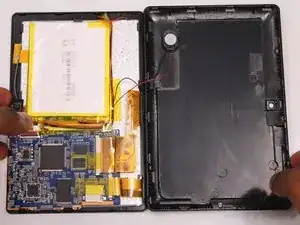
Gently remove the back case of the device and lay it in a flat surface as shown in the photo.
-
-
-
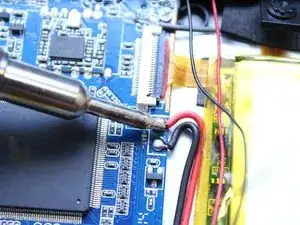
Using a soldering iron, heat up the contact point of the red wire from the battery and the motherboard.
-
When the solder begins to melt, use pliers to gently pull the wire from the motherboard
-
-
-
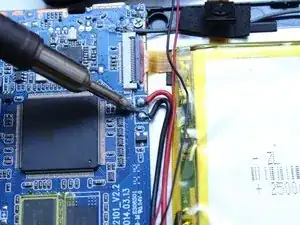
Repeat Step 5 on the black wire connecting the battery to the motherboard as shown in the photo.
-
-
-
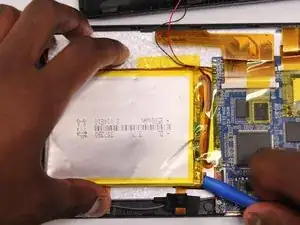
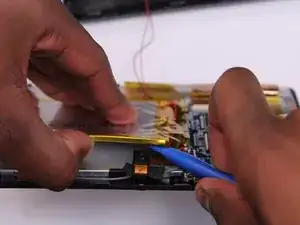
Using a spudger, gently pry the battery from the back of the screen to remove it from the device.
-
To reassemble your device, follow these instructions in reverse order.
