Einleitung
-
-
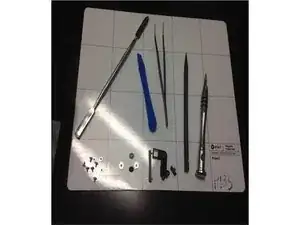
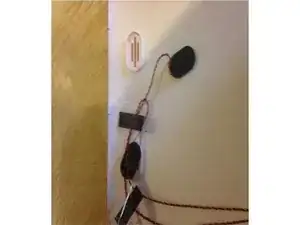
Tools necessary for task.
-
Starting from the left to right
-
Metal Spudyer
-
Plastic opening tool
-
Precision tweezer
-
Point pen tool
-
Driver with bit size J0
-
-
-
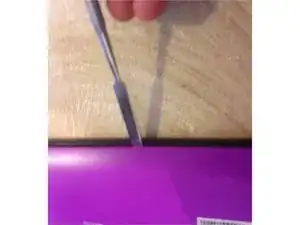
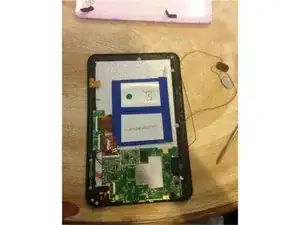
The backing of the tablet is fastened by simply snapping it in. Using the metal opening tool, pry between the plastic backing and the edge, but do not remove it yet. Work your way around until you have them separated.
-
-
-
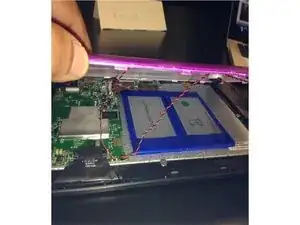
You will notice two wires still connecting the backing to the computer. These are for the speakers.
-
-
-
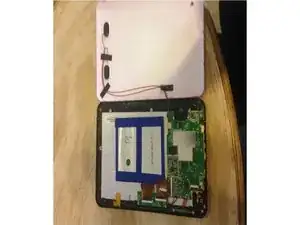
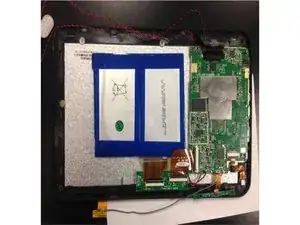
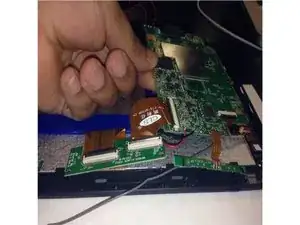
Next the following highlighted spots are screws. These screws must be loosened to separate the motherboard and digitizer from the outer glass components. Remember lefty loosely, righty tighty. All screws were placed on a magnet board to ensure they did not roll away
-
-
-
There is some tape wire that links the screen to the grey digitizer. This can be gently pulled apart by the tweezers
-
-
-
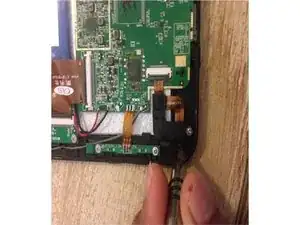
Next focus on the camera and volume components along the edges highlighted here. The screws have already been taken out, gently pull them off.
-
-
-
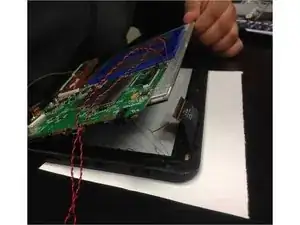
Gently lift the green motherboard from the grey digitizer to ensure that all screws have been removed. The only connection remaining should be a tape wire to the battery.
-
-
-
The last step is to remove the grey digitizer from the screen entirely. Note that the blue battery and green motherboard will still be attached, move them as one part
-
To reassemble your device, follow these instructions in reverse order.