Einleitung
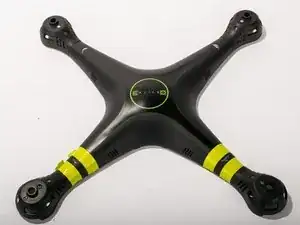
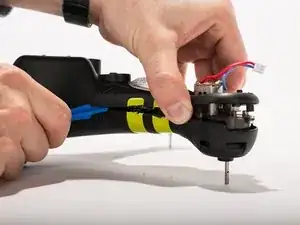
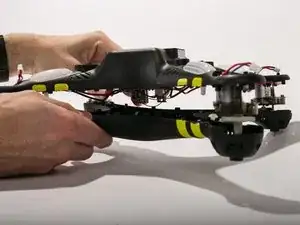
This guide will walk you through the 16 steps to replace the top shell of the Drone.
Werkzeuge
-
-
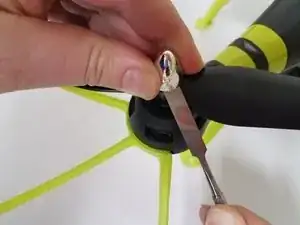
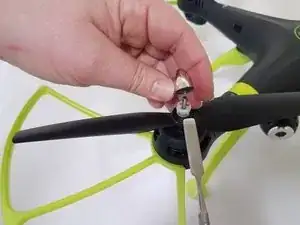
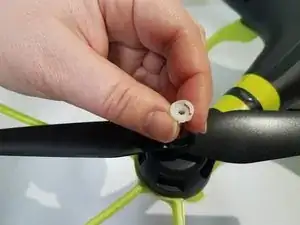
Use the heavy duty spudger tool to pry off metal caps by pushing the spudger up into the cap.
-
-
-
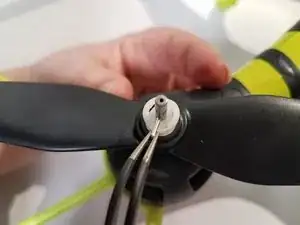
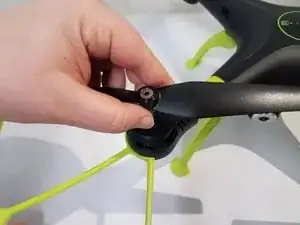
Twist the white spindle sleeve counter clockwise to align locking pin inside with the opening.
-
-
-
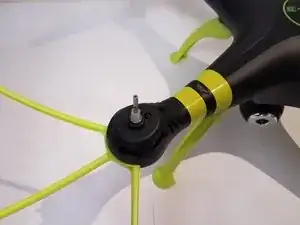
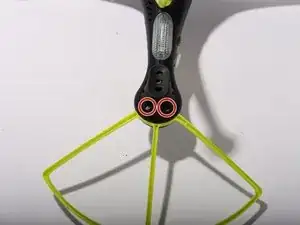
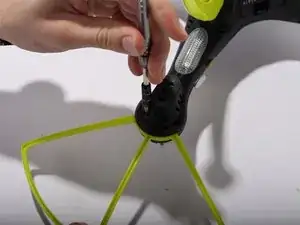
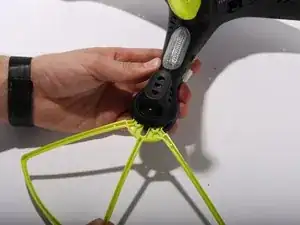
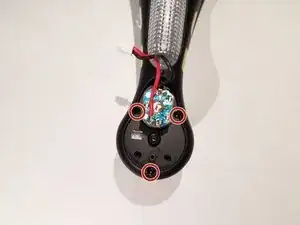
Remove Blade Guards by unscrewing two 13 millimeter screws using Philips #0. Pull out the guards. Repeat the steps for the other three corners.
-
-
-
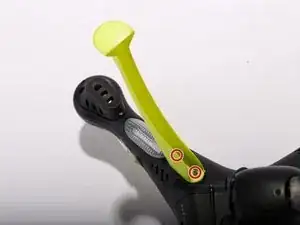
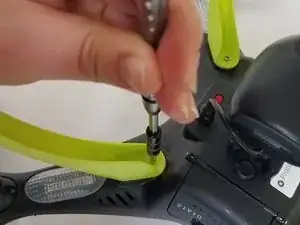
Unscrew two 9 mm screws located inside the legs. Repeat the same procedure for the other three legs
-
-
-
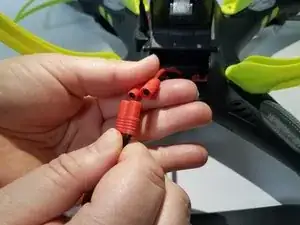
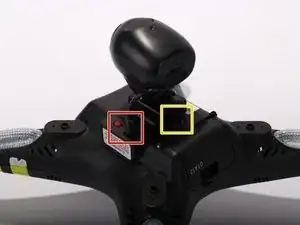
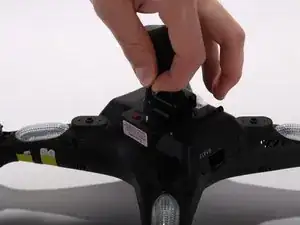
Unplug the camera wire.
-
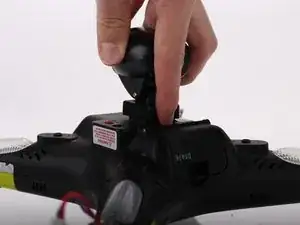
Press the hold release button and slide out the camera module away from the button.
-
-
-
Remove the motor protection cover by unscrewing two 9 mm screws using Philips #0. When the screws are off, use your fingers to pull the motor protection cover off. Repeat the procedure for the other three arms.
-
-
-
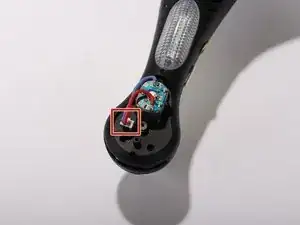
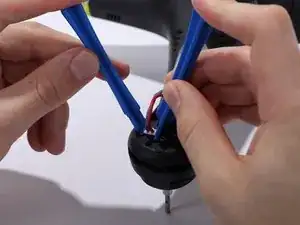
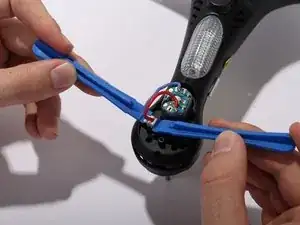
Unclip the motor cable from the shells housing using two pry tools. Repeat the same procedure for the other three arms.
-
-
-
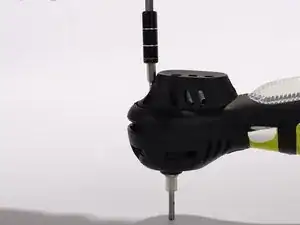
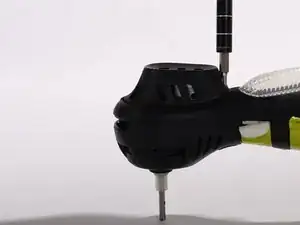
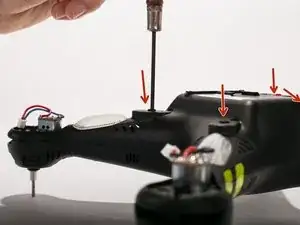
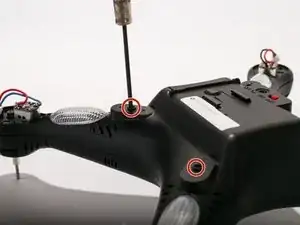
Remove four 9 mm screws located where the legs originally are placed. (Use a thin head screwdriver)
-
-
-
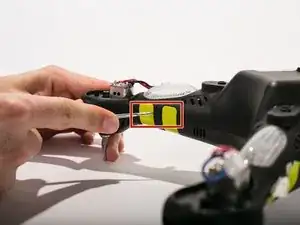
Cut the yellow strips using a scalpel. Pry open the casing using pry tools working gently around the corners.
-
To reassemble your device, follow these instructions in reverse order.
