Einleitung

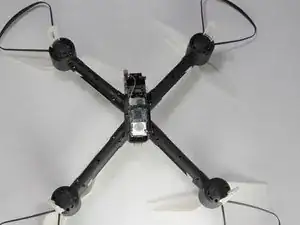
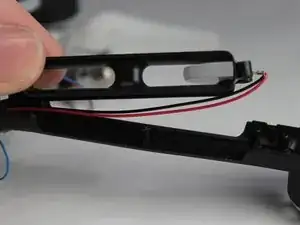
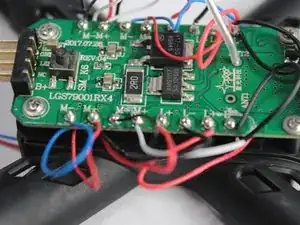
This guide will explain how to replace a motor of the Protocol Kaptur GPS drone.

  1. CG5IsO2TQsSc6jlw
    CG5IsO2TQsSc6jlw
    GEQJLA1Bwlq6AI4e
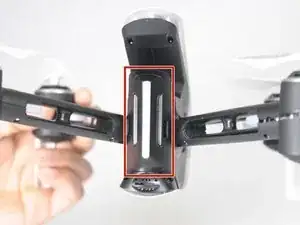
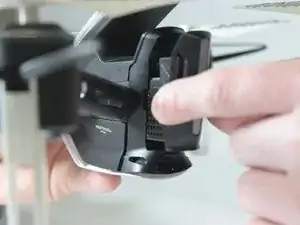
    • The battery is accessible through the back of the drone.

    • Press the tabs on both sides of the white stripe to pull the battery out.

  2. XHA1TvdoHiY2BI4M
    XHA1TvdoHiY2BI4M
    NwRKqkWnJ6CDvjOx
    qJAICunKneNYTKIp
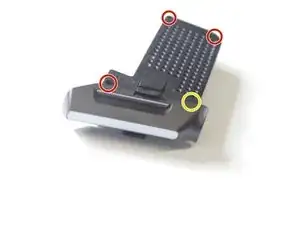
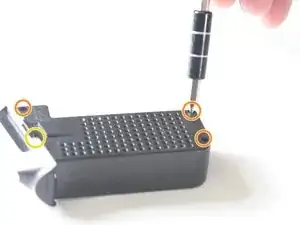
    • Remove the screws starting with the three smaller ones on the top part of the battery.

    • Remove the three screws on the other side.

    • There are two screws tucked under where the yellow circle is located. You will need to remove the other screws first before you get to these two.

    • There should be one 7 mm Phillips head screw, three 6 mm Phillips head screws, and four 5 mm Phillips head screws.

  3. lUG2ceLr6LugK2DE
    lUG2ceLr6LugK2DE
    IpjpNK2NsSthDIHv
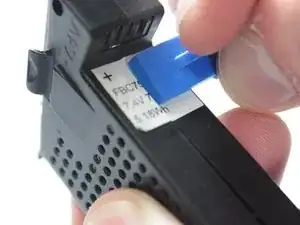
    • Remove the top piece, and gently pry the two halves apart. Divide the sticker if necessary.

  4. RTGqiFPtioYauZwA
    RTGqiFPtioYauZwA
    gvVQ2nQ6VTgdkkxl
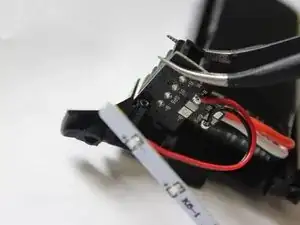
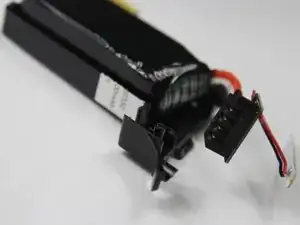
    • The battery is now removable from its container.

    • During reassembly, make sure the outlet is returned to its holder and faces the correct direction.

  5. 5qBAwmdXjemAaHWX
    5qBAwmdXjemAaHWX
    DB2wtvgipmnqVp2J
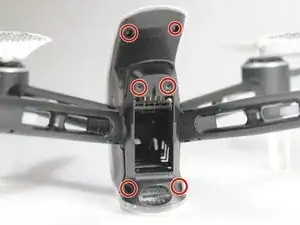
    • Remove the 4x 7mm Phillips head screws on the outside of the shell, and the 2x 5mm Phillips head screws from the middle, then remove the back part of the housing.

    • Remove the two hidden screws at the bottom, and the white power button.

    • There will be 6x 7 mm Phillips head screws, and 2x 5 mm Phillips head screws in total.

  6. NcwrFfCHPKT2LBju
    NcwrFfCHPKT2LBju
    rJFOijSsJsRQyN5j
    EffVR4UmRlNtSphC
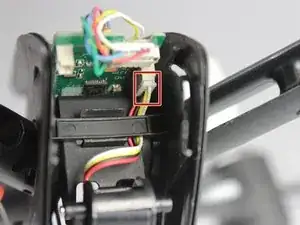
    • Unplug all the cords from the circuit boards.

    • Carefully slide the main body off of the arms.

  7. FQyWiNgK5FCTYWDW
    FQyWiNgK5FCTYWDW
    OMMxyJcCJQyAEQKY
    2hmHvT3JHE1K2eWB
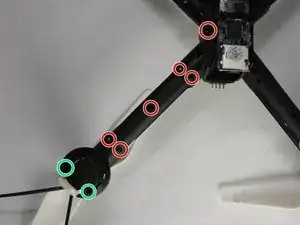
    • Remove all screws from all four arms, and the screws on either side of the center.

    • The screws on the arms are 7mm.

    • The screws on the motor are 9mm.

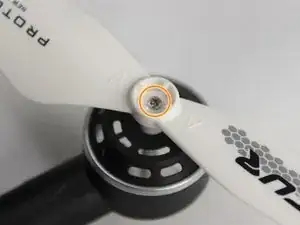
    • Remove the 5mm screw holding the rotor onto the drone.

    • Note There should be 22x 7 mm Phillips head screws, 8x 9 mm Phillips head screws and 1x 5 mm Phillips head screw.

  8. BbXSDXmQpZmZQuJ2
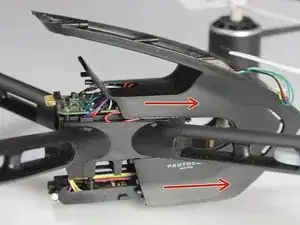
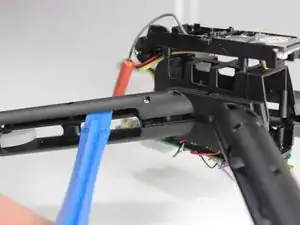
    • Gently pry apart the upper and lower part of the shell by working the opening tool along the middle seam.

  9. hBFGJm4EPrLRRbuD
    hBFGJm4EPrLRRbuD
    uqYZeLdmidSeXX5U
    A41aQeRqkpnCFSqn
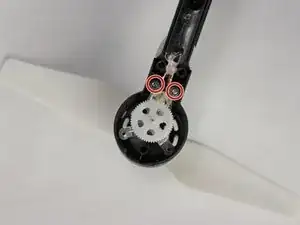
    • Unscrew the motor screws, and remove the motor.

    • There will be 2x 6 mm Phillips head screws.

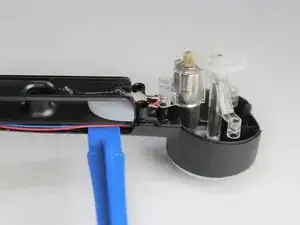
    • Pry up the middle portion of the arm to access the cables.

  10. TnTE6YEQd2GxrNaA
    TnTE6YEQd2GxrNaA
    lqqy1qSCyAFUKlGS
    • Remove the motor by unsoldering the cords from the main circuit board.

    • The motor will either have blue and red cords, or black and white cords, with two of each kind on opposite sides of the drone. It is important that the new motor spins the same direction as the old one, and that you connect the leads to the correct port.

    Why do you have to open the battery ?

    Paul Breslin -

Abschluss

To reassemble your device, follow these instructions in reverse order.

Connor Woitte

Mitglied seit: 15/02/18

858 Reputation

11 Kommentare

What size and rpm does it take, but also is there a way to upgrade the motors for more punch?

Robert Roy -

Thank you.for your information and time to make my grandson

tadashiflowers2 -

What size is the main gear??
helpinstuck -

2.0

I believe

helpinstuck -

Anyone else having a problem with the props twisting on the shaft during flight

helpinstuck -

Have you checked the teeth on the prop gear and the teeth on the motor gear? Chances are its one of the two components. If it’s the motor gear , you can buy a set of four motors from eBay for like $9. Just replace motor, if it’s the prop gear, replace the gear. If it’s neither of the two, stop what you’re doing and go on offer up and just buy a freaking DJI Mavic Pro . You can get a used one for probably the same price you paid for this junk new , so, ya.

Wise Guy -

Yes mine , my Kaptur got loose from me and hit hit the bottom of a pickup truck and the small plastic piece that the prop screws to come loose from the motor shaft and the motor won’t turn no ,where can I get a new motor please ?

Chris cleveland -

Is it possible to use electric tape, split and join the specific motor wires with one another, And not have to F with any soldering?

Chesley Barnett -

Can we upgrade the motors on protocol kaptur ?

Luis Maldonado -

Thanks for the info! This is so awesome! I'll remember this site

Adam Carder -

any1 have a image of the gyro wiriring

kasper ghost -