Einleitung

This guide will demonstrate how to remove and replace the front camera on the Protocol Vento drone.

  1. DtErloCGXCFR25bt
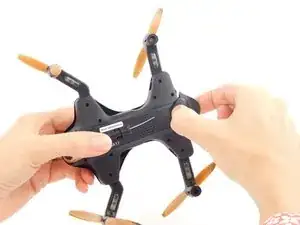
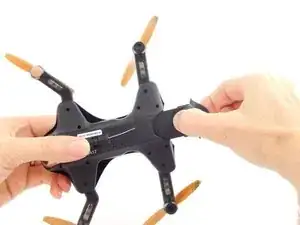
    • Grasp the tail end of the drone where the lip of the battery protrudes.

  2. omKIuD3ZxmKgM6MA
    • Pull away from the drone to remove the battery.

    • Do not attempt any repairs or replacements before removing the battery from the drone.

  3. x3Pjl4TUMUOf5VSJ
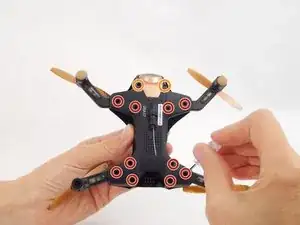
    • To get into the drone, twelve total screws need to be removed:

    • Ten 5.7mm Phillips #000 screws from the bottom of the drone body.

    • Two 4.5mm Phillips #000 screws at the front of the drone.

    • It is not necessary to remove the four screws on the arms of the drone.

  4. KEq4WHFmIUqjMP6G
    KEq4WHFmIUqjMP6G
    d1w1M2xvUrOZ6s6q
    WdykEgVfiC3UslP6
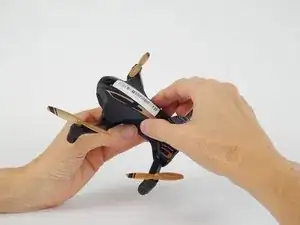
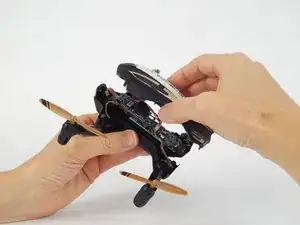
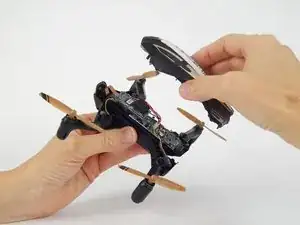
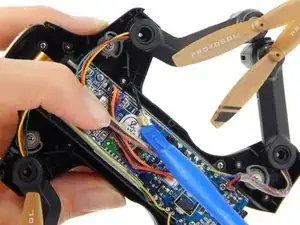
    • Flip the drone over and lift off the top plastic shell of the drone.

  5. NNHi2pdnm4SILRvb
    NNHi2pdnm4SILRvb
    p3UH2tHCIY1MEWMm
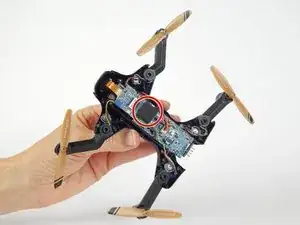
    • Remove the foam adhesive pad located on the Wi-Fi transmitter board.

  6. g6qOmXEHYTrAOecD
    g6qOmXEHYTrAOecD
    RCj1BwkrUU3x3gvs
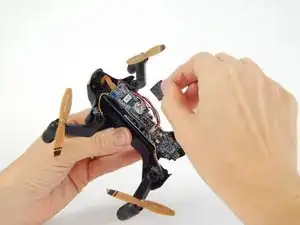
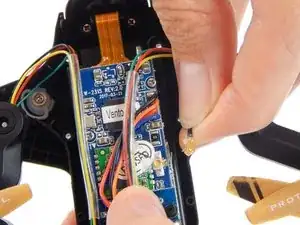
    • Pry the gold Wi-Fi antenna connector, located under the previously removed foam pad, away from the Wi-Fi transmitter board to disconnect it.

    • Be sure to only apply force to the gold connector and not the black wire attached to it, as the connection between the two is very fragile.

  7. RxpfDqaDdFTmRw2R
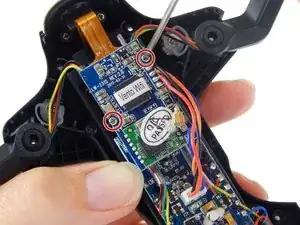
    • Remove the two 3.8mm Phillips #000 screws from the Wi-Fi transmitter board.

    • Be careful with the delicate ribbon cable attached to the camera.

  8. pMxGfuRdVahIS1AW
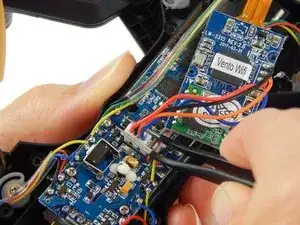
    • Disconnect the white clip that connects the four colored wires (black, orange, red, blue) to the motherboard.

    • Be sure to pull only on the white clip, as to avoid damaging the wires.

  9. 2NjSVs2pfaDFxgsL
    2NjSVs2pfaDFxgsL
    YViJRRVViouMXeLq
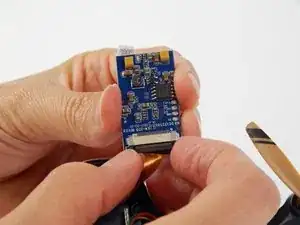
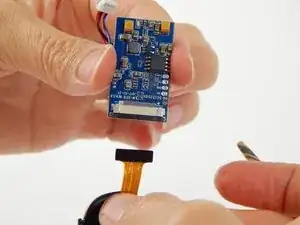
    • Gently pull the black wedge away from the main board until it shifts to a stop. You will feel it slide out, then stop.

    • The black insert acts as a wedge to keep the ribbon cable attached to the board. The wedge needs to be jostled loose before the cable can be removed.

    • Lightly pull the ribbon cable away from the connector.

  10. xh5we5GuyhCOp3kl
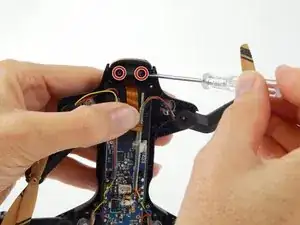
    • Remove the two 4.9mm Phillips #000 screws securing the camera to the front of the drone body.

  11. 52wuqZ3sFYZN4Afo
    52wuqZ3sFYZN4Afo
    d4enoP13s1VQpUHi
    sp5UVgDcDUVQqoZf
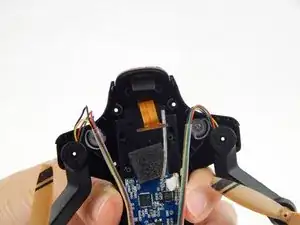
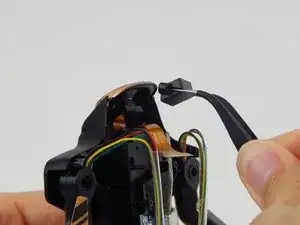
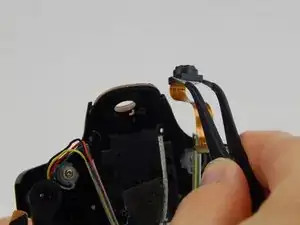
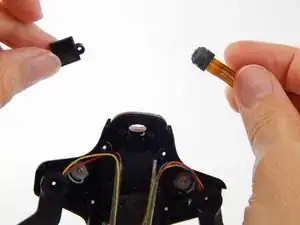
    • Lift the camera holder and the camera up and away from the drone.

Abschluss

To reassemble your device, follow these instructions in reverse order.
William Rozear

Mitglied seit: 15/02/18

206 Reputation

0 Kommentare