Einleitung
Werkzeuge
-
-
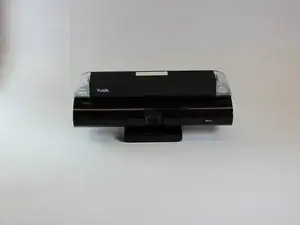
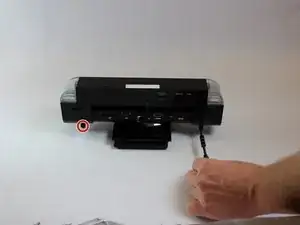
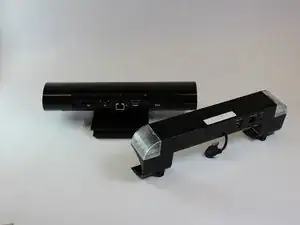
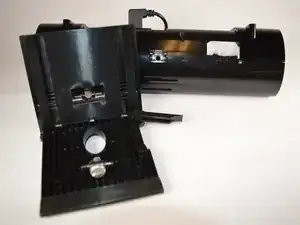
Remove the top bar by removing the 5cm hex T10 screws on the back of the device as shown. Then gently pull off the top bar from the main component.
-
-
-
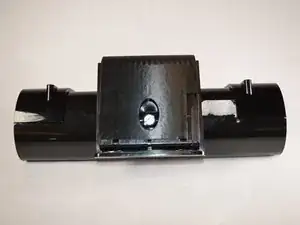
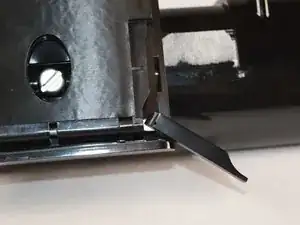
Locate and release the flap on the side of your device's mount. This will allow you to slide the adjustable portion of the mount.
-
-
-
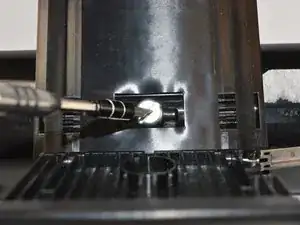
Using a #4.0 flathead screwdriver, unscrew your mount from the bottom and remove the 1.2cm screw.
-
Abschluss
To reassemble your device, follow these instructions in reverse order.
