Einleitung
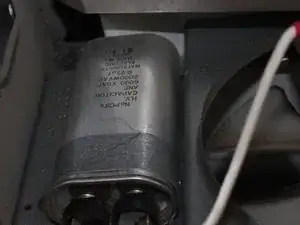
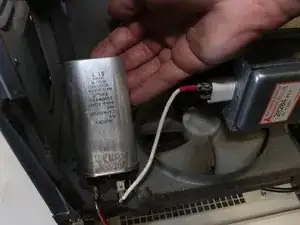
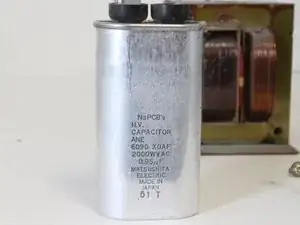
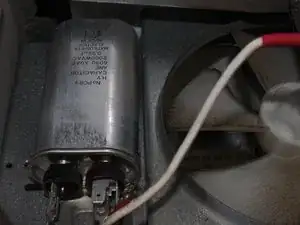
If the microwave does not power on correctly, the capacitor may be at fault. Always use caution when working with electrical devices.
Werkzeuge
Ersatzteile
-
-
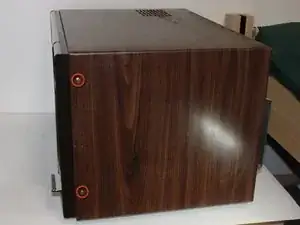
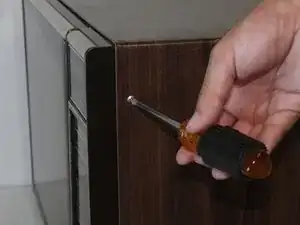
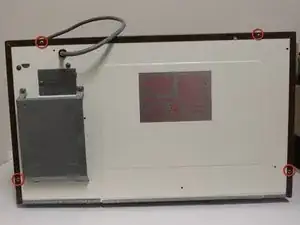
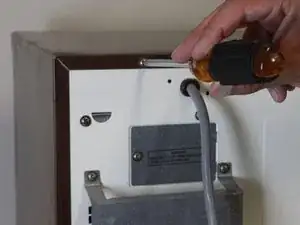
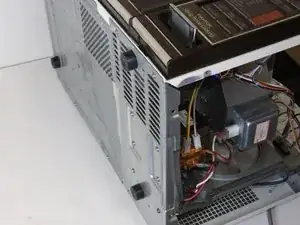
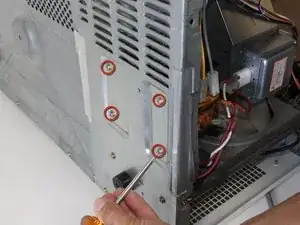
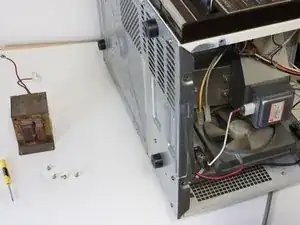
Remove the eight screws holding the wood-patterned cover to the microwave frame.
-
The first four screws are located on either side of the microwave front.
-
-
-
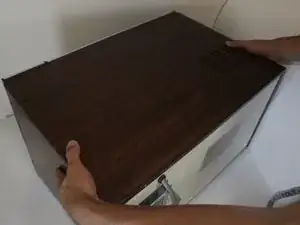
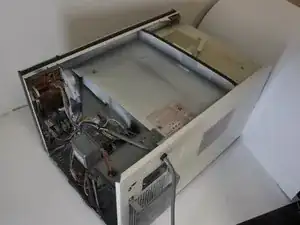
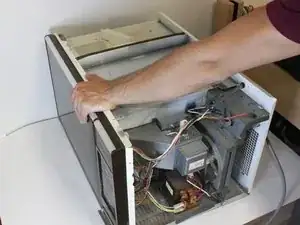
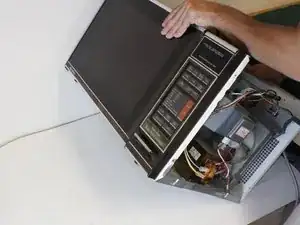
Placing your hands on either side of the case, slide the case back gently until you feel it completely separate from the microwave frame.
-
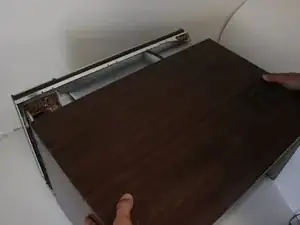
Lift the case upward slowly until the case is free of the microwave.
-
-
-
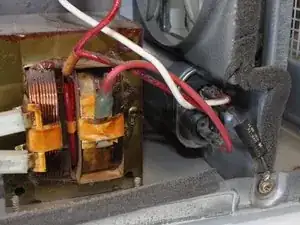
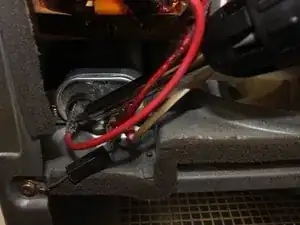
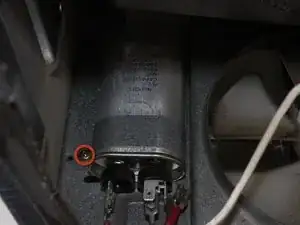
The capacitor stores a small amount of electrical energy. Discharge capacitor by placing a screw driver across the terminals. Use a screwdriver with a non-metallic handle and a shaft that is longer than 4” (10.75mm) Touch the metal shaft of the screwdriver simultaneously to both metal terminals of the capacitor. There should be a spark.
-
If the capacitor sparks, you can stop reading here. The spark indicates that the capacitor is working properly. If the capacitor does not spark, read on to Step 6.
-
-
-
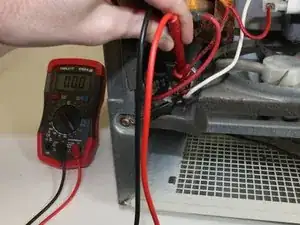
Place the multimeter on resistance mode and test the resistance of the capacitor.
-
If the resistance increases/decreases, the capacitor is working fine. If the resistance of the capacitor reads 0 or over several kilo ohms, the capacitor needs to be replaced.
-
-
-
Tip the microwave back so it is lying face up. This allows access to the screws beneath the transformer.
-
-
-
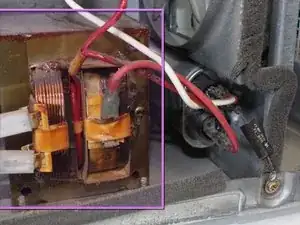
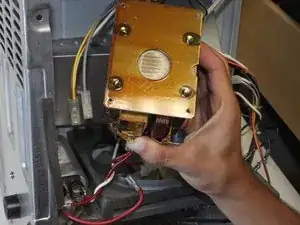
Locate the transformer. The capacitor cannot be removed without removing the transformer first.
-
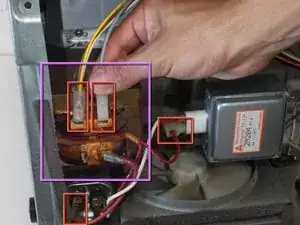
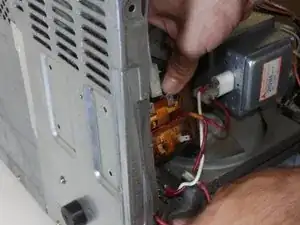
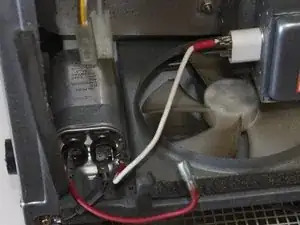
Locate and unhook all wires connecting the transformer to the rest of the microwave.
-
-
-
The metal band locking the capacitor in place can now be accessed. Locate and remove the screw securing the the metal band.
-
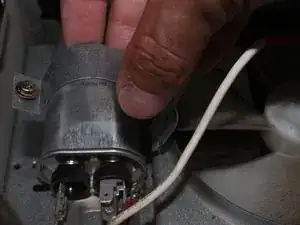
Lift the metal band off the capacitor.
-
-
-
You can now install a replacement capacitor.
-
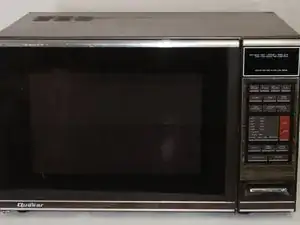
Repeat all steps in reverse order to install a capacitor in a Quasar Microwave MQ7774XW (1984).
-
To reassemble your device, follow these instructions in reverse order.
